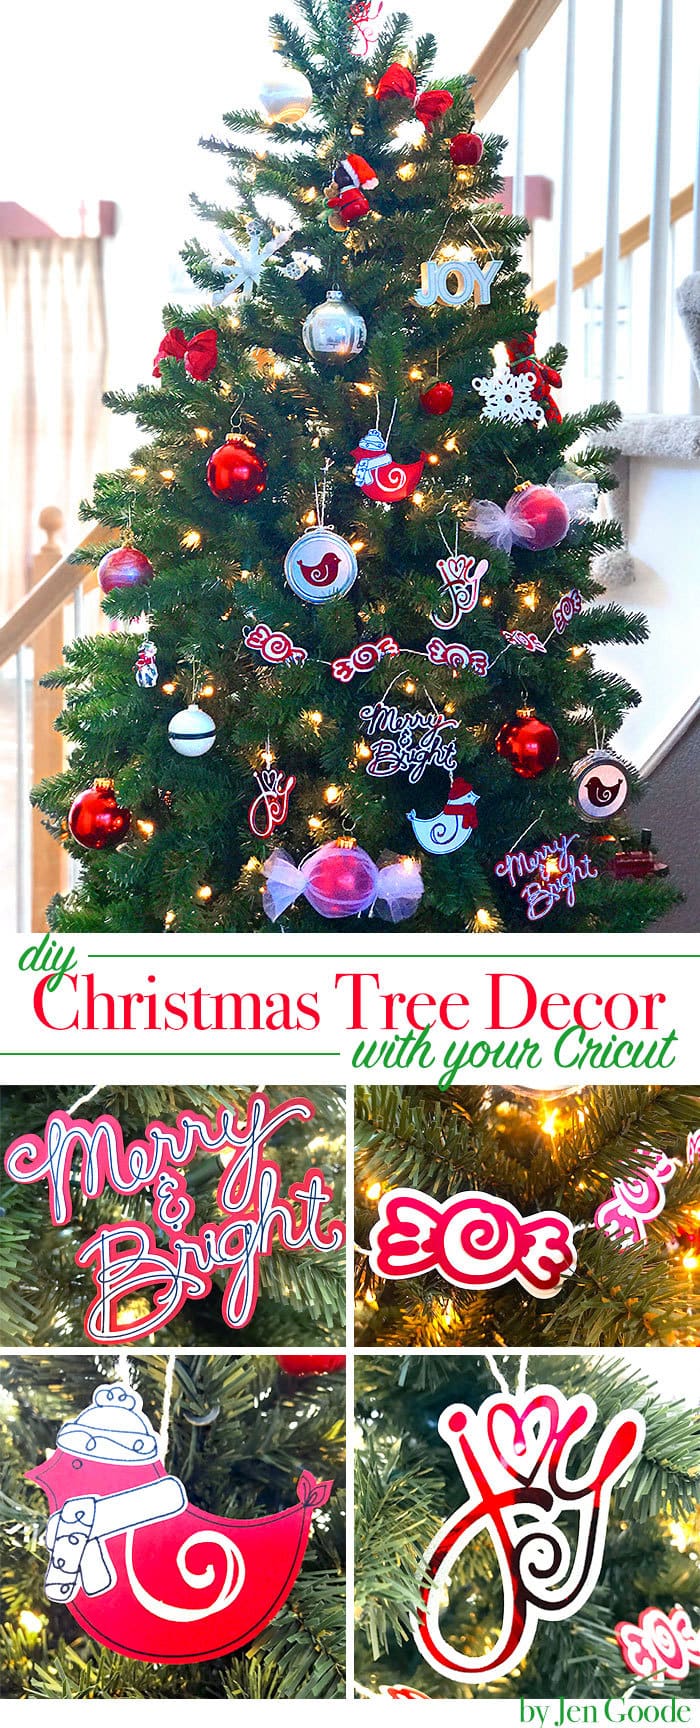
Add extra sparkle to your tree with your own Quick and Easy DIY Christmas Tree Decor you make with your Cricut. It doesn't take a ton of time or supplies to make pretty Christmas tree decorations and ornaments. You just need some glitter and a little holiday foil… and of course your favorite Cricut. This Cricut Christmas project can be customized to fit any holiday color combo you can dream up!

Quick and Easy DIY Christmas Tree Decor
Today I'm joining in with the Cricut Holiday event aka #CricutHoliday. A whole crew of creative minds are making different holiday-themed projects all month to inspire your holiday creativity! Today everyone is sharing Christmas Decor, porch ideas and bedroom looks. I LOVE all things Christmas and the tree is my favorite part, so Tree ornaments it is! Have you started decorating yet?
Make Your Own Christmas Tree Ornaments
You can make so many fun holiday projects with your Cricut machine. Creating decorations for your tree is a great family activity. It's like making mini crafts that everyone can join in on. I've used new images I created this year to create these project ideas for you to try.
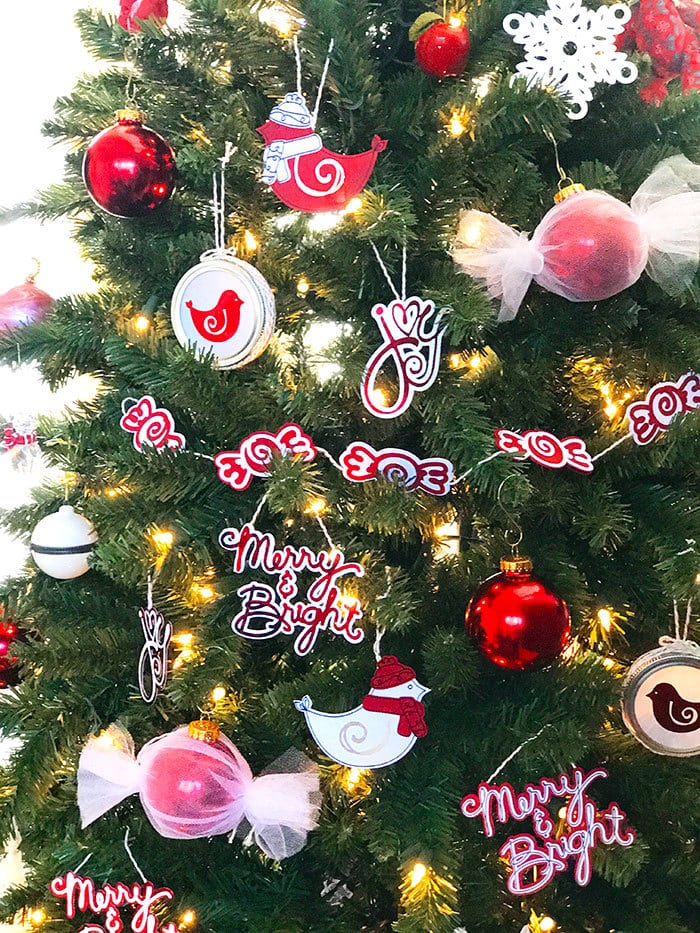
Here's a quick view of all the ornaments we're making today.
You can create all of these ornaments to decorate your own Christmas wreath too. Get creative and have fun!
Materials
- Cricut Machine and Cricut Design Space
- Celebrate the Season cut designs by Jen Goode
- Cricut Pens
- Various cardstock
- Various Adhesive Foil
- Various Vinyl
Note, if the above link doesn't work for you, try a couple of things:
- Open a new Design Space Project and then click the link. It should open up the collection of images included in this “cartridge”.
- Or, search cartridges in Design Space for “jgoode” and then scroll to find “celebrate the season”.
I have a few canvases in Cricut Design Space set up with all the designs ready to go.
Merry and Bright | Joy | Little Birdie
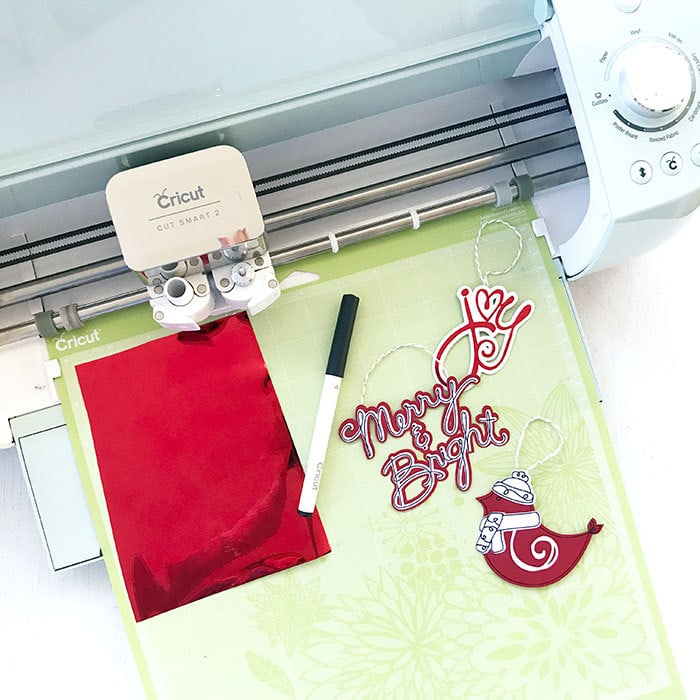
Materials note: I used red and white cardstock, silver glitter vinyl and red adhesive foil. Optionally, you can choose to create these ornaments using the print-then-cut feature and simply print all the colors you need on standard white cardstock.
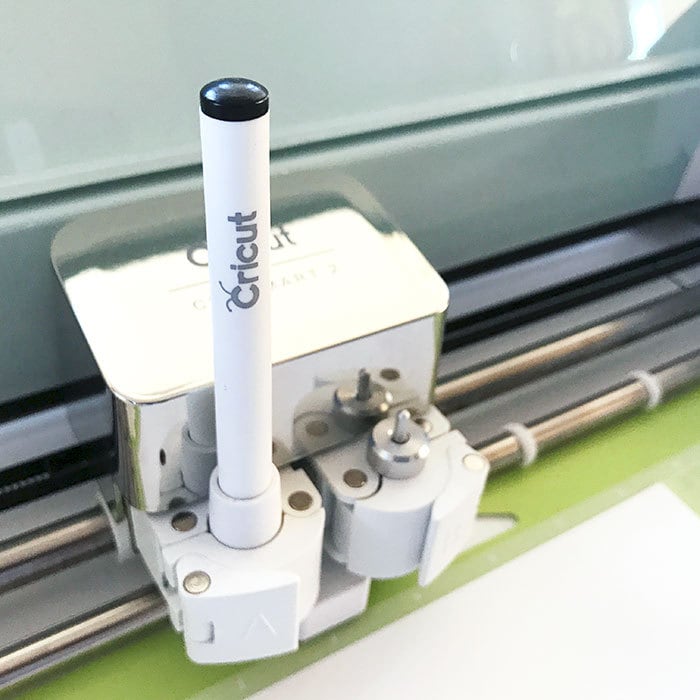
Use your pens! The Cricut pens come in a variety of colors including metallic and even gold or black glitter. You can add your own personal touch to your ornaments by adding drawing art to your designs. If you've never used the pens, I have a Drawing with your Cricut Get Started Guide to help you get started.
Glitter ornaments: You can use glitter cardstock to make your ornaments. I prefer the glitter in the glitter adhesive vinyl. So I like to apply a sheet of glitter vinyl to a sheet of standard cardstock and then cut my designs from the combined material. You can do the same thing with the adhesive foil applied to cardstock. “Posterboard” is the best setting for this option.
Instructions
Each ornament design can be created from multiple material types to create a variety of ornaments from the same designs. As a basic step-by-step tutorial, each ornament requires the same steps: Choose the designs you'd like to create. Size and color however you'd like them to appear. Follow on-screen instructions to create each cut piece and then assemble as required. Below I have individual ornament instructions to help you along the way.
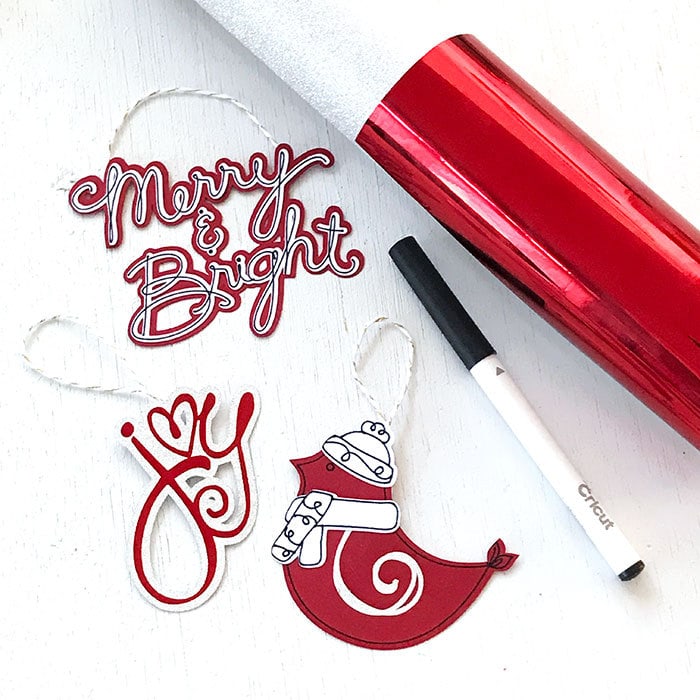
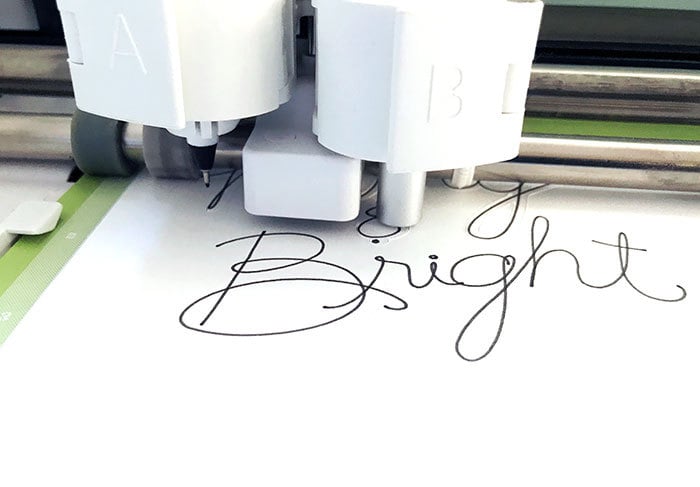
Merry and Bright ornament with draw line
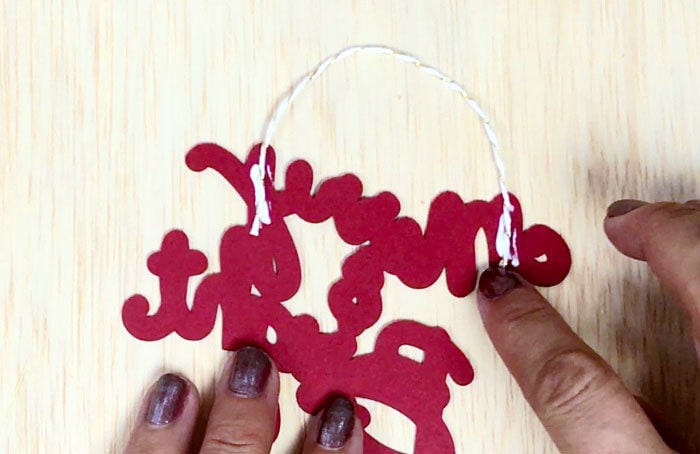
Draw the word art with the black pen on white cardstock and then glue to a red cardstock cutout. For additional looks, apply red foil word art to a silver glitter background or glitter vinyl to a foil covered cardstock. Add a hanging loop or add a mini hole to hang with a hook.
>> Go to this project in Cricut Design Space
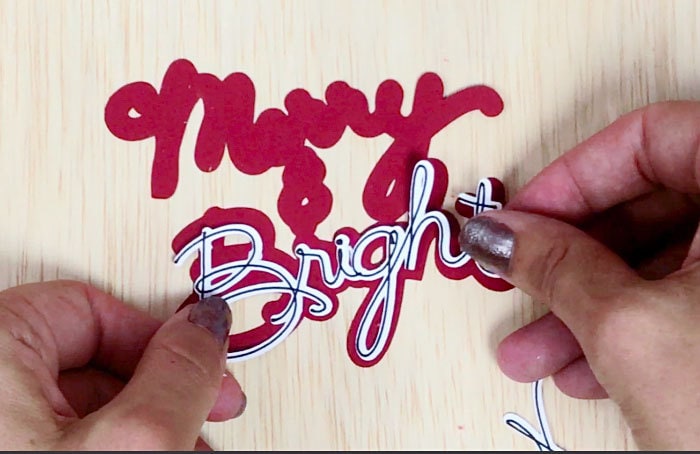
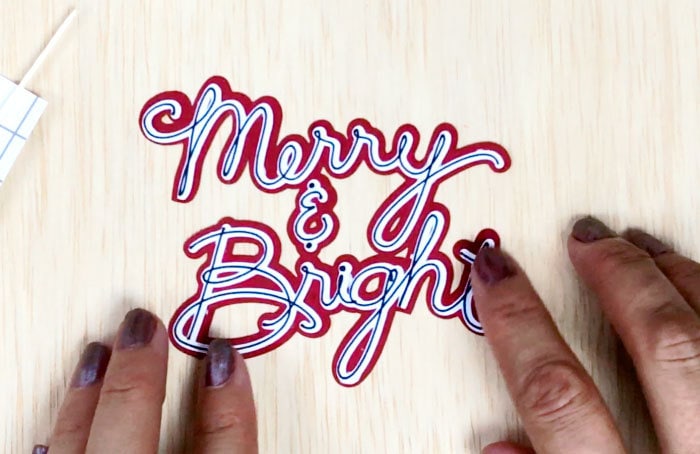

Here are a couple other versions of this same cut design using different materials and changing up the order of the colors.


Color Tip: when you make multiple versions using the same art, make sure you set the colors in Design Space to coordinate with your materials. If you are using red cardstock and red adhesive foil, do not use the same red for each piece of the cut shapes, otherwise, the mat layout in Design Space will put all the red pieces on the same cutting mat.
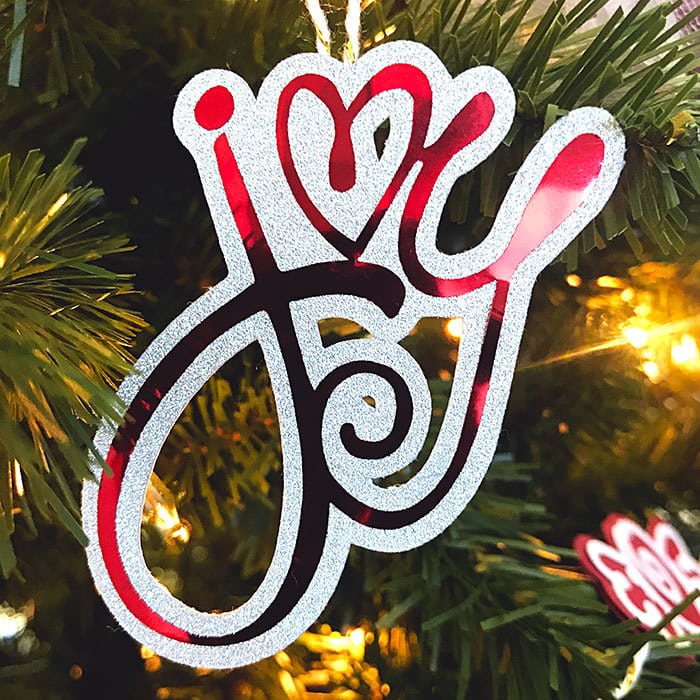
Joy word art ornament
Apply red adhesive foil word art to a glitter cardstock background. Apply a hanging loop as desired.
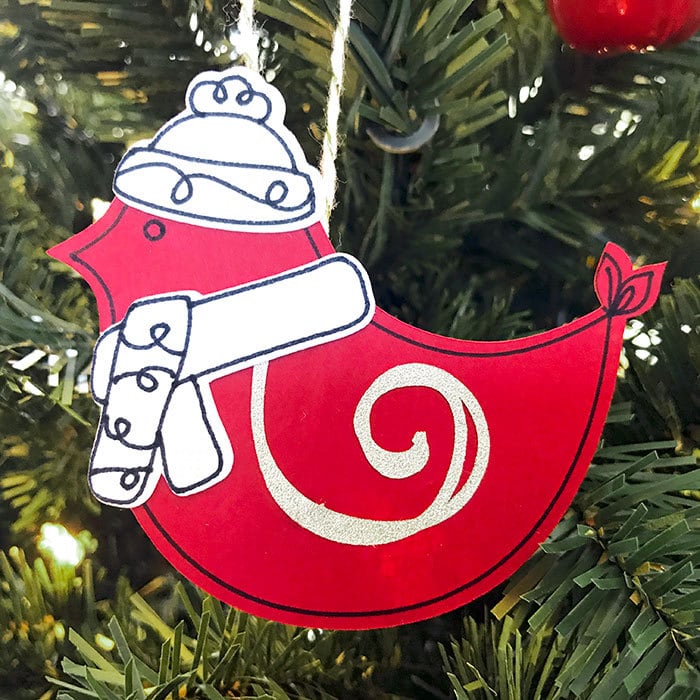
Christmas birds
Cut out the bird from red cardstock and then cut out the bird hat and scarf with white cardstock. Draw the accent lines with a black pen. Make a second bird by using white cardstock for the bird body and red for the hand and scarf. For a little extra detail, try drawing the art lines with different pen colors.
I've also turned this ornament design into a sewing project and cut with my Cricut Maker. If you don't have the Cricut maker, you can cut the bird shapes with the Air or Explore using cardstock and then use that cutout as a template to cut your felt.
Watch how to make this little bird ornament in this video below. Isn't it so cute?
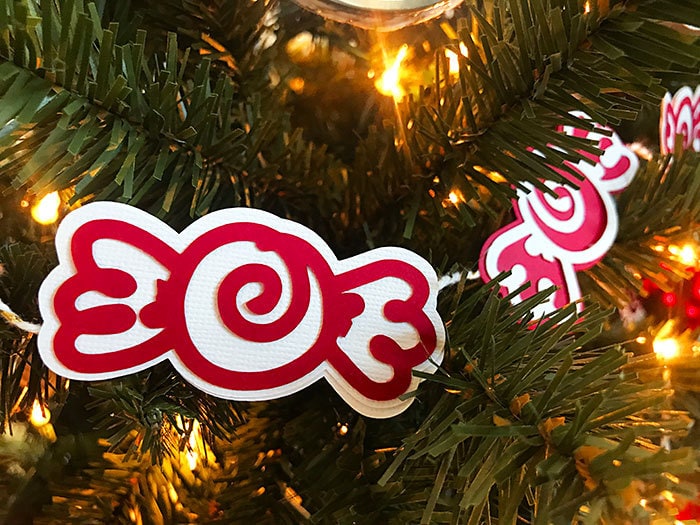
Candy Garland
Cut 2 background candy pieces and one detail piece for each “piece of candy”. Sandwich twine between the two background cutouts. To make the garland, alternate red candies with white detail and white candies with red detail. You can add a gold or silver draw line to these candies for extra bling OR try using glitter vinyl for the detail cut.
Christmas Decor Licensed art and Cricut Design Space
Let's talk about using licensed art to make your Christmas Cricut projects. If you have an Access account with Cricut Design Space, I assume you already know about all the fabulous designs you can create with. But did you know about all the fantastic designs by brands and artists you love? Oh yes! So many fun designs you can purchase for as little as $.99 an image and then use it over and over for all kinds of projects. you'll find fun art from Disney, Rob & Bob and Lia Griffith. And of course, you can find art I've created too!
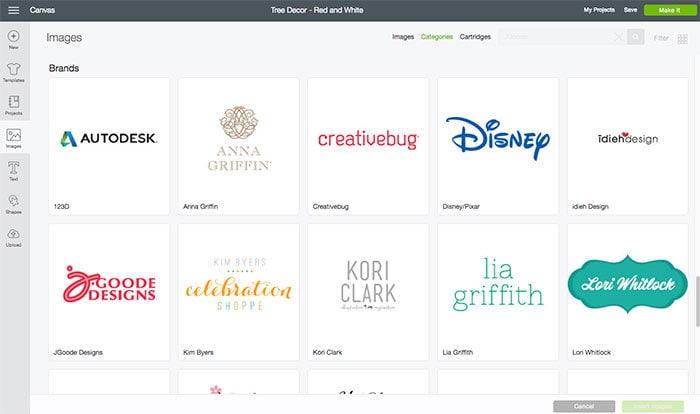
How to find Licensed art in Cricut Design Space
The quickest way to find all these designs by licensed brands is:
- Log into Cricut Design Space
- Click to add an image to your canvas
- Click on Categories
- Scroll down until you see “Brands” near the bottom of the list
All the brands are listed and then you simply click the brand you want to see and then you can browse all that brand's images.
You can also find licensed art by searching cartridges. Click the cartridges link then enter the brand name you want view. For my art you just enter “jgoode” and all my cartridges will be listed.
The projects I've shared today are a handful of Christmas ornaments I made using my own Cricut licensed designs – of course, right? These pieces are from my newest digital cartridge set: Celebrate the season. You can purchase designs individually for .99 cents or buy the whole set for $9.99 – YAY for special pricing!
Many of the licensed designs can be customized by changing colors or layers to create your own unique looks. Use different materials, add text and get creative. There are endless ideas of things you can create with just a few licensed designs.
For more Ready to Go Project ideas:
Visit my project profile in Cricut Design Space