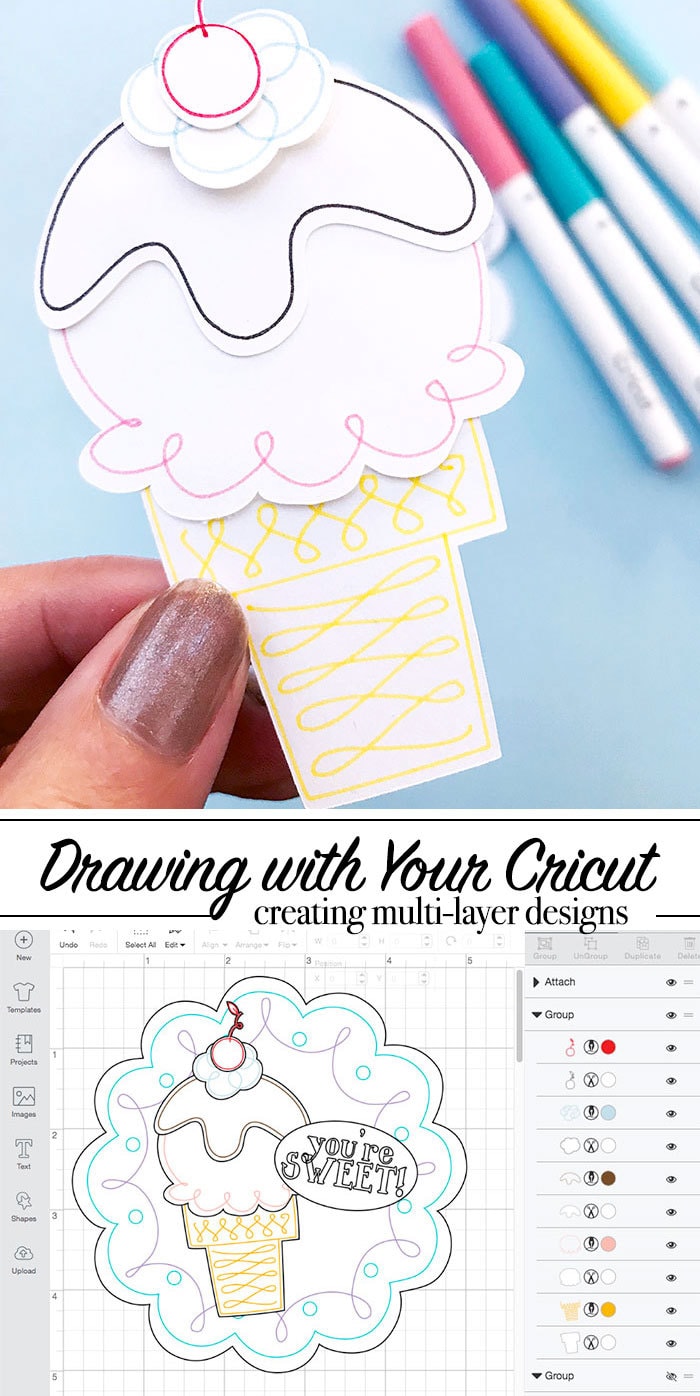
Today I'll show you how to draw layered designed with your Cricut. Sometimes it's nice to add drawing or writing accents to a project you're creating, but you might not want the drawing directly on top of the other art you've created. Today we'll cover how to create these multi-layered projects. This is lesson 8 of my How to Draw and Write with your Cricut series.
How to Draw Layered Designs with Cricut
When you'd like to create hand-drawn art with your Cricut and the designs don't work well drawn together, creating paper layers comes in handy. Some art designs allow for multiple layers and some do not, so you'll have to take a close look at the designs you choose to make with layers. I find that Print-then-cut designs that allow for editing un-flattened work well with these layer options. However, you also need to think about the drawing line.
Today we will talk about:
- What you need to create layered designs
- Creating cut layers
- Editing Draw Layers
- Attaching drawn art to each layer
You'll need a Cricut machine and Cricut Design Space to create this project.
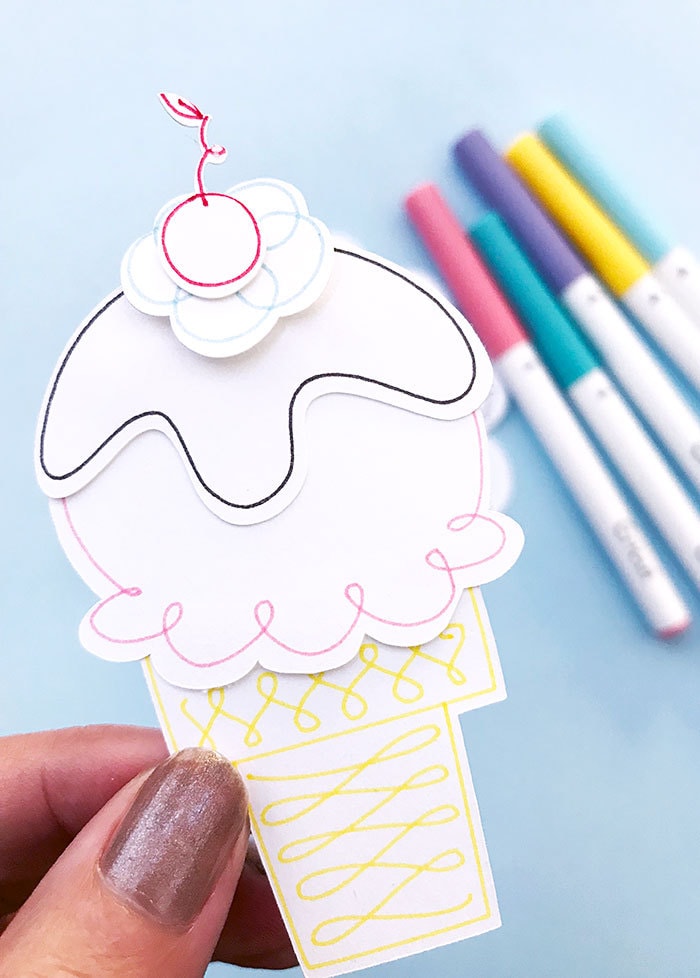
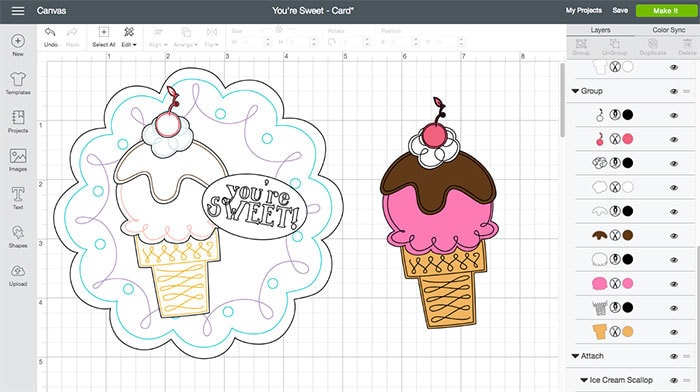
Today we're going to make this cute ice cream card:
What you need to create layered designs
Layered draw designs require both a cut and a draw/write line to work. You'll need to look for art that allows you to either cut around the drawing or art that can be edited to cut around the drawing line. I have a tutorial that talks about how create outline shapes and designs here.
Creating cut layers
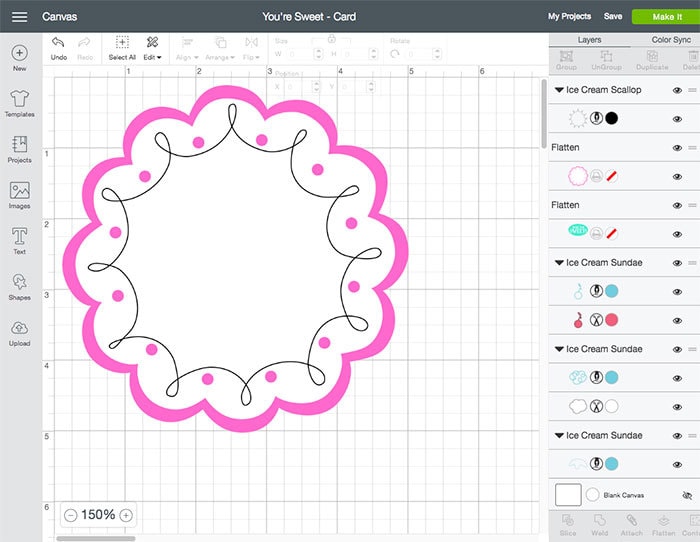
Many of the art files I design include separate layers for the design to allow for cutting and drawing (as well as print-then-cut). Not all art is designed this way. So sometimes you'll need to create your own cut layers to create layered draw art. Here's an example of what you need to look for. This ice cream cone art I designed has individual layers for each part of the ice cream cone. You can edit each layer separately as needed.
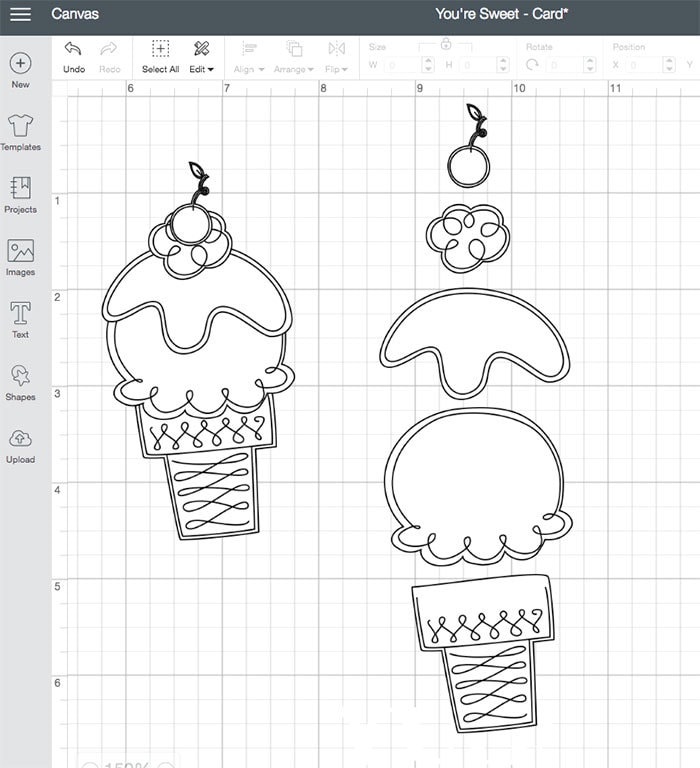
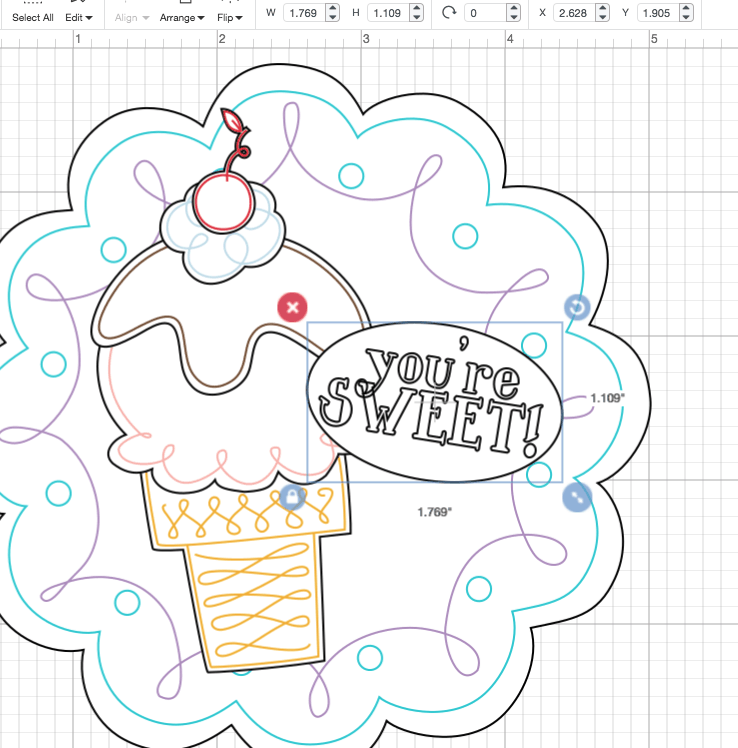
If the art you want to use does not have these individual layers, you need to either create the individual layers or choose different art. I like to add text to my projects and many times the text isn't something I can cut around easily if I draw it, so instead I make a little shape to put the text in.
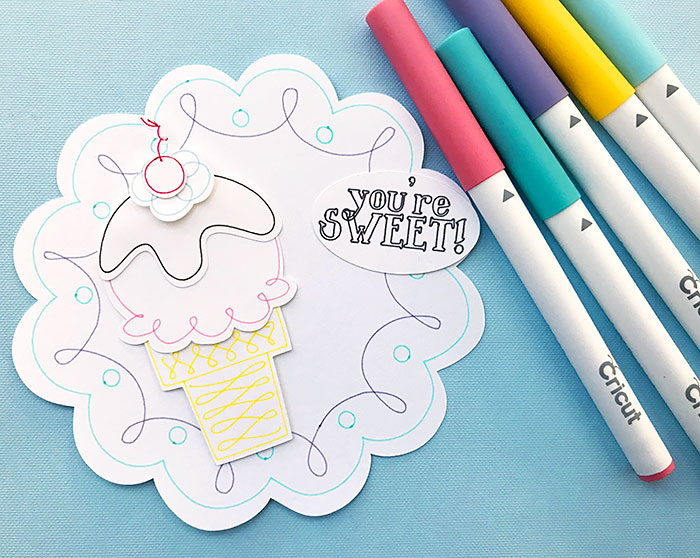
Here's an example. I added “you're sweet” on an oval to be added on top of all the other art.
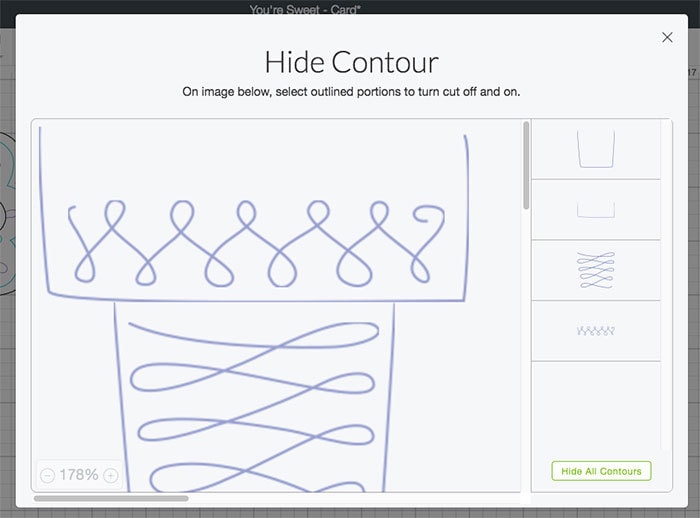
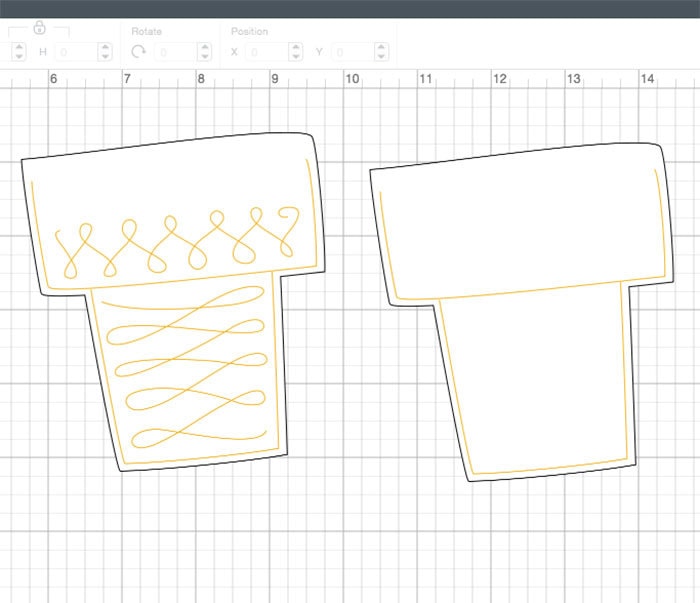
Editing Draw Layers
Sometimes you might want to draw a design but don't want to include all the details Or maybe you want to change out colors for different parts of the draw design. use contour for this. Many drawing designs allow for editing with the Contour tool. Simply select the drawing layer you want to edit, click Contour and then hide the pieces you don't want to draw. I use this tool to change the colors of lines in a drawing too.
Attaching drawn art to each layer
Draw and writing lines always need to be attached to a cut shape – or they will just draw on the paper and not be cut out. Sometimes you already have a card and you just want to write on it, in that case, you don't need to attach anything. Any other time, make sure to always attach your draw lines to the shape you want them drawn on.
I started this project with a cute little background circle, there's a swirly draw line attached to the top white cut layer. For this project I flattened all the cut layers as printed art and then attached the draw line to the flattened print.
In some cases, all your layers can be flattened and then you can draw on the flattened art too. Play around with the options and see which works best for the project you are creating. Here's an example of the same art being used as colored and uncolored…
Add drawing accents to different colors of paper or use just plain white paper and let the drawing be the star. Play with the tools and see how many fun Cricut projects you can make with drawing layers. I'd love to see what you come up with!
Create this project – you can make this same Ice Cream card project in Cricut Design Space to practice your drawing and writing skills.
Learn more about drawing and writing with your Cricut with my How to Draw with your Cricut series.