One of the most frequent questions I hear about using the Cricut is How To Use the Pen to Write Fonts with Cricut Explore. It might seem complicated or overwhelming, but using your Cricut machine and pen to write or draw is much easier than you might think.
These tips also work well with all of the current Cricut electronic cutting machines: Cricut Explore Series (Air and Air 2), Cricut Maker and Cricut Joy machines.
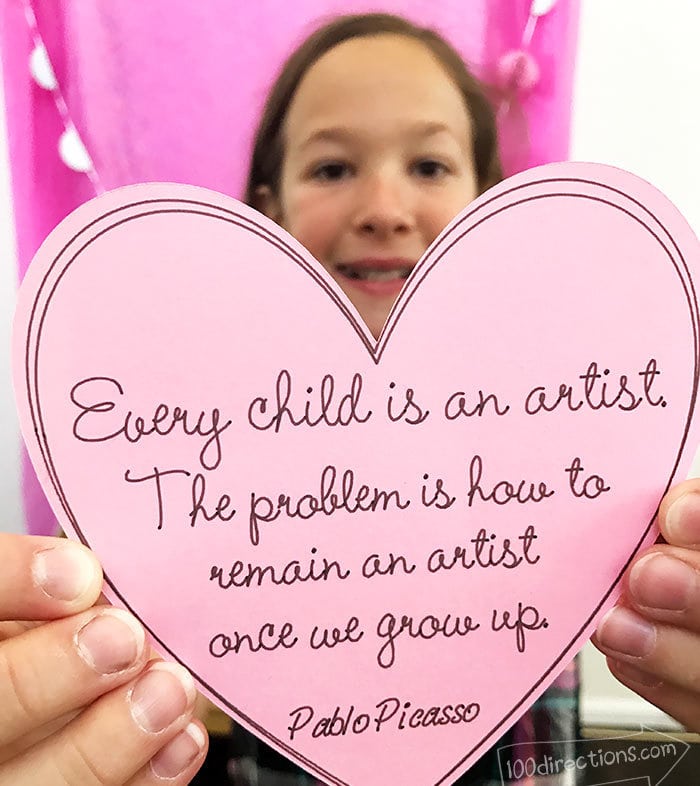
You can choose the style and color of the pen used to write. Imagine how many ways you can customize a card or a special written message on your paper crafts! This is the 2nd article in a 12 part series. Today I'm sharing tips specifically focused on writing with single line (aka drawing) fonts.
How To Use the Pen to Write Fonts with Cricut Explore
We've already talked about using the pen with your Cricut to draw and write. There are a ton of options you have to create your own custom designs and word art, so today we're going to specifically talk about using fonts.
Adding your own text to your Cricut projects is what makes this feature so fantastic. The pen gives any writing or drawing a hand-drawn look. From personalized art to hand-addressed address labels, there are so many creative projects you can create with your Cricut machine and the pen.
If you're new here, check out the first article in the series: Get Started guide: Drawing and Writing with Cricut – Get Started Guide
For this tutorial you need the following materials:
- Cricut Explore – any version will work
- Cricut Design Space – this tutorial is specifically using DS version 3
- Cricut pens – your choice
- Paper – use practice paper to test out the techniques
Today we're going to talk about:
- Outline vs Writing Fonts
- Choosing fonts
- Font Settings
- Using Your Own Fonts
- Adding Fonts to Your Projects
- Creating Multi-font Word Art
- Picking Pens
- Adjusting Font Layouts Beyond the Standard Settings
Just getting started with your Cricut? Start with the intro guide to drawing and writing with your Cricut, here.
Let's get started and create font designs with your Cricut and pen
Outline vs Writing Fonts
Before we pick a font, let's talk about the different types of fonts you can use and how they write.
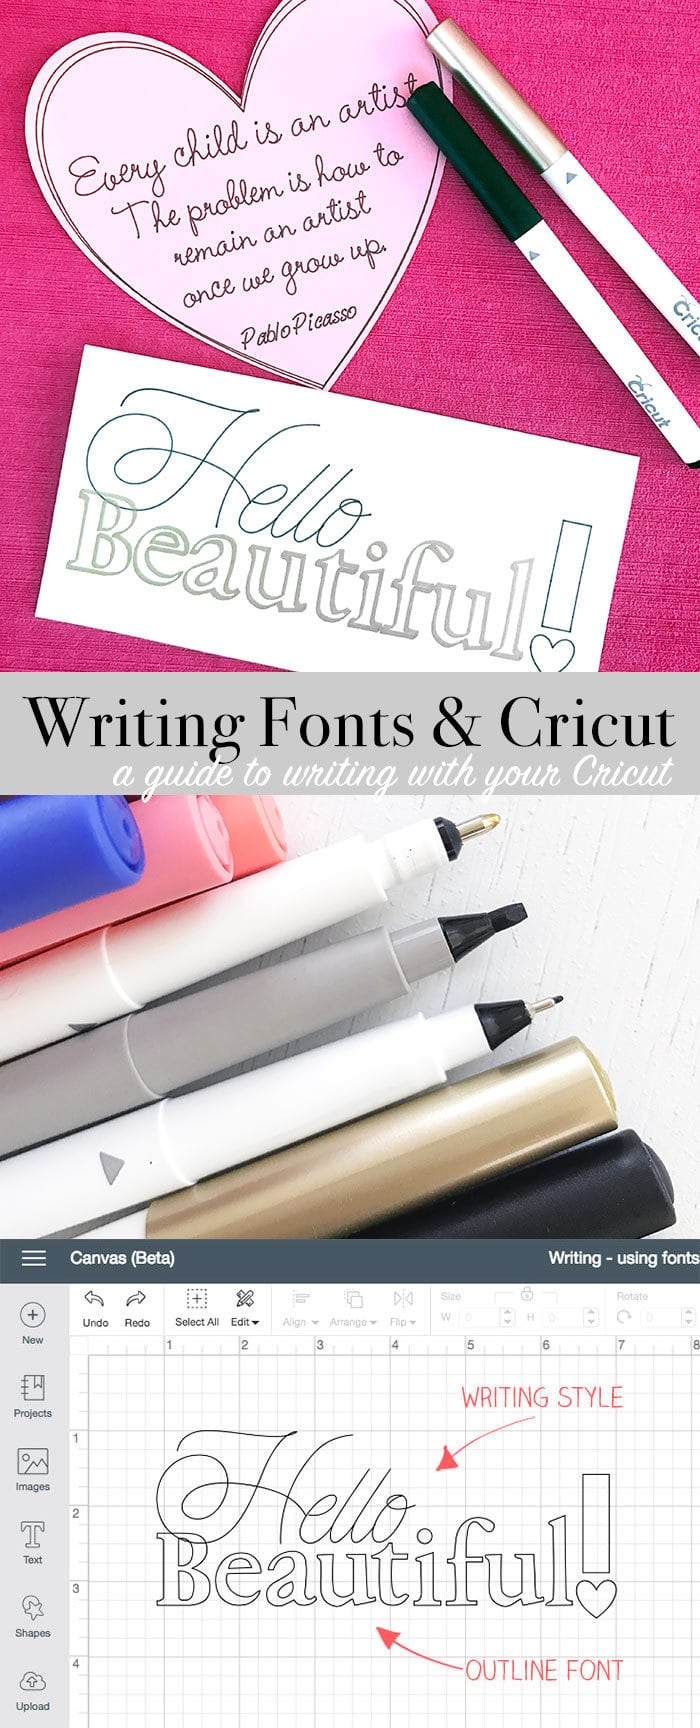
The pen will “write” any kind of line you dictate in Cricut Design Space. This means if you have a shape it will draw the shape outline, if you have a single line design, your Cricut will follow and draw that too. This goes for fonts as well. Some fonts are designed to be cut out shapes, these are standard outline fonts. The “writing style” fonts are meant only to be written. The pen will draw a single stroke design to create each letter so you end up with more of a hand written pen and ink look. You won't be able to cut a writing style font. However, an outline font can be “drawn” or cut (or printed and even scored if you'd like).
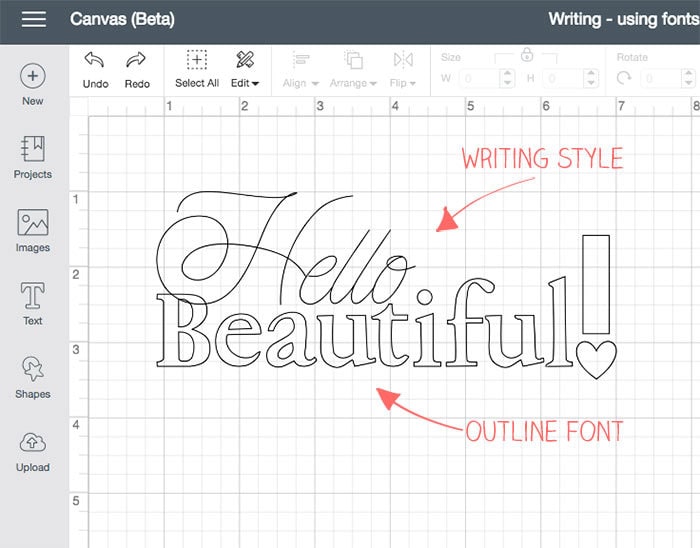
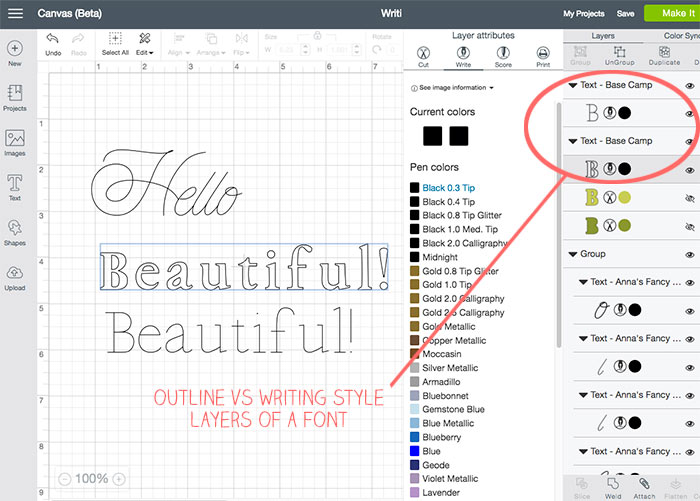
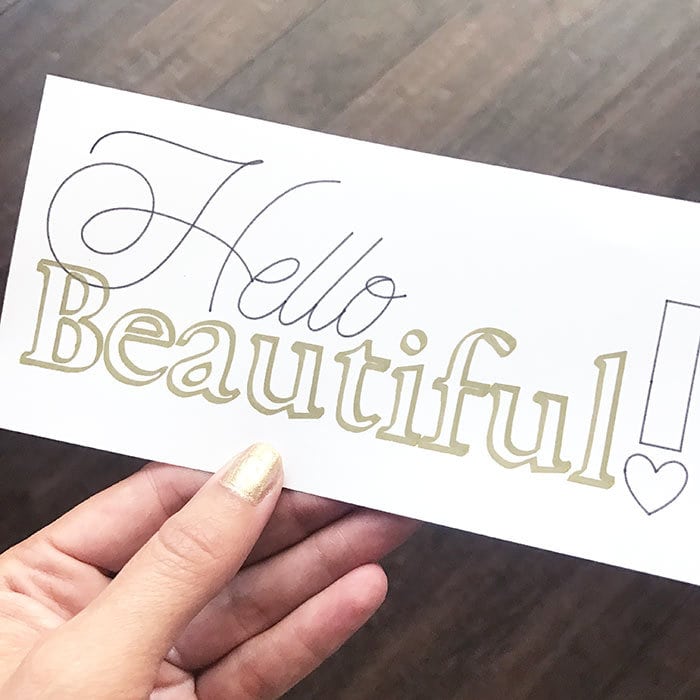
Understanding the difference between an outline and a writing style will help determine the look of the pen art you create. One of my favorite uses of these different letter styles is combining writing and cutting. You can get pretty fancy. Try using a metallic pen to draw and then cut the same line… you'll end up with letters that have a pretty metallic edge on them! Play around, experiment with font styles and see what fun design combinations you can create.
Choosing fonts
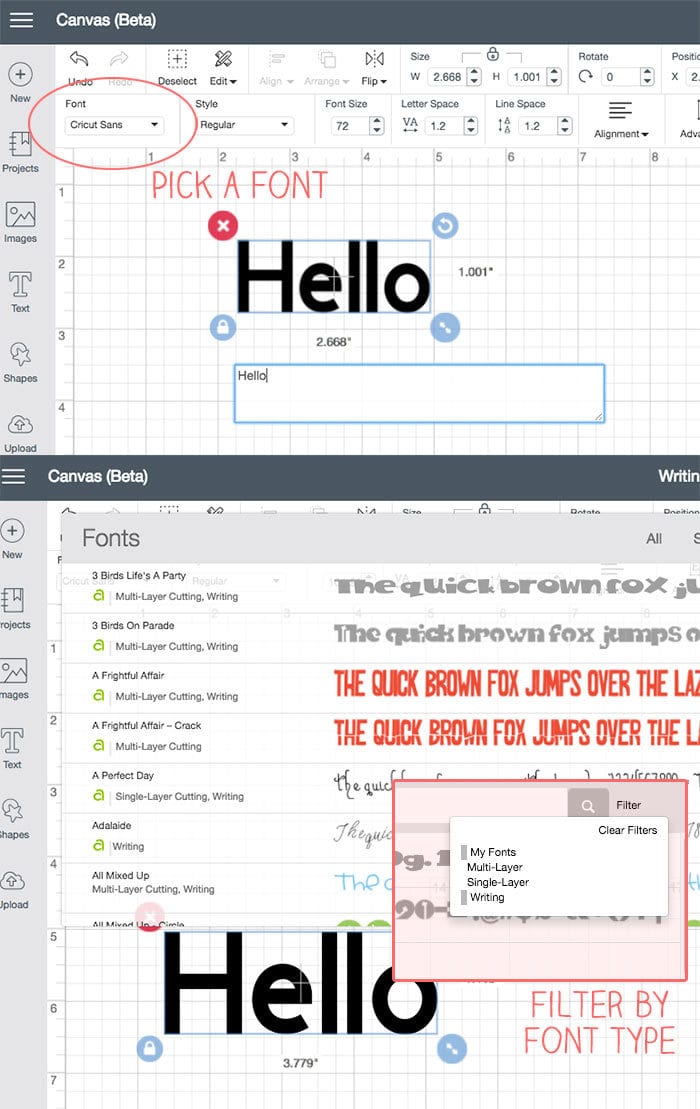
To choose a font in Design Space, you need to use the Text tool. Write the text you want to display. Select the text box and then select your font choice from the menu above. Then change that text layer to writing in the Layer Attributes panel. This will show you exactly how that font will write with the pen. You can change the pen color to visualize the look. Don't forget, if you want the Cricut to pause to allow you to change your pen colors, you need to assign colors to the different components in your art.
Font Settings
Each font has it's own set of style options you can choose from. Choose from a variety of styles like italic, bold and regular. Once you pick the style, or look of the font, then you can adjust how the text fits together. Before you break all the letters apart to move things around, try adjusting the letter spacing and the line spacing.
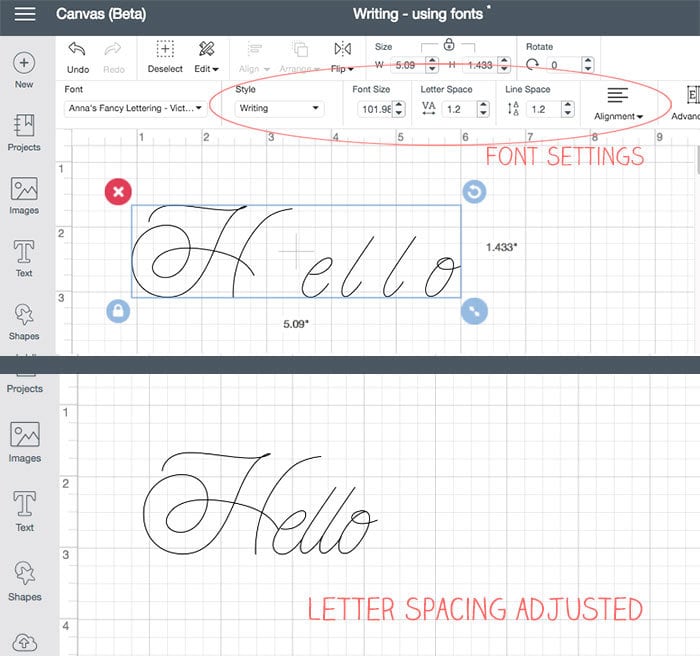
You can also adjust the font size as well as the alignment. Play around with the different options to familiarize yourself with what each setting does.
Using Your Own Fonts
You can use your own computer fonts within Cricut Design Space too. These are listed as “system fonts” in your font choices. Be aware, some fonts do not work well with the Cricut, so test out how your own fonts will work with Design Space and your Cricut machine before you set up your final project. Most system fonts will not include a “writing font”. Although you may have fonts that appear to be thin, single-lined writing style fonts… most standard fonts will draw as a double line because fonts are original designed to print as a shape, not draw as a line.
Adding Fonts to Your Projects
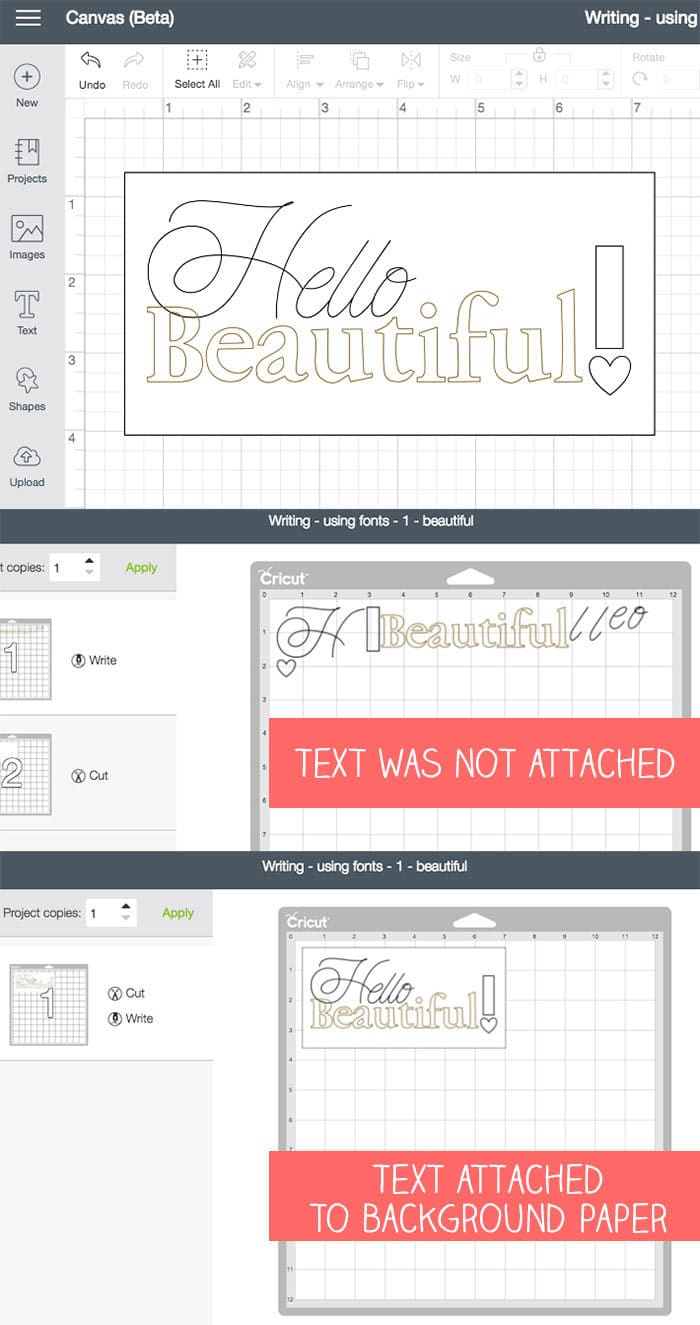
Anywhere you'd like your font to write, you need to make sure to attach the font to that paper layer in Design Space. Fonts or any kind of drawing will not attach to multiple layers (unless you convert the layers to print and then flatten them into a single piece). You can get tricky and manually place your paper layers on your mat to match up where the Cricut expects to writing or draw a design. This is a little more advanced, so if you haven't tried writing yet, try out a few fonts on a single paper before tackling the layers.
Creating Multi-font Text Word Art
If you have a word set or phrase that you would like to create in different fonts, go ahead and set each word as it's own font and then adjust the placement to lay out the text however you'd like. Make sure to attach all the words together once you have the words placed however you'd like them. This will ensure the words stay in place how you've set them. We'll dive into more ideas with this later, but in the meantime, play with the tools and see what you come up with!
Picking Pens
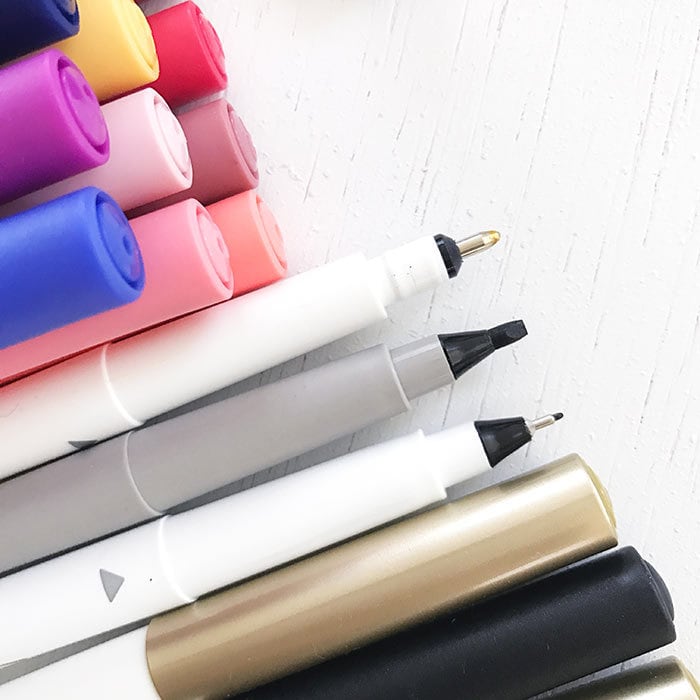
To get different writing looks, you can choose different pens. There are a variety of pen tip (or nib) sizes and styles available through Cricut.com. All fonts will use the Cricut drawing and writing function the same… it's the pen you choose that changes the look. So test it out! Try the calligraphy style pen with a script writing style and see how the writing looks a little more authentic. Or try the fine point on a bold font outline. You can also mix and match pens together… try using a thick pen tip with a think pen tip and see the different accent art you can make.
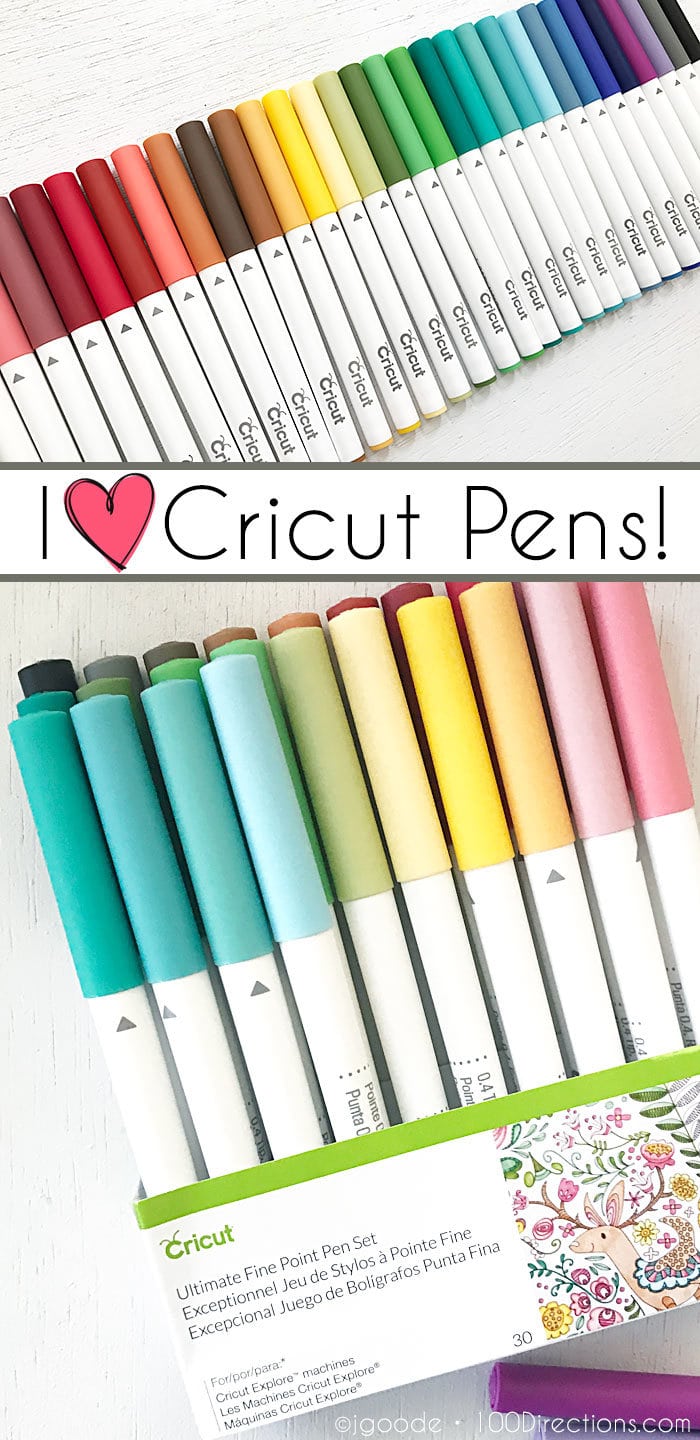
If you haven't seen this pen set yet, check it out… a rainbow of pretty pens that work perfectly with your Cricut machine!
Projects you can make
I have two Design Space canvases you can use to practice your writing skills with your Cricut Machine.
- Hello Beautiful – combining two different fonts into one design
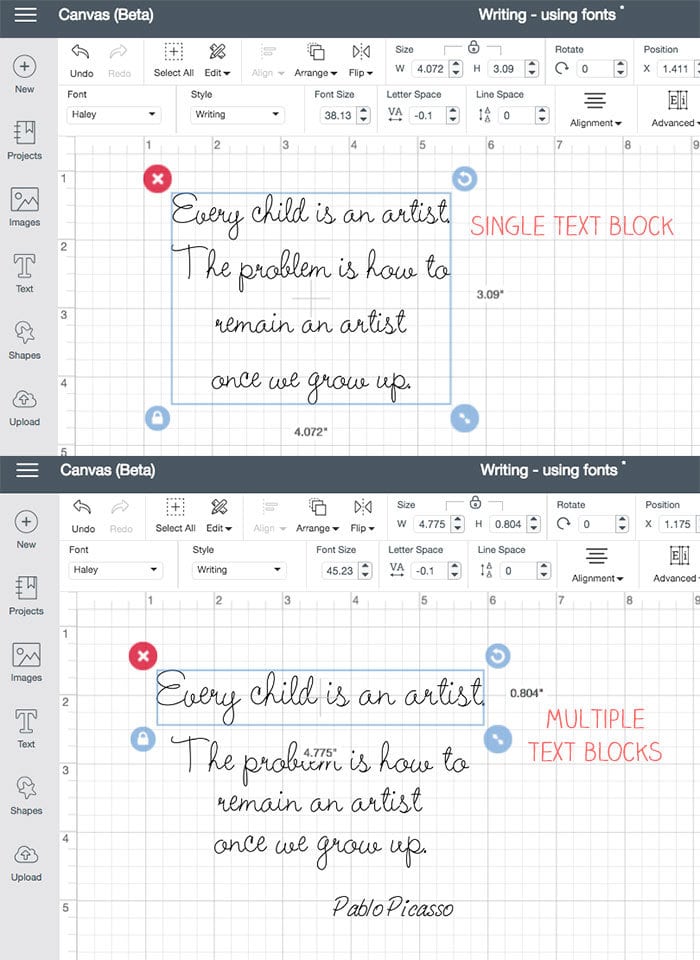
- Every Child is an Artist – manual line spacing, separate text blocks and shape drawing
I hope you have fun writing with your Cricut. Try different fonts, different pens and combinations of writing styles with outline fonts. You can add so much customization to your projects with just a pen. I'd love to see what you come up with!
If you need a refresher, check out the Writing and Drawing with your Cricut Explore get started guide.
So, what do you think, are you ready to tackle using the Cricut pen to write and draw some word art?
You can use the canvas set up that I created for this tutorial. Just click here to access the canvas within Design Space.



THANK YOU!!! Doing the filter by “Writing” was super helpful.
Thank YOU!
Hi, Thank you for the helpful tips! I’m a new Cricut owner, and I’m having a heck of a time trying to find info on how to have cricut write a sentiment on the inside of a store-bought blank card. Is that even possible? Any ideas or info? Thank you VERY much!
Hi Shawn, so sorry for the slow reply. Absolutely, you can write on the inside of a store bought card. Just set up your canvas (on screen work space) to stay confined in the same size as the space of the card. Then you need to make sure that the writing you’d like is placed on the screen mat, in the same location that you place your card on the real/tangible mat. I hope that makes sense. let me know how that works out for you!
I want to make word art similar to your heart design but have the shape (heart) filled (border to border top bottom sides) with words. Am I able to do this with cricut’s design space following these instructions? Thanks!
Hi, I created the heart shape entirely in Design Space… so yes, I think you could fill the heart entirely from top to bottom. You will need to manually move text around to where you want it. Moving the txt around, it sometimes easier, for certain designs, to write each word individually and move them around separately. Play with it and let me know how it goes!
Is it possible to have the Cricut fill in the outline?
No, the Cricut will not fill in the outlined space with the pen. However, sometimes you can turn the outlined writing into a print-then-cut design and just print the text (and cut it out if you’d like). Let me know how this works for you!
Thank you! I have been searching for days to find this out! I have thick lines in my image and was hoping it could fill those in. I might just try cutting out a stamp with it then 🙂
You can always try using one of the thicker tip pens too. Stop back by and tell me how your project turns out or say hello on Facebook.