Everything is more fun with pretty painted Rainbow fingernails Nail Art. Sometimes we get creative to celebrate something fun. Every day is a reason to celebrate something, right? We do a lot of creative celebrating, but in this case our rainbow fingernails were for a extra special occasion. When my daughter turned 7 we celebrated her birthday with a rainbow theme. I even painted her nails in rainbows. So today I wanted to share… Mini rainbow art you can take with you where ever you go!
This is also a fun way to paint your nails for St. Patrick's day!

Rainbow Fingernails Nail Art
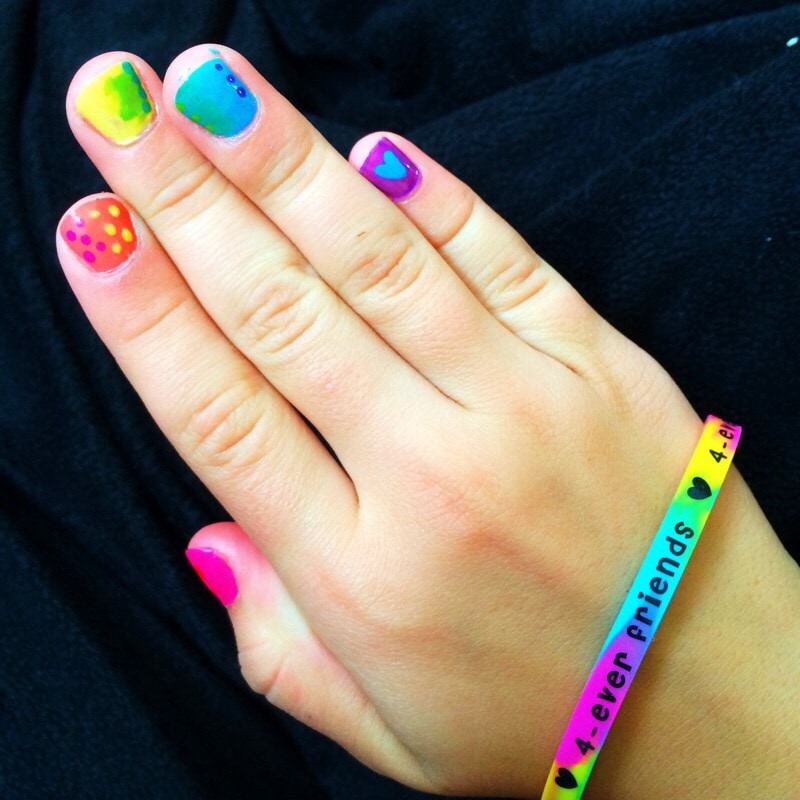
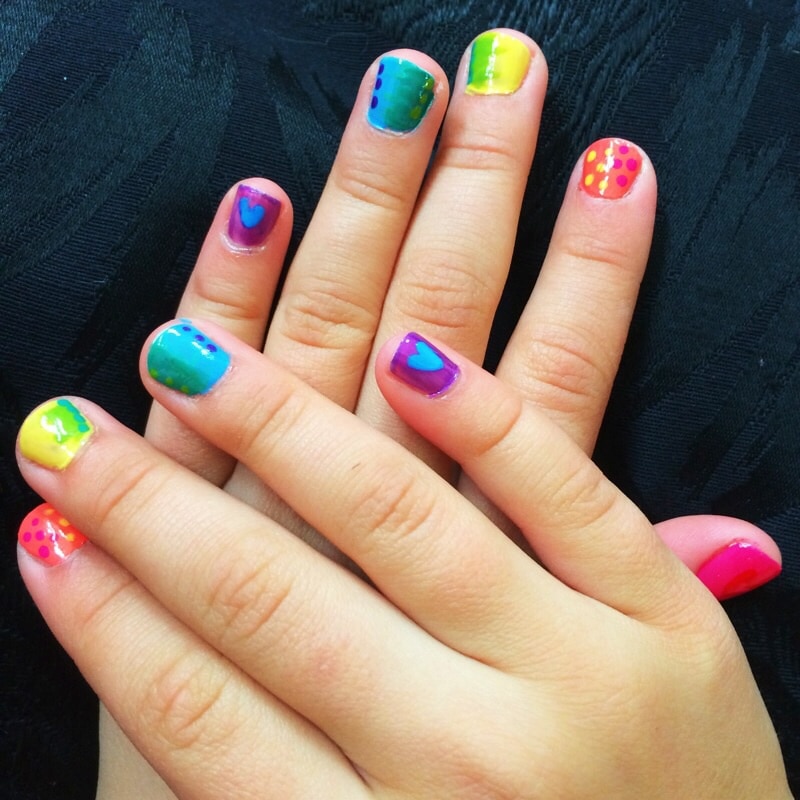
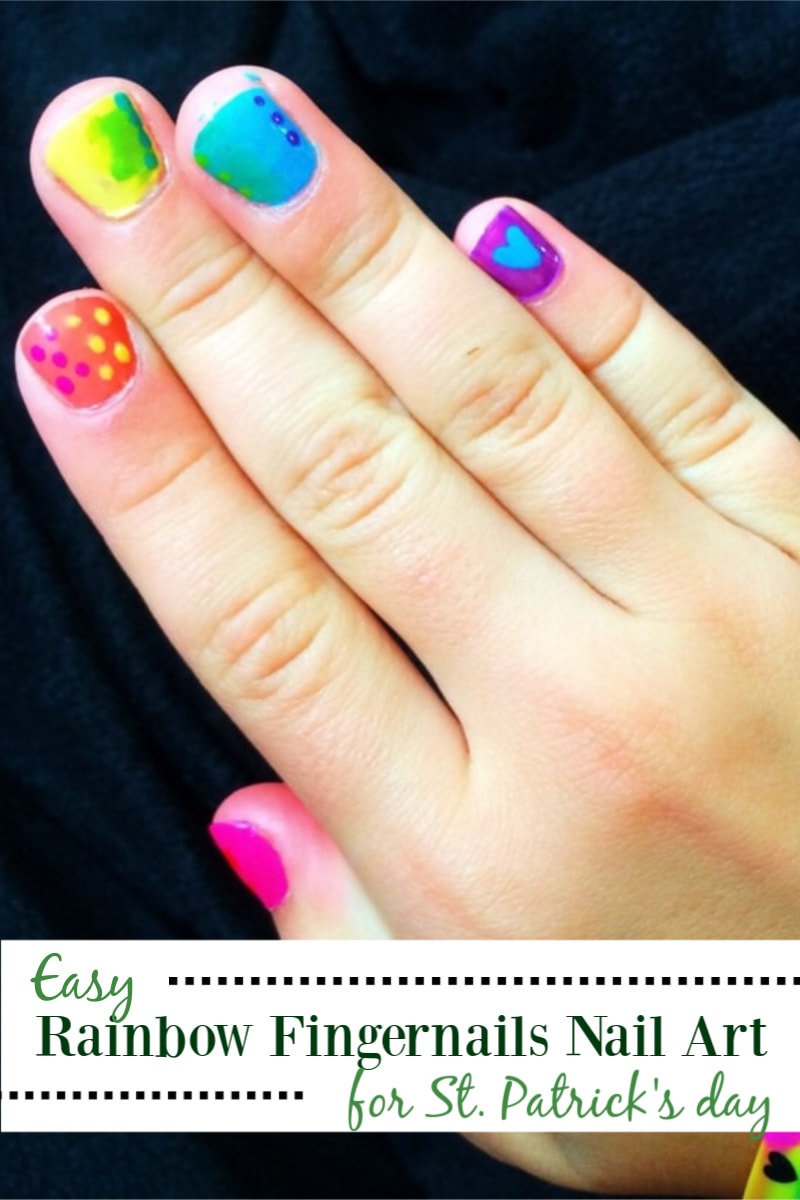
We used several colors on each fingernail. To make the process go quickly and easily as possible, I painted each nail completely with one color. Then I went over each nail with additional colors. To add details I used a little nail dot tool, but a toothpick would work well too. Dots and stripes are the easiest fingernail paint accents in my opinion.
I meant to take a picture of the nail polishes so you could see how any different colors we used. I layered stripes of colors to create various color blends… That was fun to play with! I also used some tiny brushes and nail art tools that I bought in a whole kit at the Dollar Tree… 2 brushes and a double tipped dot tool for $1, bonus!!

To create the ombre style look some of the nails have, I started with one color covering the entire nail. Then add similar colors, painting sideways on the nail. See the ring finger that is mostly blue polish? I started with a base of light blue. Then added a teal/aqua color, painting sideways and covering only half the nail. Then I added green dots on top of the teal and dark blue dots on top of the blue on the opposite side.
My favorite polish for this rainbow fingernail nail art, especially with wiggly kids, is a Sally Hansen brand polish that is quick dry. It's called Insta-dry and comes in a good selection of fabulous colors. Plus, this polish makes it so much easier to create nail art really fast without waiting too long between colors.


