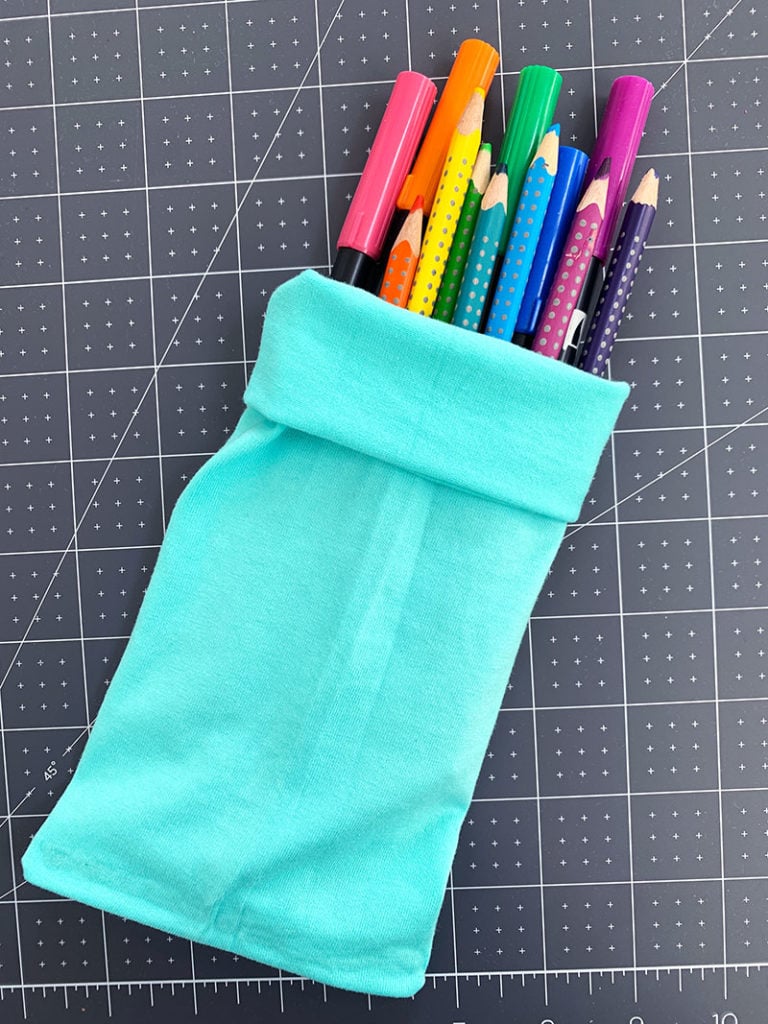
Make your own pencil or pen pouch to take your drawing supplies with you anywhere you go. This easy no-sew project takes no time at all. Recycle an old t-shirt into a fun little carrying bag for your markers, pens and pencils, you can even personalize it with your Cricut if you'd like too!
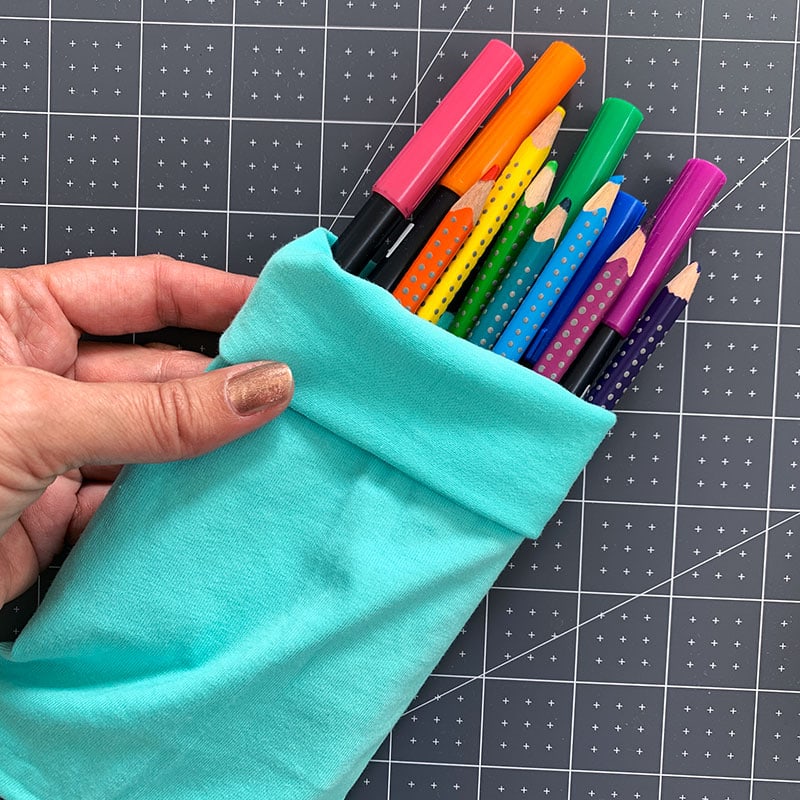
This is day 4 of my CRAFTWEEK projects. Today's theme is fiber/fabric and our sponsor is Fairfield World.
It's CRAFTWEEK!
March is National Craft Month. So I've partnered with some of my favorite creative bloggers to share some crafty ideas with you all week long!
With all the travel I've been doing, I thought it would be fun to showcase some travel inspired projects.

This quick craft is just one of the fun DIY ideas I'm sharing for CRAFTWEEK. All week I'll be featuring some fun and easy crafts you can create yourself. Plus you'll find more craft ideas from other bloggers below PLUS each day this week we will be sharing a link to a giveaway.

Make Your Own No-sew Pencil Pouch
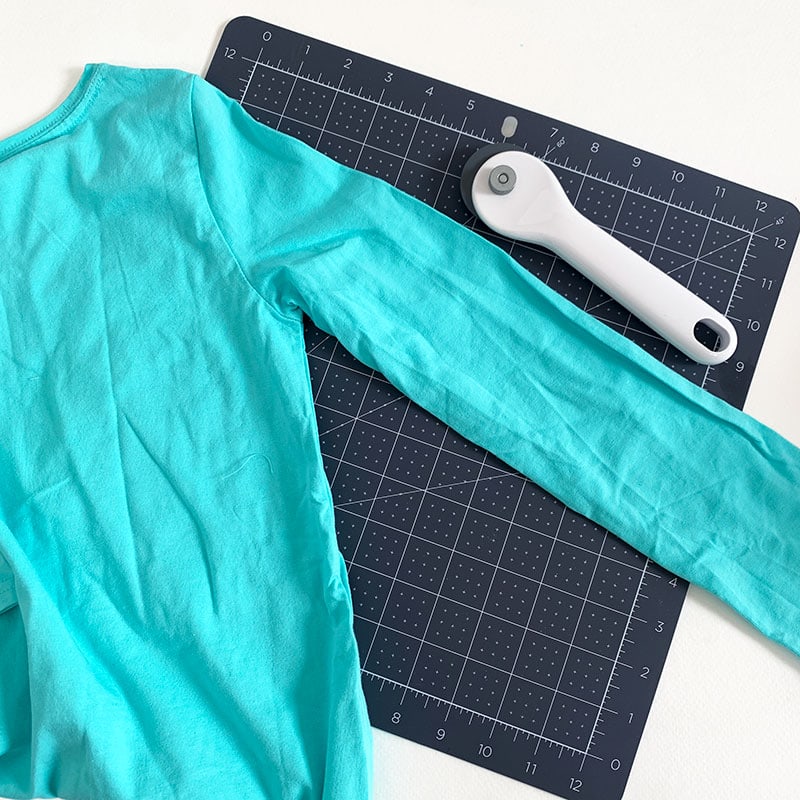
I used an old long-sleeved t-shirt for this project. I used the sleeve of the shirt so 2 sides of my pencil pouch were already connected AND the top of my pouch was already sewn with a nice hem.
You could make this project completely from scratch with just a rectangle of fabric that you fold. You'll just need to glue the sides together first. So for these instructions I'll share how I made this pouch using a t-shirt sleeve.
Also, if you like to sew, you could easily make this project with stitching instead.
Materials
- Jersey fabric – I used an old long-sleeve t-shirt
- Hot glue gun and glue
- Scissors
Tip: if you don't want to use hot glue and you're patient enough to wait for glue to dry, use fabric glue!
Instructions
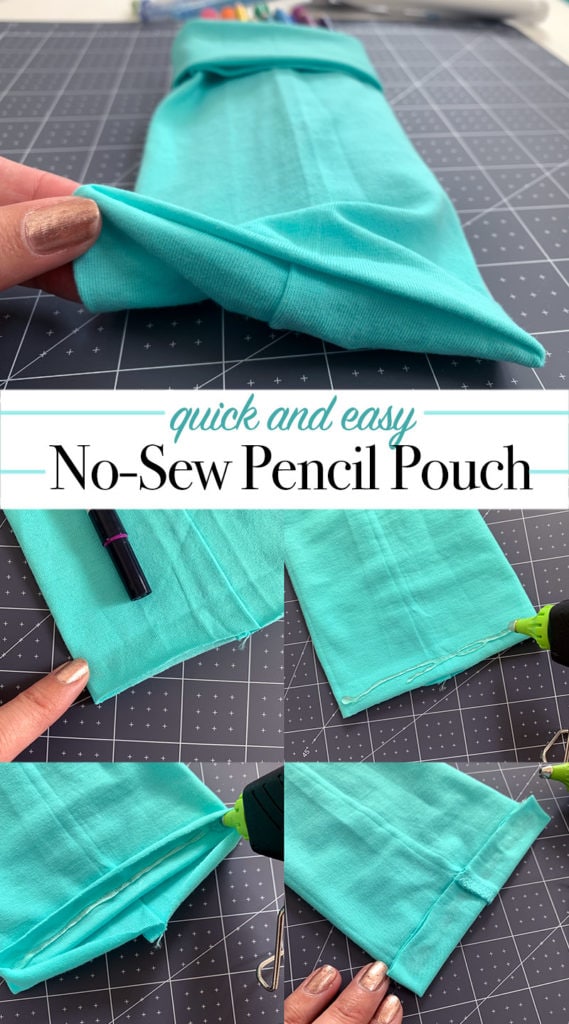
- Cut the sleeve from a long-sleeve t-shirt. I used a child-sized shirt, so keep sizing in mind for what you'd like to create.
- Iron the sleeve to remove wrinkles. My sleeve only hand a single seam, so I put the seam in the middle back and then ironed.
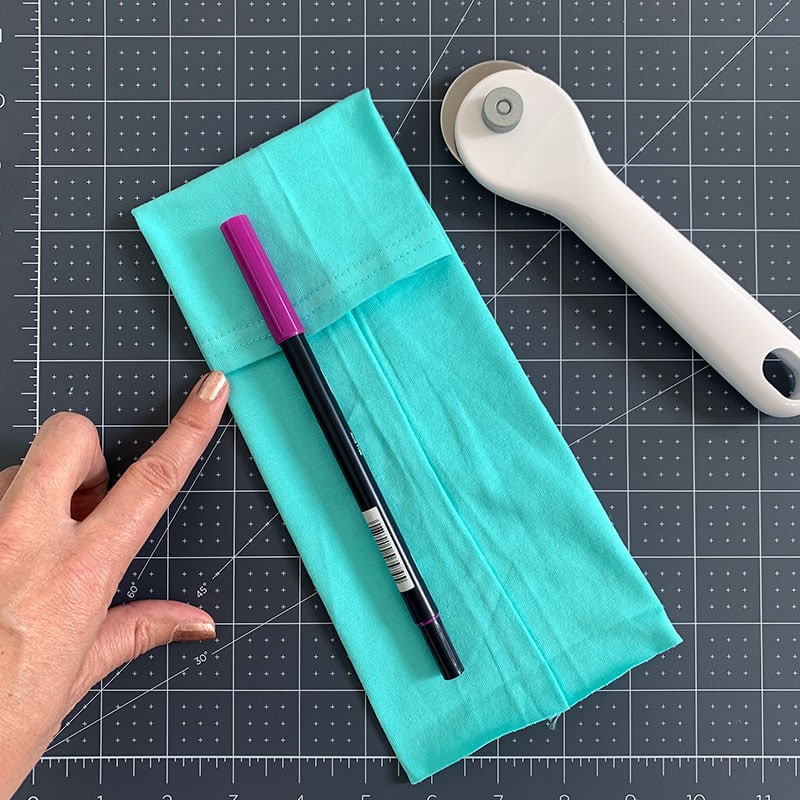
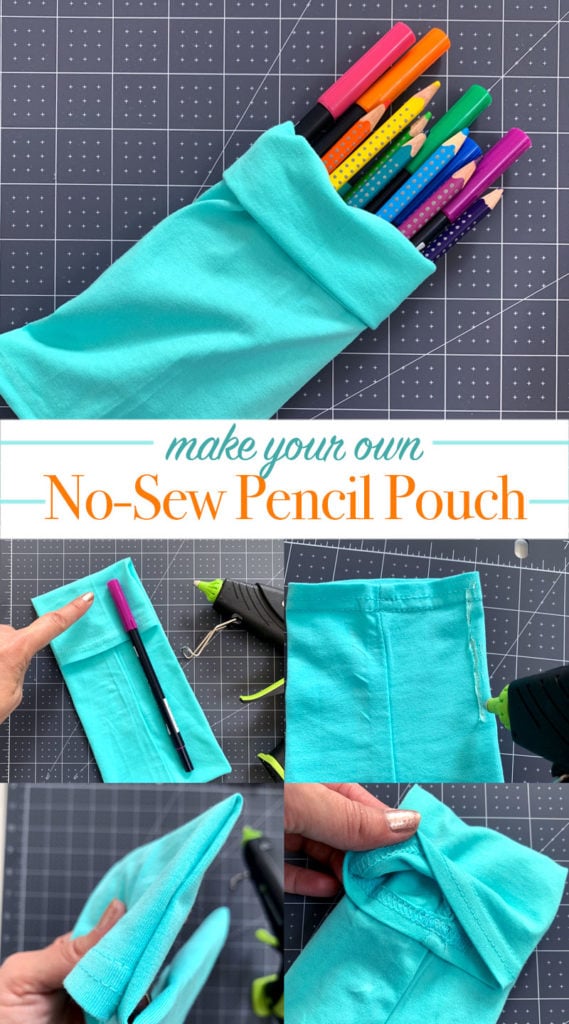
- Measure the length and cut to the size you'd like. To measure, fold the wrist hem down toward the middle, creating about a 2″ fold. Then place your longest pen on the fabric and leave about an 1″ below the pen and 1/2-1″ above the pen. Cut to length.
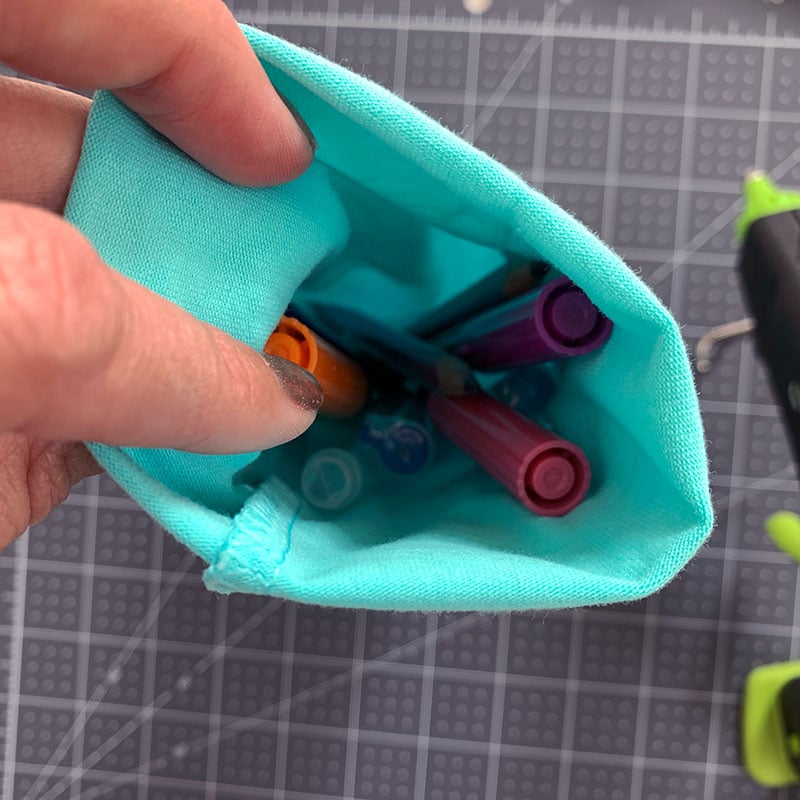
- Turn inside-out. Fold the cut end up about 1/2″. Using hot glue, glue the folded end in place. Make sure to apply glue to both layers of fabric. This should create a double sealed bottom for your bag.
- Turn right-side-out and fold top of bag down again.
- Glue this flap in place buy gluing the inner side of the flap to the outside of the bag. You should end up with an opening inside the bag while half of the flap is attached to the bag. This becomes your bag closure.
- To open the bag, you simple turn the flap inside-out, over the opening of the pouch.
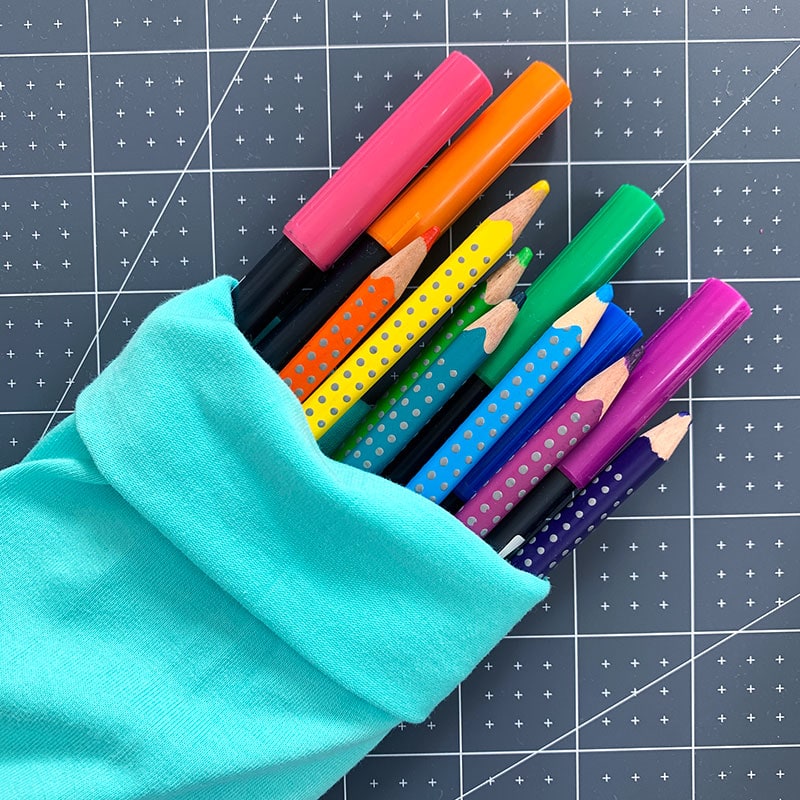
You can embellish this pouch however you'd like. Leave as-is or add custom art and designs to decorate the fabric. You can also add a little carrying handle if you'd like. Have fun with it!
