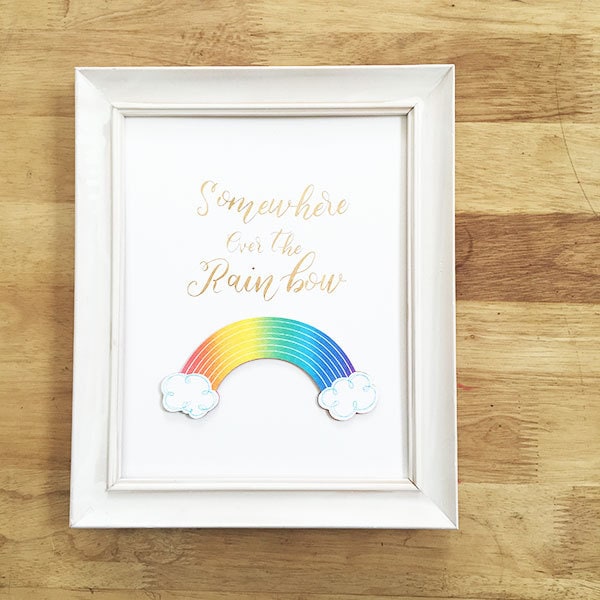
Do you love rainbows? Make your own cute rainbow wall art with this easy-to-create Cricut project in just a few steps. You can customize the materials and colors however you'd like to design a decor piece that is uniquely yours.
Cute Rainbow Wall Art DIY with your Cricut
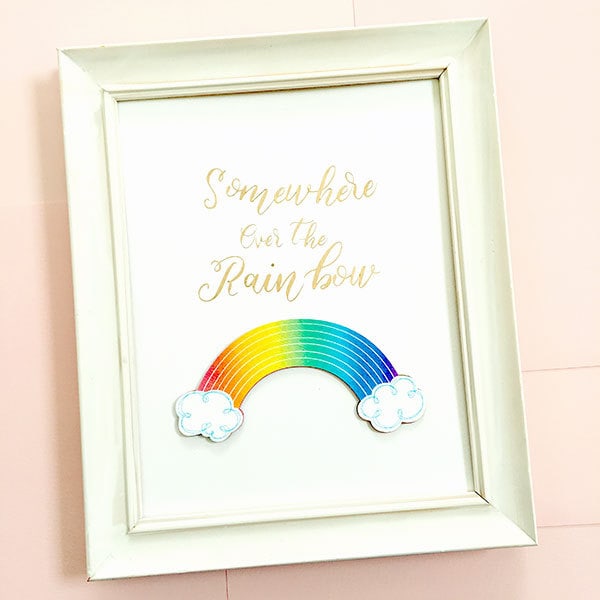
I'm a girl that loves rainbows and glitter still, I don't think I'll ever outgrow the magic of a colorful rainbow. So, I designed a darling rainbow image for Cricut and then created this pretty rainbow wall art project.
Below, I'll show you how to make it too. Make this with your favorite adhesive foil and cardstock in rainbow colors or you can get all girly and add even more glitter or even use glitter cardstock if you'd like. I prefer the extra bling, but you can design yours with as much or little glitter as you'd like.
Make Your Own Cute Rainbow Wall Art
Make a pretty rainbow wall art piece, perfect for a little girl’s room. This art features the saying “somewhere over the rainbow” in beautiful gold foil lettering. The rainbow art is a full-color image you can print, cut, and assemble to create your own finished art design in under an hour!
Materials
- Cricut Machine
- Cricut Design Space™ software
- Rainbow Art Design by Jen Goode
- 12″ x 12″ Standard Grip Cricut® mat
- Cardstock in white and rainbow colors
- Gold Adhesive Foil
- Glue stick
- Transfer tape
Instructions
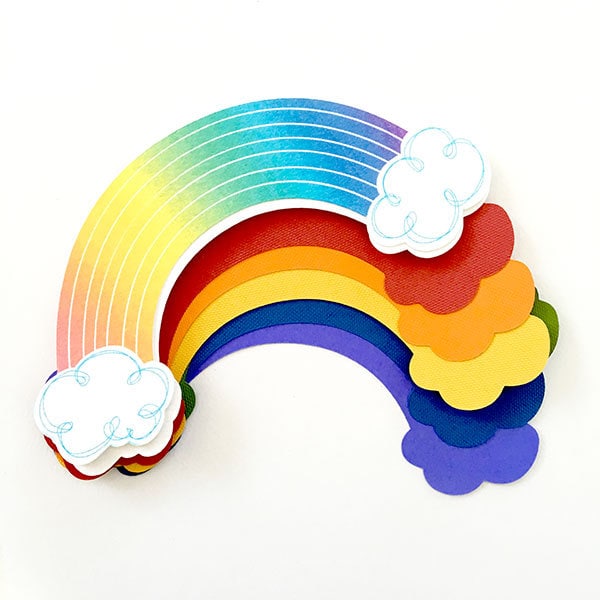
- Cut out multiple rainbow shapes using the rainbow colors of cardstock. These pieces will be used to layer together in the final piece.
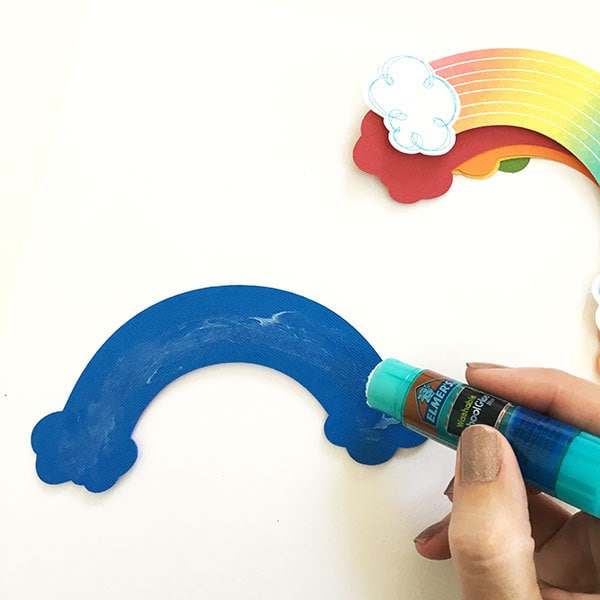
- To assemble, layer each of the rainbow pieces on top of one another, applying glue between each layer.
- Place the rainbow print and cut piece on top of the rainbow stack and glue into place. Set aside.
- Weed the excess foil leaving only the words on the adhesive foil backing.
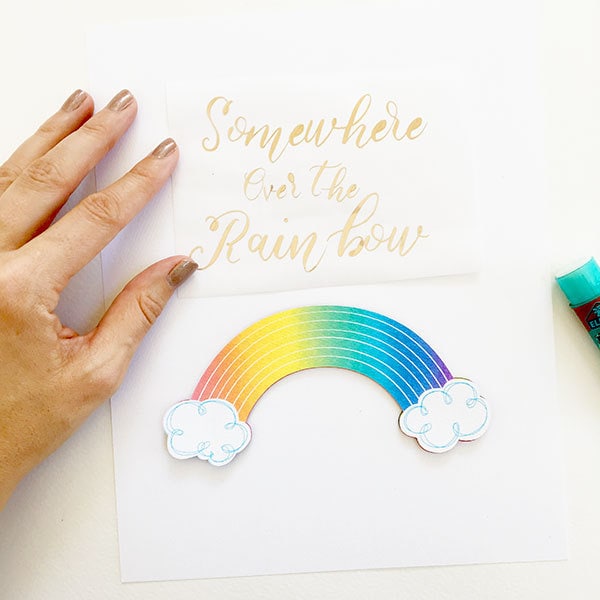
- Use the transfer tape to remove gold foil words from back and place on the background cardstock. Gently rub into place.
- Glue the rainbow below the foil words onto the background cardstock.
- Frame and enjoy.
Tip: use the weeding tool to help remove tiny foil pieces.
More Rainbows Project ideas
If you make this project, I’d love to hear about it! Stop back by and tell me about it. Stop by the 100 Directions facebook page or tag me #jengoodeart to show me your creations!
More Cricut Projects: View my Cricut Design Space profile.

