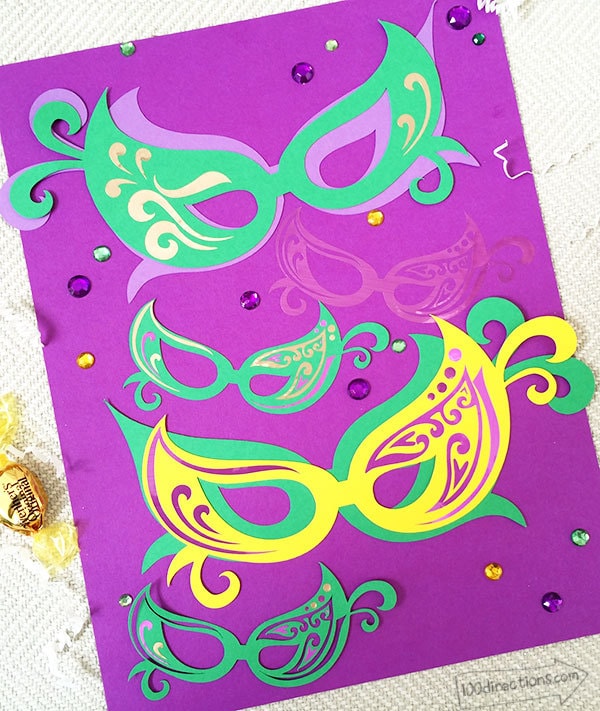
Make Mardi Gras masks in just a few steps and use them to decorate for your festivities. This quick Mardi Gras craft tutorial will show you how to make your own Mardi Gras masks that you can use for decor, kids crafts and all the Fat Tuesday events.
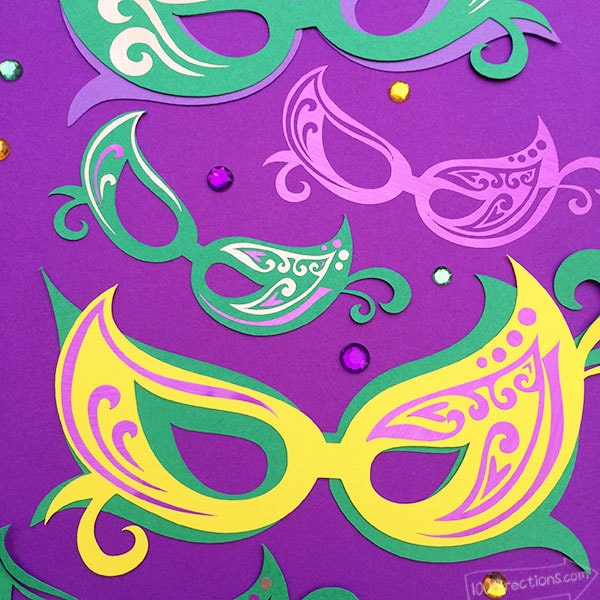
Make your project sparkle with some extra shine by using some foil adhesive. I Love the look of this material, it cuts great and it sticks great! This Cricut project is simple to create and can be customized to fit a variety of crafts you might be making.
This post is sponsored by Cricut. I was sent samples of the new Foil Adhesive to try as well. All of my opinions are 100% my own.
Make Mardi Gras Mask Decor
This project is using my own Fancy Mask cut file available through the Cricut Design Space. The file comes with 3 layers you can mix, match and even alter to create a variety of different masks. Change out the colors and your embellishments and you'll have a whole new project too!
Materials
- Cricut Machine
- Masquerade Mask design by Jen Goode
- Cardstock in colors of your choice
- Adhesive
Instructions:
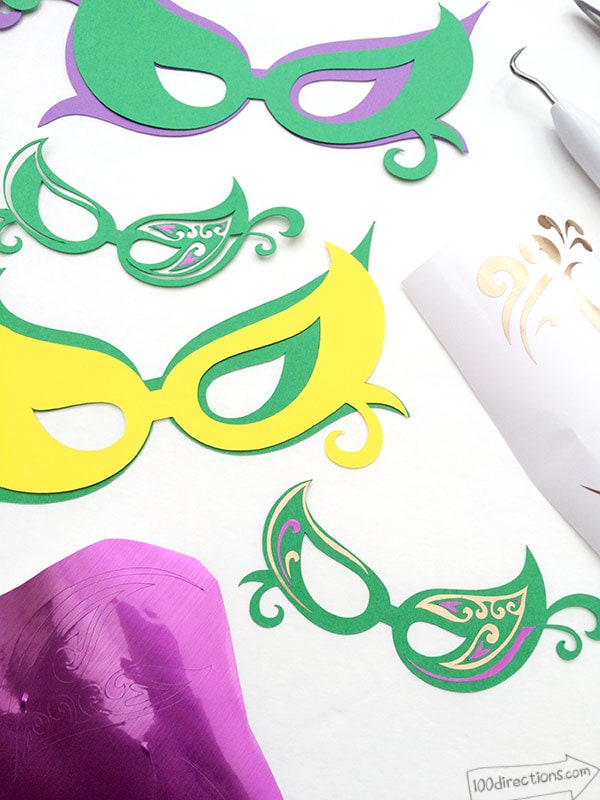
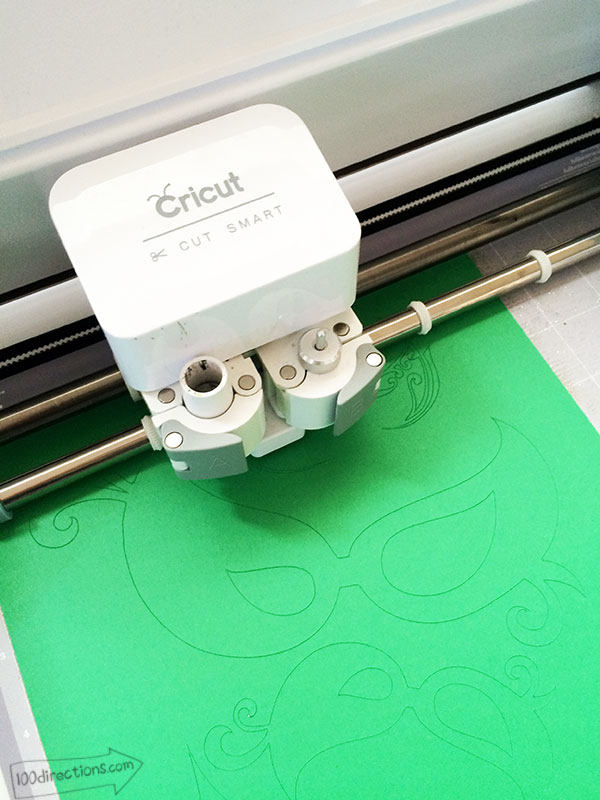
- Head over to the Cricut Design Space Masquerade Mask project and follow the onscreen instructions for cutting and assembly. The jist of it: cut, assemble, decorate. Cut the different shapes in various colors and foil and then layer them to get the look you want.
- Add your own embellishments however you’d like and VOILA! You’re finished. I just used the foil to decorate these masks, but you could have fun with feathers, gems and glitter too… maybe some ribbon to finish it off?
I made a variety of layers using the mask cut lines, hid some of the contours and played around with the shapes.
You might also like: Mardi Gras Mask DIY and Free SVG
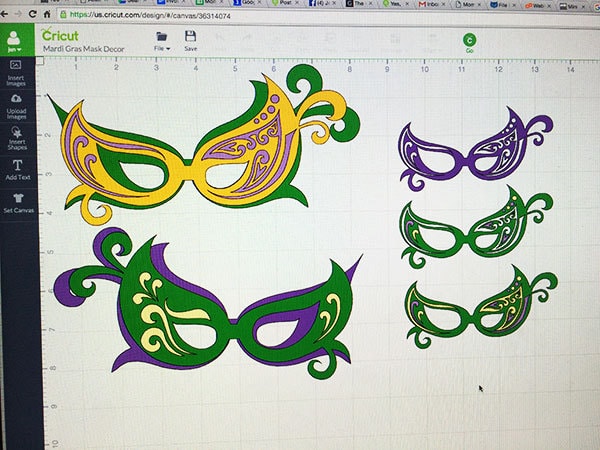
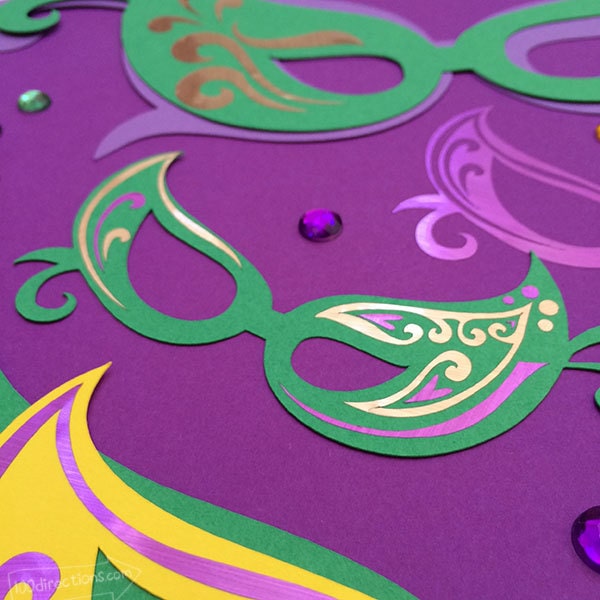
Make your own Mardi Gras Mask Decor Art in Cricut Design Space.
Click Here to get started.
About Cricut Foil Adhesive
This new foil adhesive is BEAUTIFUL! It's super shiny, and the adhesive material feels really durable. I like it a lot. I imagine making a ton of pretty cut-out stickers using this stuff, it's great!
When you apply the foil adhesive, you should be able to use transfer tape to place all the detailed cuts at the same time. I, however, placed each piece individually by hand because I didn't have too many pieces to adhere in place. You can pick your favorite method.
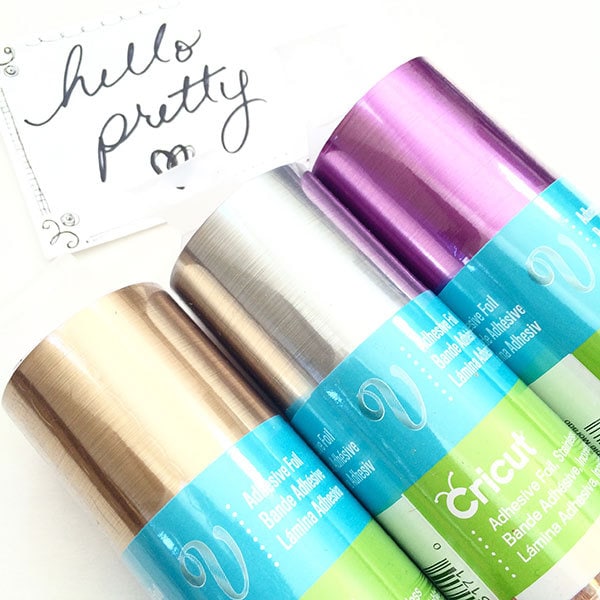
The foil comes in a variety of colors. When you peel of the backing, the back of the foil is silver.
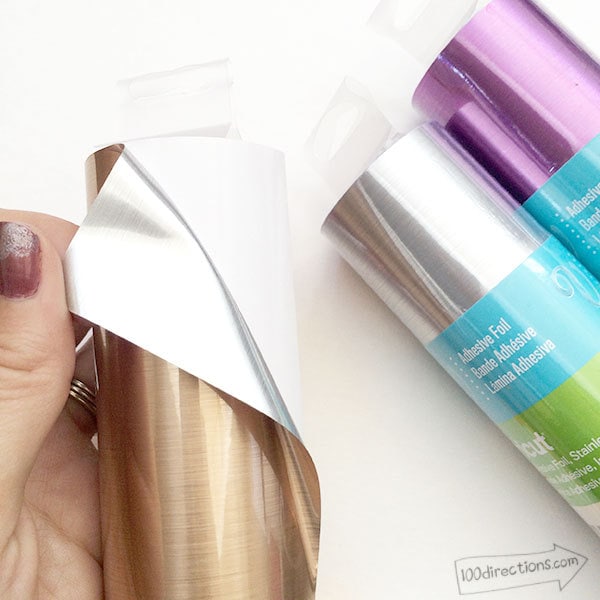
Look how pretty it cuts…. Make sure to use the setting between vinyl and iron-on. I found some of the foil cut nicely with the iron-on setting. However, some foil was a tad bit thicker and the cut did not go all the way through the foil.
You do not want the backing to be cut, however…. maybe you do. I did not. If you do want to cut through to the backing, try the cardstock or even the poster board settings.
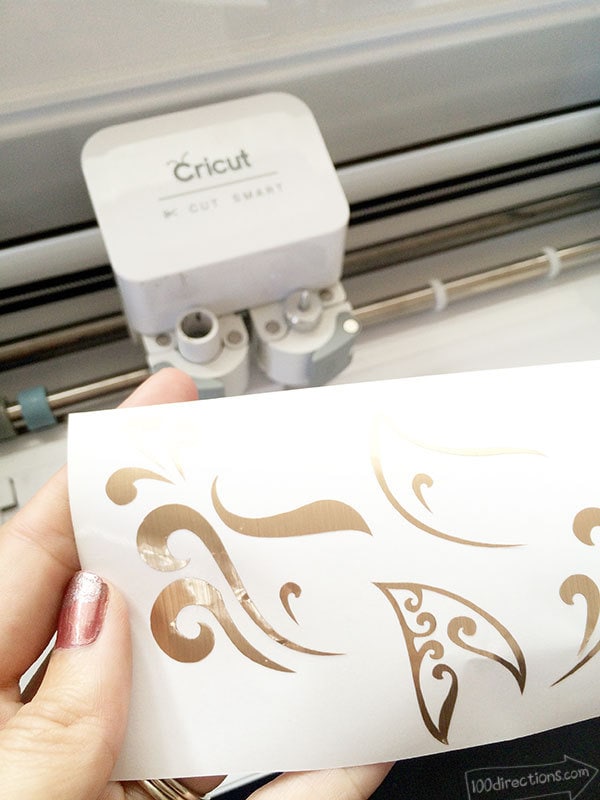
You'll want to use your weeding too to help remove the excess foil before you try to apply it to your project. Just like the vinyl, it's really easy to work with.
You can make these masks really big to use to decorate on your party table or the wall. You can also make they pretty darn small.. decorate your king cake with a custom-made Mardi Gras Mask! I just made a whole bunch of different masks and make a piece of art I can hang up and enjoy. What are you going to make?
