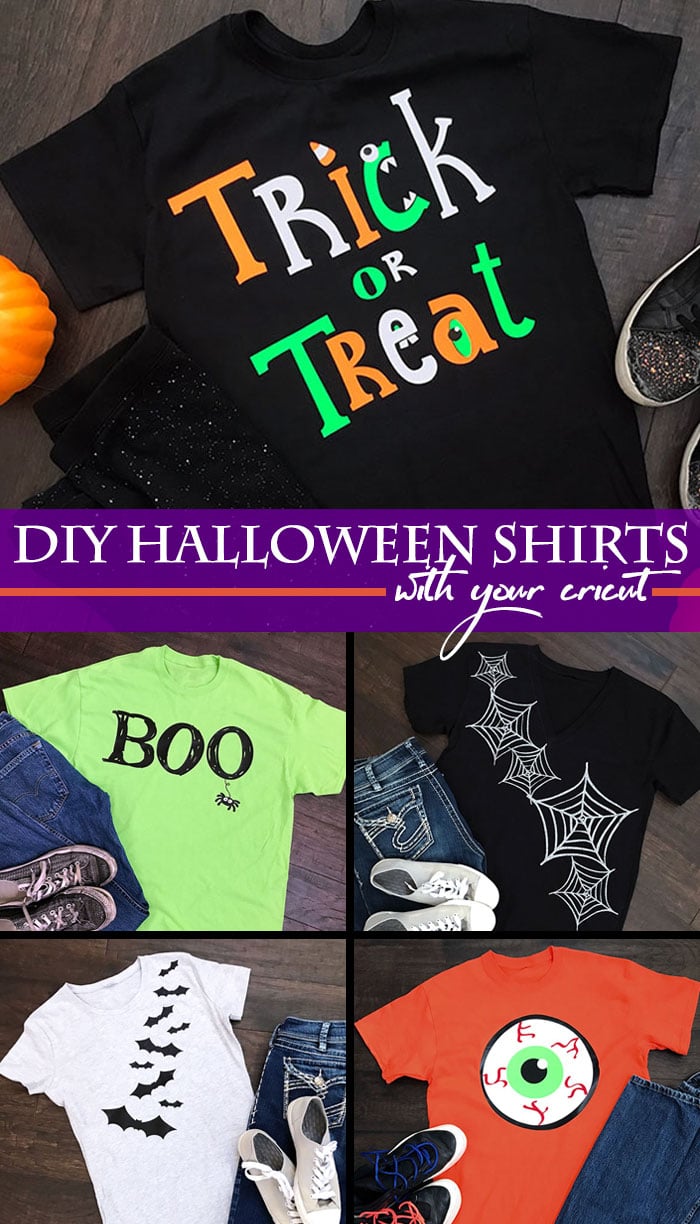
Make your own Halloween shirts in minutes! I've created 5 Halloween t-shirt designs just waiting for you to create. Each t-shirt design is a Halloween Cricut project you can customize. Change up the colors or rearrange the art as you need it.
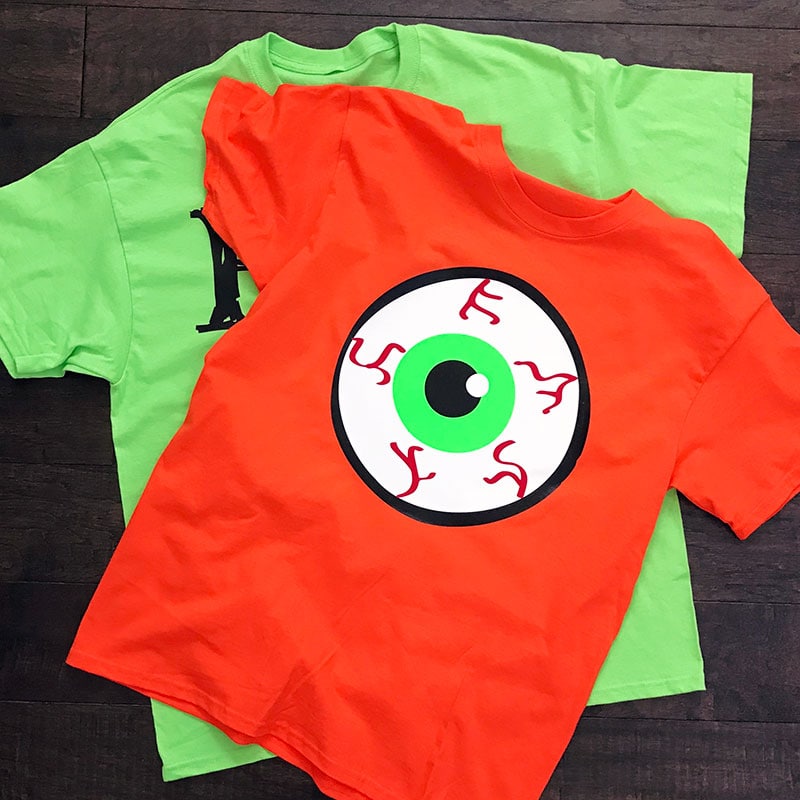
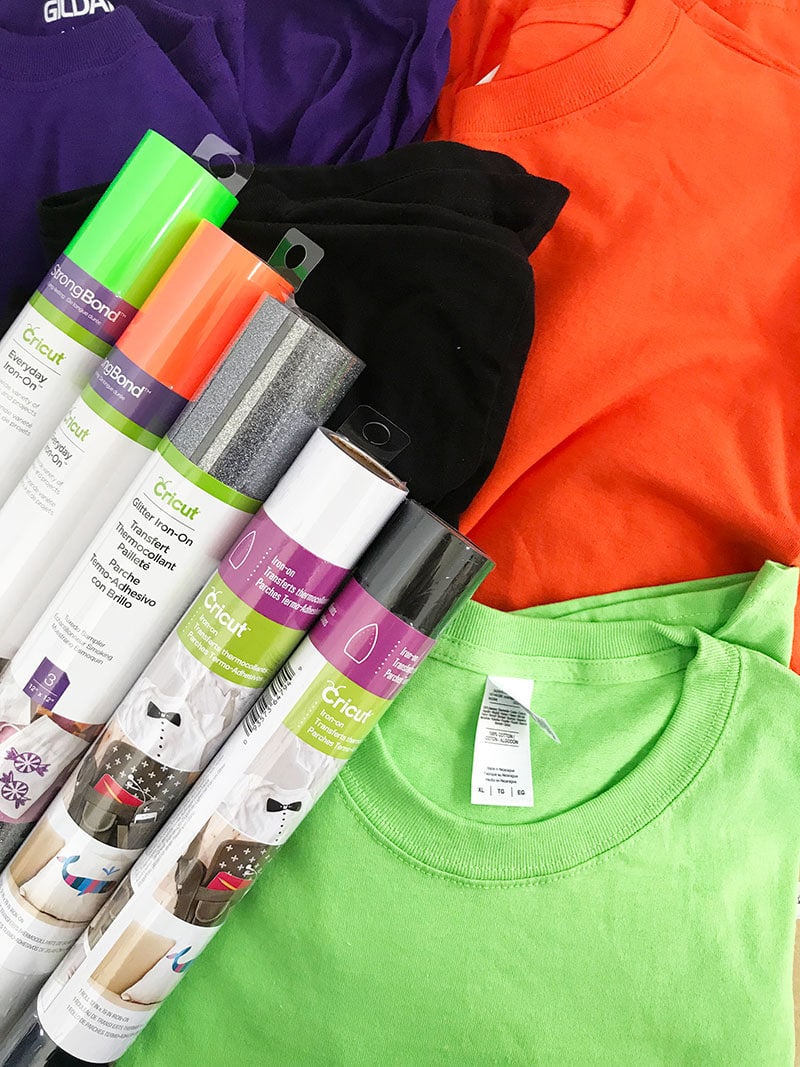
Everything is set up and ready to go. You just need to pick up some t-shirts and your favorite Halloween iron-on vinyl colors. Let's make some not-too-scary Halloween shirts today!
How to Make 5 Easy Halloween Shirts with Your Cricut
I've created 5 cute Halloween shirt designs you can use to make your own Halloween t-shirts. Make one or make all 5! You can mix and match the art to create a Halloween t-shirt for everyone in the family.
The different shirt designs vary in levels of difficulty. You'll find designs with multiple layers of iron-on vinyl and other designs with just one layer of vinyl. Pick the one you like most, and have fun making with your Cricut Machine!
T-shirts are a classic iron-on project you can create easily with the help of your Cricut machine.

The How-To Break Down
I'm breaking down the materials and steps of each shirt for you. Find each individual Halloween shirt tutorial below. Pick your favorite, gather your materials and start crafting your own not-so-spooky shirts.
You can adapt any of these shirt designs for whatever size shirt you are wanting to make. Choose to make each shirt just as I've designed, or change the colors of vinyl or even the color of shirt… try different shirt styles and sizes too, it's up to you!
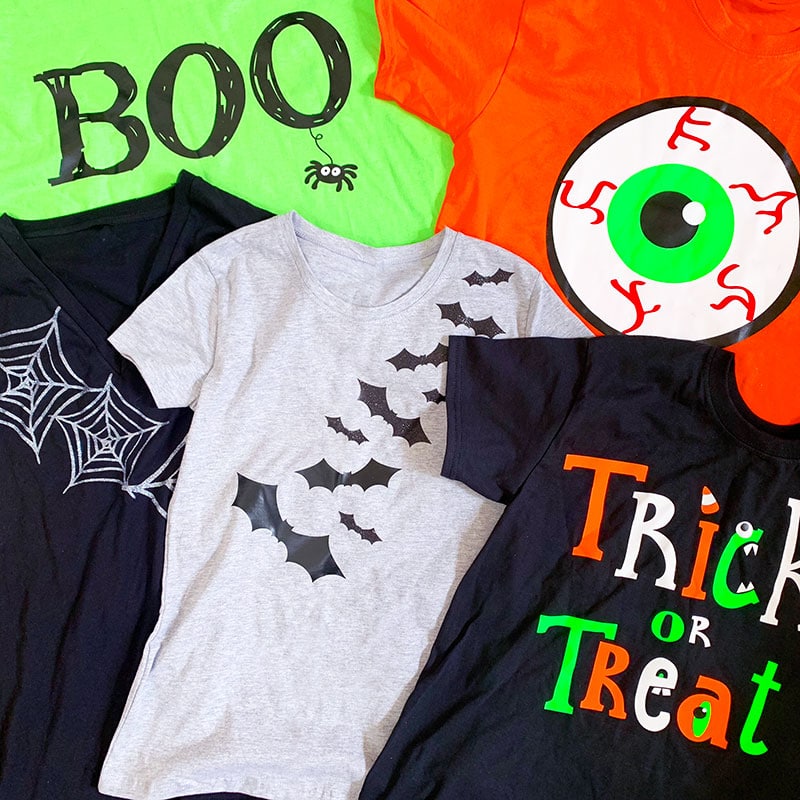
Halloween Bats DIY T-shirt
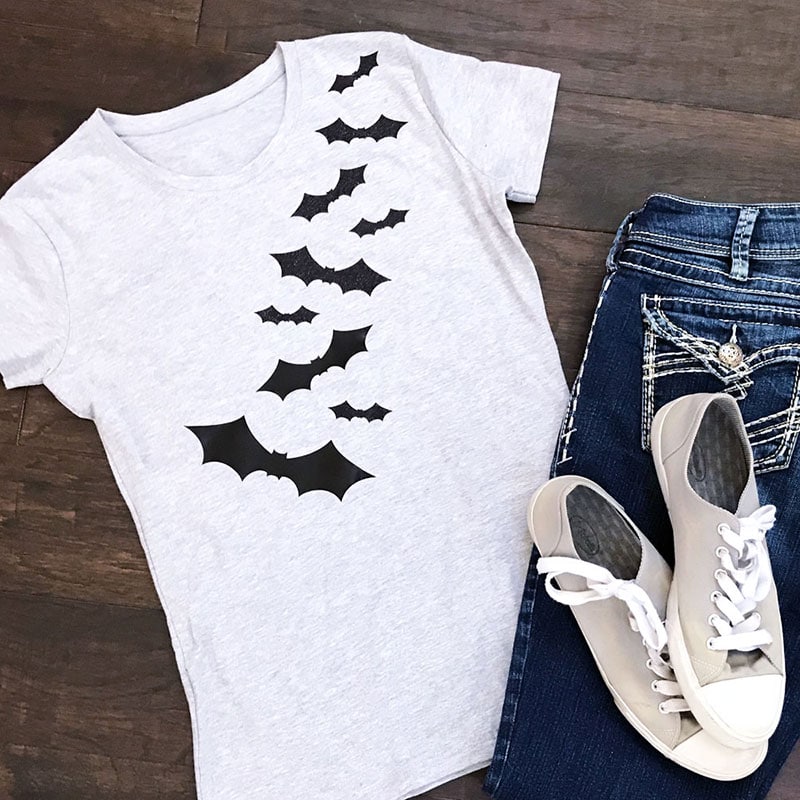
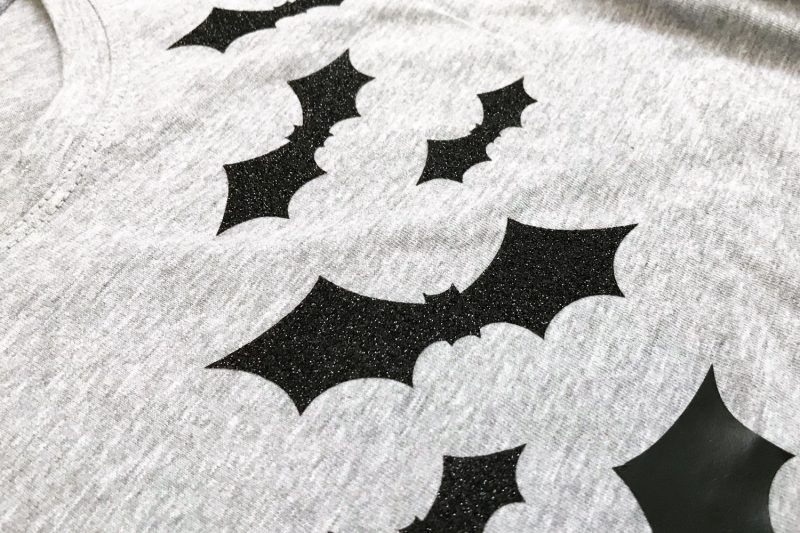
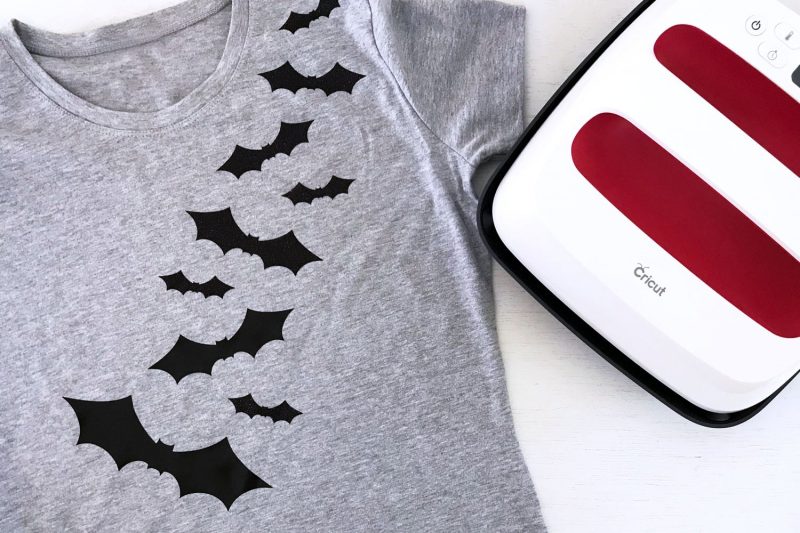
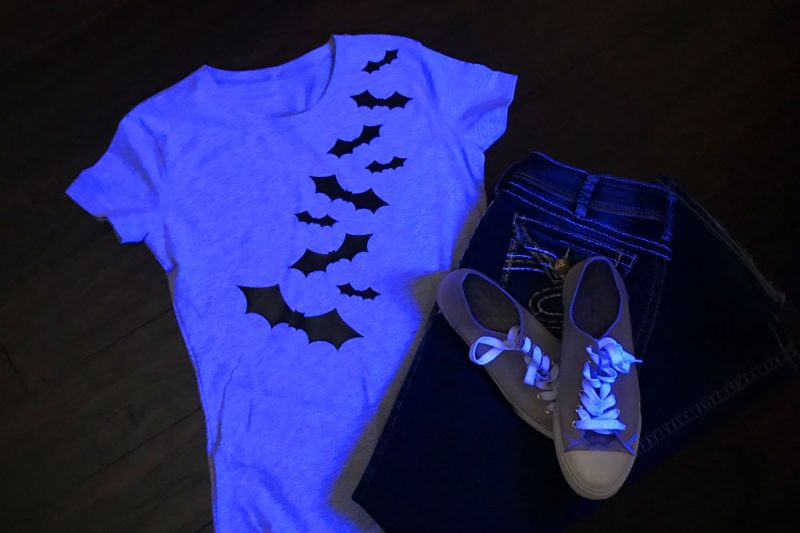
Make your not-so-spooky bat Halloween t-shirts. This bat t-shirt design combines black and glitter iron-on vinyl to create t-shirt art that’s perfect for Halloween. This shirt looks great in a black light.
How to Make a Halloween Bat Shirt
This bat shirt design uses just one design that you resize and vary the different cut shape layers to create a multi-cut design. I used 2 different vinyls because I love the pop of black sparkle, but it would also be really nice just with black iron-on vinyl.
Materials
- Cricut Maker
- Cricut Design Space™ software
- Bat art by Jen Goode
- Gray cotton t-shirt
- 12″ x 12″ Standard Grip Cricut® mat
- Glitter Iron-on, Black
- Iron-on Lite, Black
- EasyPress
- Weeding tool
Instructions
- Wash and dry t-shirt.
- Preheat EasyPress.
- Measure t-shirt body and size design in Design Space accordingly.
- Follow onscreen instructions to cut bat art iron-on vinyl pieces.
- Weed cut pieces as necessary.
- Place each iron-on vinyl piece on t-shirt. Make sure to avoid overlapping vinyl.
- Follow package instructions to iron each layer of vinyl as needed.
Note: glitter and standard vinyl require slightly different heat settings.
Go to Cricut Design Space and make this bat t-shirt project
Make a Cute Boo Word Art Halloween Shirt
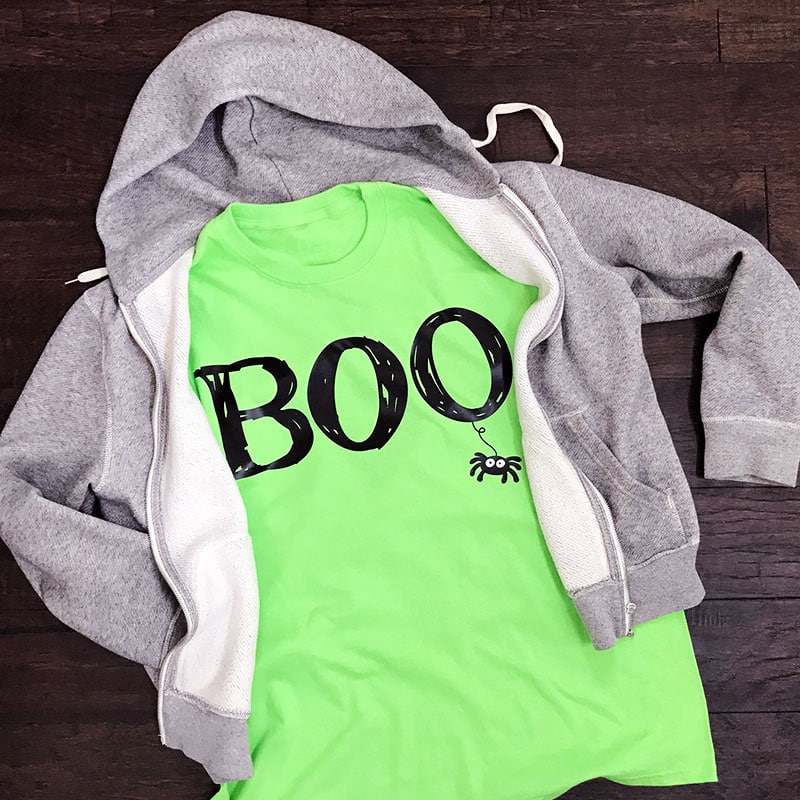
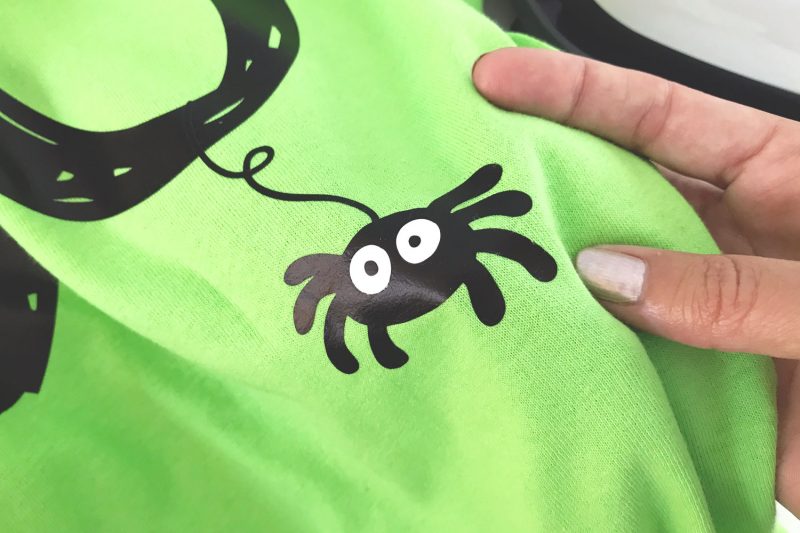
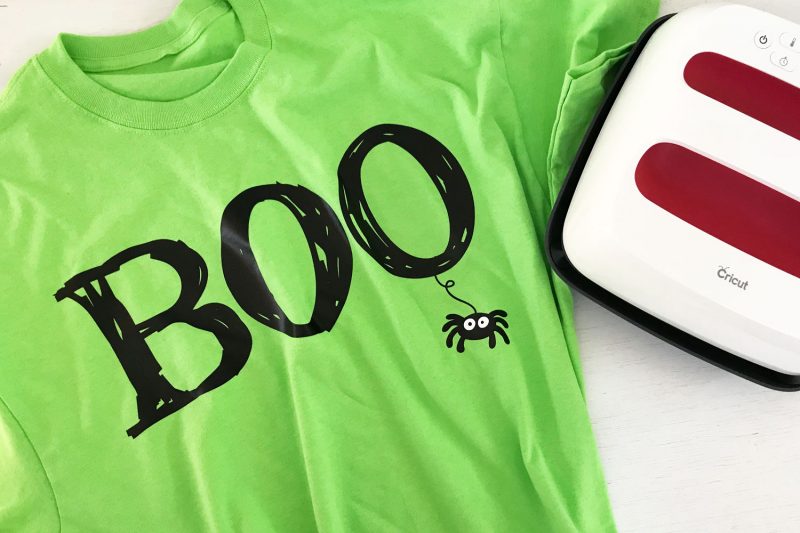
Boo to YOU! This Boo shirt features cute Boo word art that I hand-lettered with a little bit of a sketchy look AND a cute little spider (we call him Frank.) You can use just the BOO or just the spider to create this Halloween shirt. Or create the design as is.
How to Make a Boo Word Art Shirt
The “Boo” is only one layer/color of iron-on vinyl. The Spider is 3 layers of vinyl. Or for a fun tiny person shirt add “little” above the boo too, you decide!
Materials
- Cricut Maker® machine
- Cricut Design Space™ software
- Boo word art by Jen Goode
- Little spider art by Jen Goode
- Bright green cotton t-shirt
- 12″ x 12″ Standard Grip Cricut® mat
- Iron-on Lite, Black
- Iron-on Lite, White
- EasyPress
- Weeding tool
Instructions
- Wash and dry t-shirt.
- Preheat EasyPress.
- Measure t-shirt body and size design in Design Space accordingly.
- Follow onscreen instructions to cut boo and spider iron-on vinyl pieces.
- Weed cut pieces as necessary.
- Place each iron-on vinyl piece on t-shirt. Make sure to avoid overlapping vinyl.
- Follow package instructions to iron each layer of vinyl as needed.
Go to Cricut Design Space and make this Boo Halloween word-art shirt project
Spiderweb T-shirt Idea
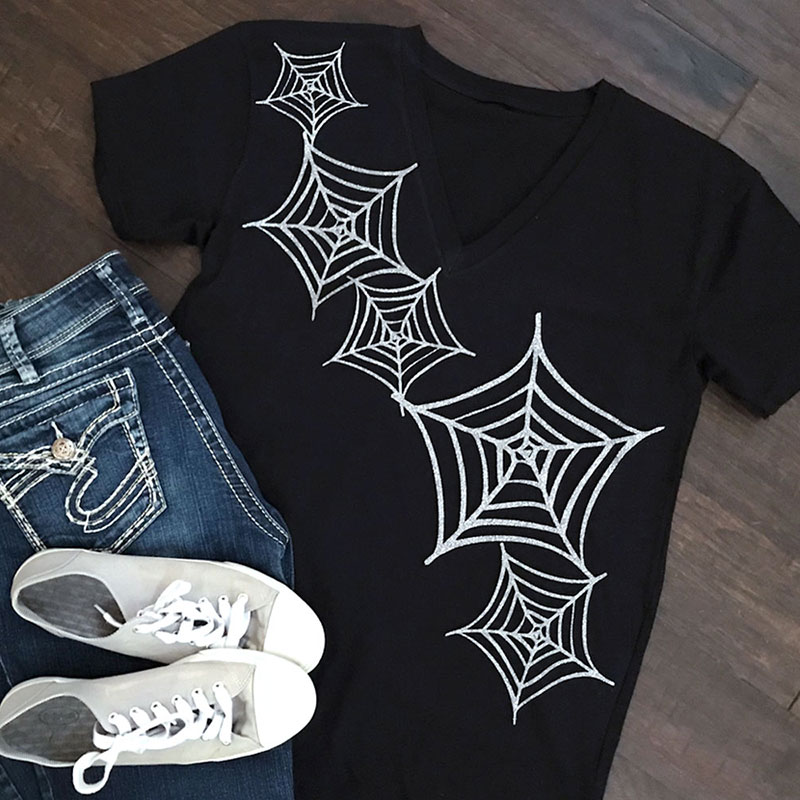
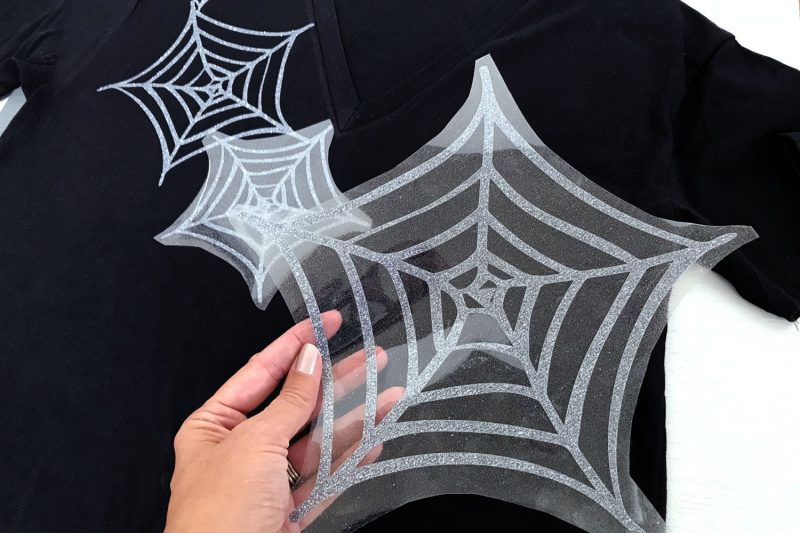
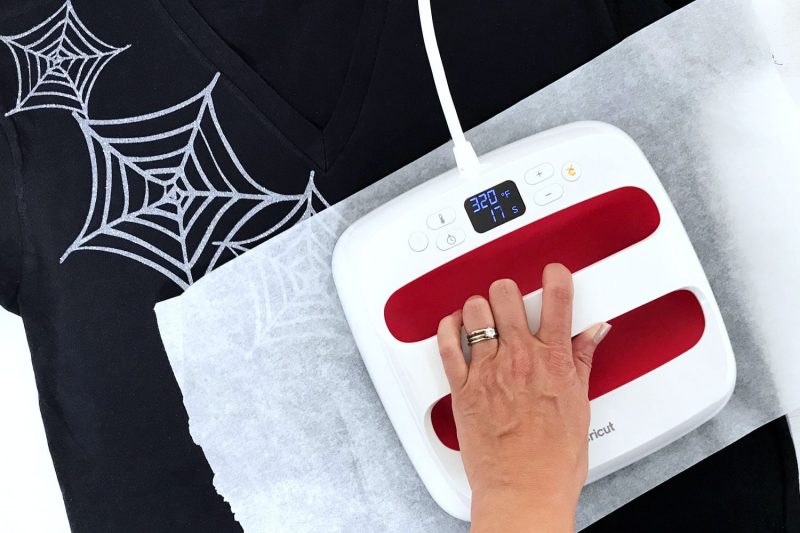
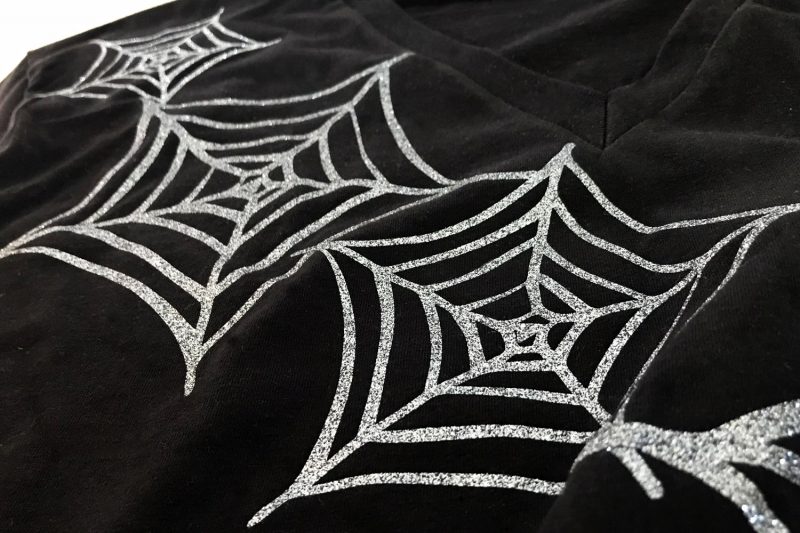
Make your own glittery Halloween t-shirts. This sparkly t-shirt design uses glitter iron-on vinyl to make the spider web art really stand out on any black shirt.
How to Make a Spider Web Art Shirt
This Halloween shirt design uses two variations of iron-on vinyl also. However, it would look great in just white too. If you wanted to make a cool black light shirt, go with a white t-shirt and use black glitter or standard black iron-on to create the webs.
Materials
- Cricut Maker® machine
- Cricut Design Space™ software
- Spiderweb art by Jen Goode
- Black cotton t-shirt
- 12″ x 12″ Standard Grip Cricut® mat
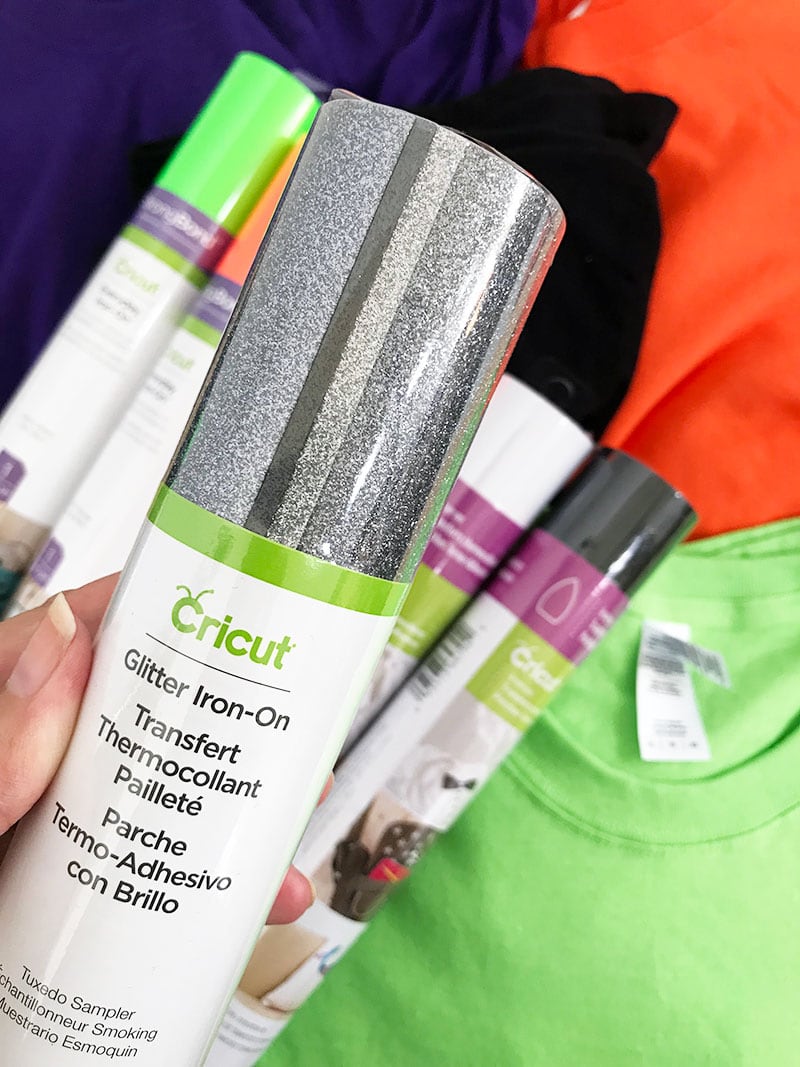
- Glitter iron-on vinyl, Black Silver from the Tuxedo Sampler
- EasyPress
- Weeding tool
Instructions
- Wash and dry t-shirt.
- Preheat EasyPress.
- Measure t-shirt body and size design in Design Space accordingly.
- Follow onscreen instructions to cut spider web iron-on vinyl pieces.
- Weed cut pieces as necessary.
- Place each iron-on vinyl piece on shirt. Make sure to avoid overlapping vinyl.
- Follow package instructions to iron each layer of vinyl as needed.
Go to Cricut Design Space and make this spiderweb Halloween shirt project
DIY Eyeball art t-shirt
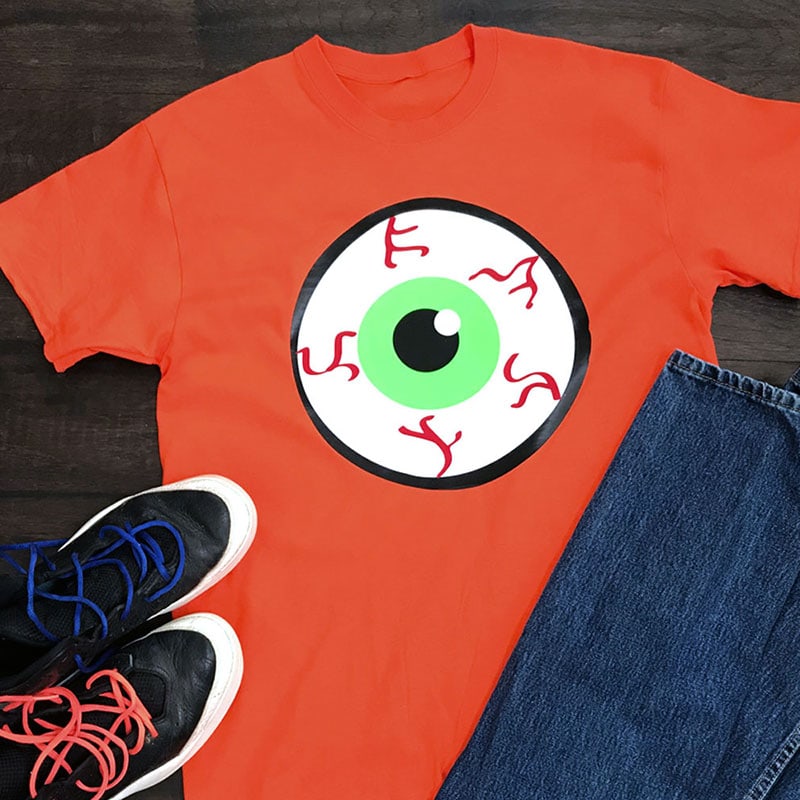
This eyeball design is one in a set of two funky Halloween eyeballs you can use to make your own eyeball Halloween shirt. I think this would be a great costume and you can make it in just a few steps. Make a shirt with each eye and you've got yourself a DIY couples costume, fun right? Here's how:
How to Make an Eyeball Shirt
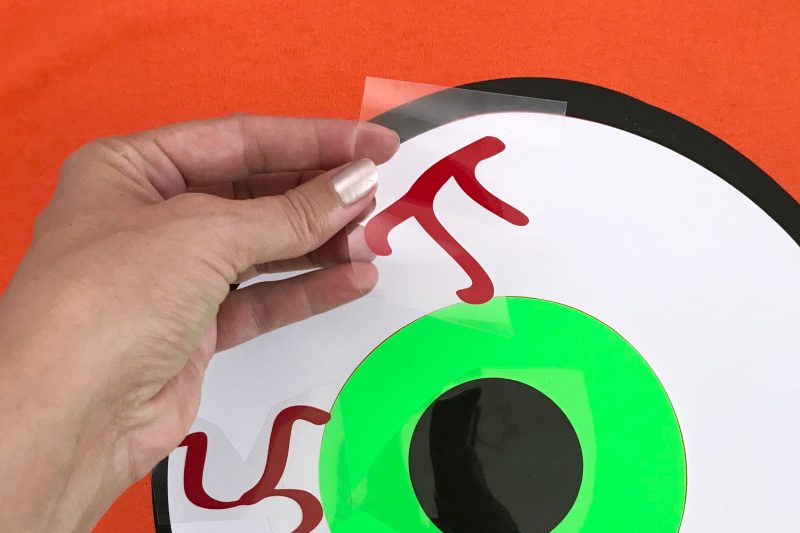
This eyeball t-shirt is the most complicated of the set. It uses 6 layers of vinyl (not all on top of each other) and 4 different colors. You can choose to change the eye color as well as leave the red viens off if you'd like.
Materials
- Cricut Maker® machine
- Cricut Design Space™ software
- Eyeball art by Jen Goode
- Bright orange cotton t-shirt
- 12″ x 12″ Standard Grip Cricut® mat
- Everyday Iron-on 12X24 Neon Green
- Iron-on Lite, Black
- Iron-on Lite, White
- Iron-on Lite, Red
- EasyPress
- Weeding tool
Instructions
- Wash and dry t-shirt.
- Preheat EasyPress.
- Measure t-shirt body and size design in Design Space accordingly.
- Follow onscreen instructions to cut vinyl pieces.
- Weed cut pieces as necessary.
- Follow package instructions to iron each layer of vinyl as needed. Start with the back-most color and work your way up through the different layers.
Go to Cricut Design Space and make this creepy eyeball t-shirt project
DIY Trick-or-Treat Halloween T-shirt
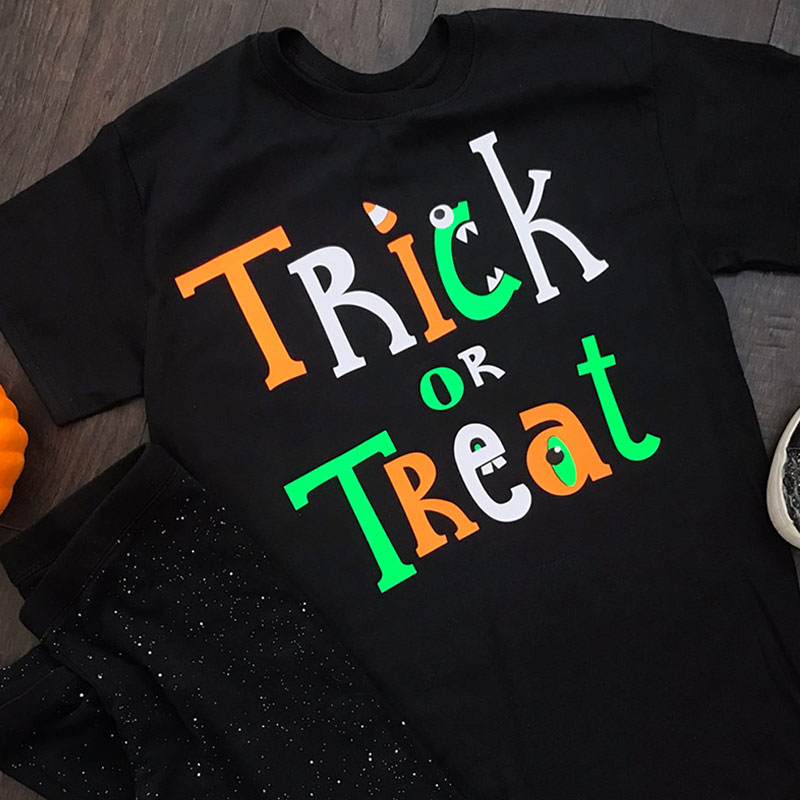
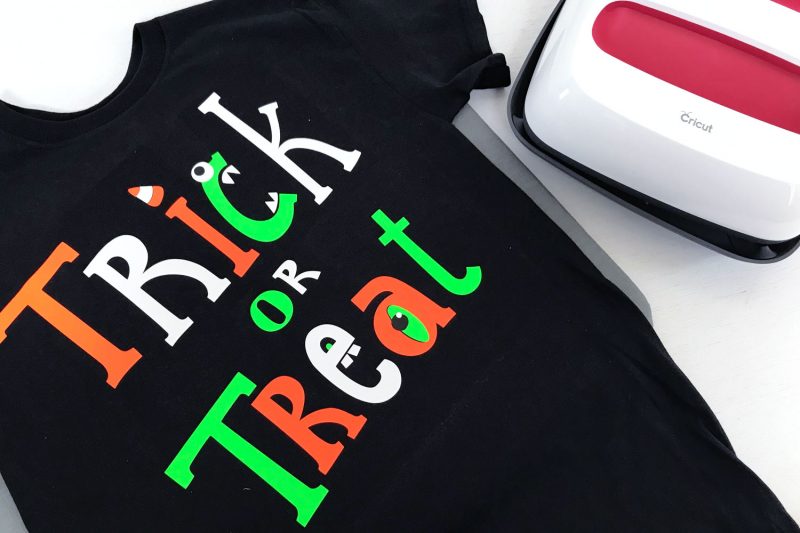
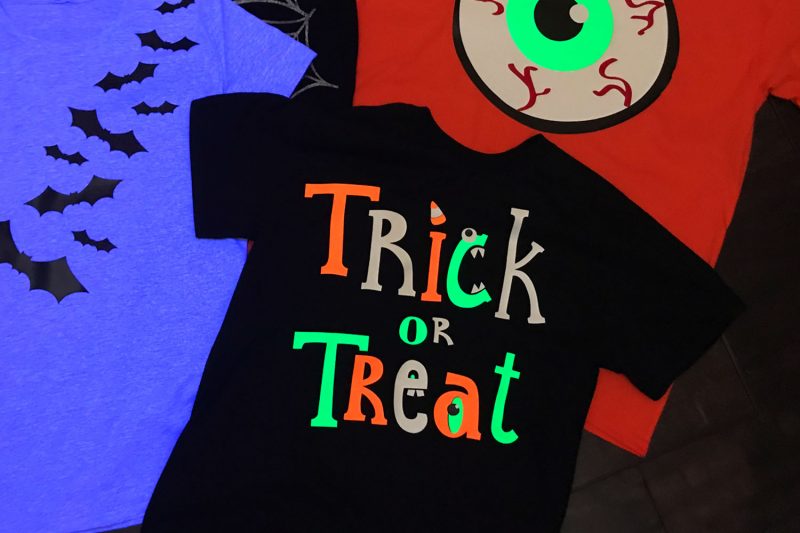
Make a cute Halloween t-shirt. This fun to create shirt design can be customized with your own favorite iron-on vinyl colors and styles. The neon green vinyl looks fantastic in black lights!
How to Make a Fun Trick-or-Treat t shirt
Tricks and Treats are what Halloween is all about, right? This would make a fun Halloween party shirt! I used only 3 iron-on vinyl colors, but you could definitely use more or less… pick what fits the look you are going for.
Materials
- Cricut Maker® machine
- Cricut Design Space™ software
- Trick or Treat art by Jen Goode
- Black cotton t-shirt
- 12″ x 12″ Standard Grip Cricut® mat
- Everyday Iron-on 12X24 Neon Green
- Everyday Iron-on 12X24 Neon Orange
- Iron-on Lite, White
- EasyPress
- Weeding tool
Instructions
- Wash and dry t-shirt.
- Preheat EasyPress.
- Measure t-shirt body and size design in Design Space accordingly.
- Follow onscreen instructions to cut iron-on vinyl pieces.
- Weed cut pieces as necessary.
- Follow package instructions to iron each layer of vinyl as needed. Start with the back-most design color and work your way up through the layers.
Go to Cricut Design Space and make this Trick-or-Treat Halloween shirt Project
Tips for Iron-on Vinyl and Making T-shirts
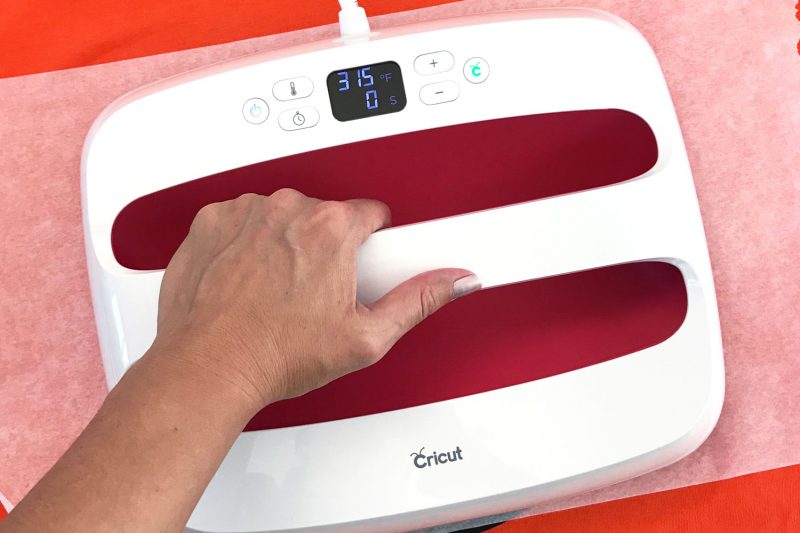
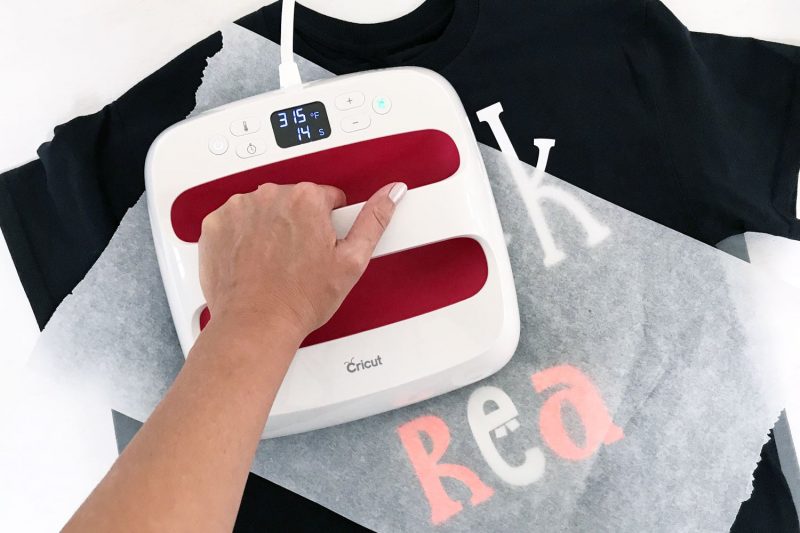
I used the new Cricut Easy Press, a portable heat press, to make all of these shirts. The new series of Easy Press machines come in 3 sizes, making it really simple to choose one for the project you are creating. Sure, you can use a standard iron, but the Easy Press has a larger, smooth plate so you spend less time heating the vinyl and you don't have to worry about creases or weird marks in the vinyl from the iron plate. Read more about the 10 reasons I love the EasyPress. you can use the EasyPress in all your iron-on craft projects from t-shirts to cards!
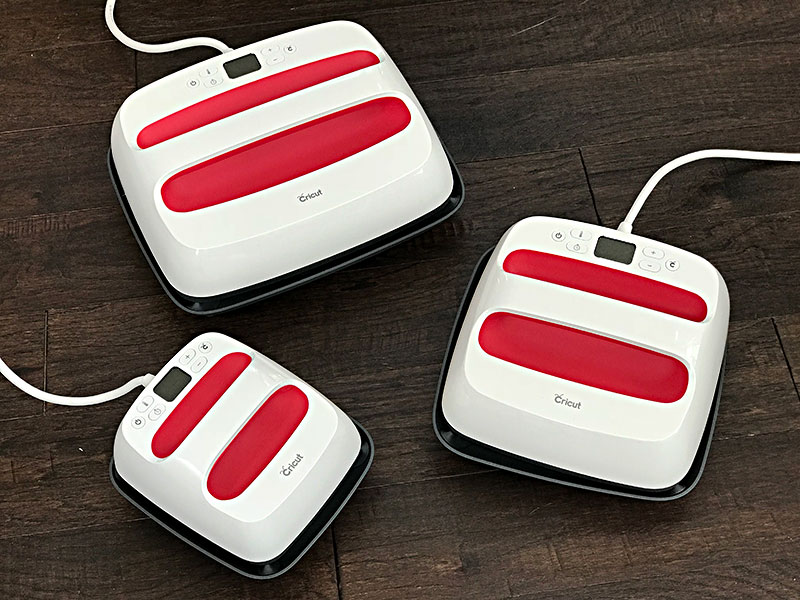
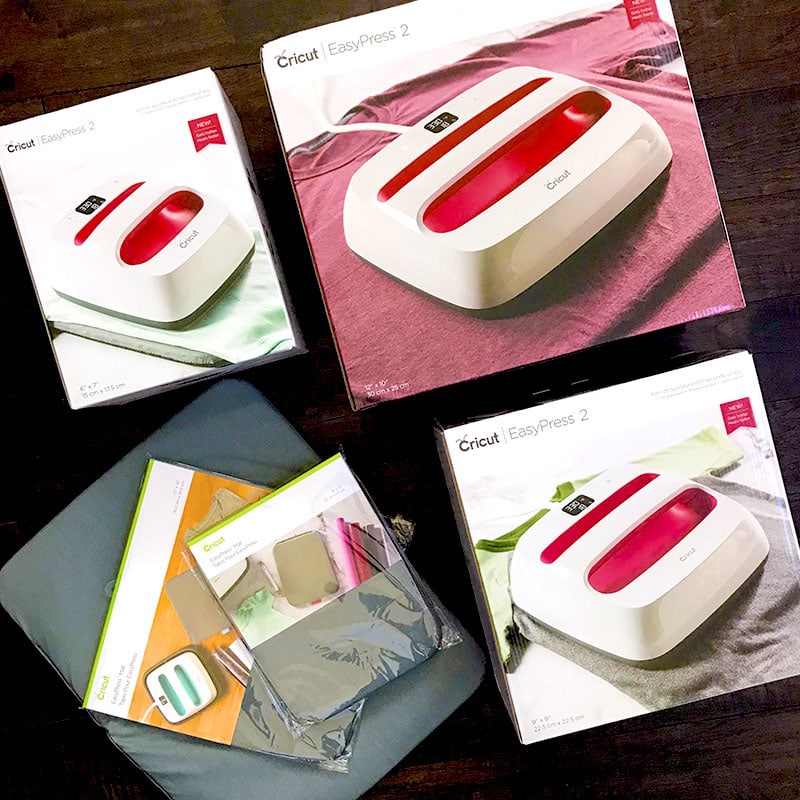
Shop Cricut.com for the perfect EasyPress – 3 sizes to choose from!
More Halloween Shirt Ideas
Now that you've got some design ideas to run with, if you've got more Halloween shirts to make, here are a few ways to use these days for more Halloween crafting fun.
- Combine Designs – look at the different elements in these Halloween shirt designs and see how they can be used together differently. Think of these ideas: Spider webs and Boo word art or the spiderweb with the cute little spider. Or how about one bat vs the group of bats? Don't forget, the eyeball is one of a set of two different eye designs, so you could use both eyes on a single shirt or one different eye on two different shirts.
- Use one Design Multiple Times – use one design to create different variations and multiple shirts. For example, you can use the eyeball design and create different colored shirts with different colors of eyes. Or add a whole bunch of little eyes all over a single shirt.
- Make a simple layered shirt – If you want to make a quick and simple Halloween shirt, choose to create one of these designs with just a single vinyl color. Change the Trick or Treat shirt, for example, to a single color. Then cut the one color and iron it in one step.
- Add Extra Accents – You can add additional accents to any of these Halloween designs as well. Change some of the layers to glitter or another color and you can create an even more detailed Halloween shirt.
Make all the Halloween shirts!
I know you're ready to get crafting with your Cricut machine, right? Here are links to all the Halloween shirts for you to create. Then when you're finished, start making more fun Halloween projects with your cricut!
- Bat t-shirt
- Boo Halloween word-art shirt
- Spiderweb Halloween shirt
- Creepy eyeball t-shirt
- Trick-or-Treat Halloween shirt
Don't forget to pick up an EasyPress if you don't already have one!
I hope you have fun making your own Halloween shirts with your Cricut. These Halloween tee shirt ideas are just the beginning! Mix and match designs, change colors, shirt style and get crafting with your Cricut. You can make a Halloween t-shirt for everyone in the family, or just make your favorite one for you.
This was originally written by me as a sponsored article on behalf of Cricut. The opinions and text are all mine.


