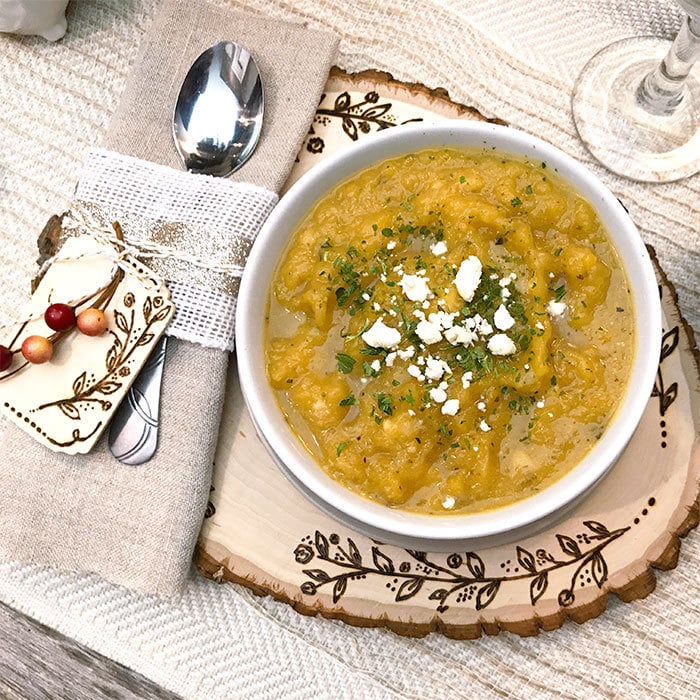
Make your own pretty holiday place settings with unique wood burning designs and country chic style. One of the easiest ways to decorate for any holiday gathering is dressing up the table for your guests. Today I'm sharing a DIY holiday decor idea to create unique wood burning art to DIY holiday place settings that you can use year after year.
For today's tutorial, I am joining in with the Handmade Holiday Hop to share all kinds of fun Holiday decor ideas. PLUS: we're hosting a giveaway! See below for more details.

Thank you to the sponsors for this year's event:
Smart Fun DIY, Walnut Hollow, HomeRight, and Scrapbook Adhesives by 3L
Make Your Own Pretty Holiday Place Settings
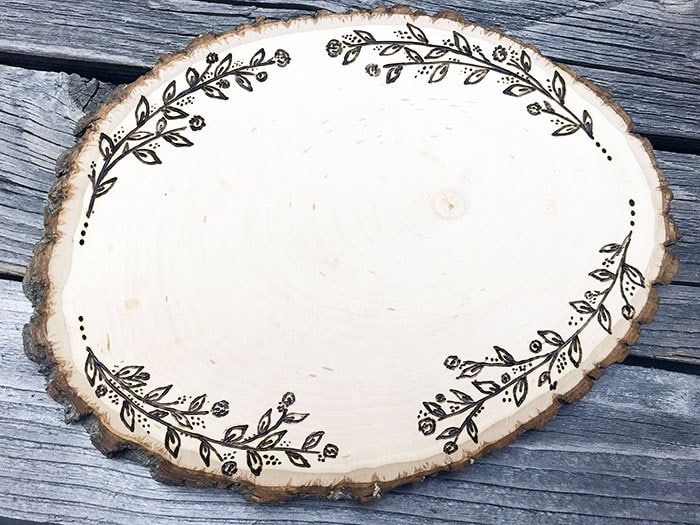
You can use these pretty floral wood burning trays for a variety of occasions. They are fairly simple to create and are a great way to dress up your table for any number of events. Add a little holiday decor to the table and these handmade trays are perfect for your Christmas or Thanksgiving gathering.
Now this may not look like your traditional holiday meal, right?
In my family, we have the traditional turkey dinner for Thanksgiving, but then we have Day After Thanksgiving soup the next day with all the leftovers. Then there's Christmas… we have clam chowder for Christmas eve and a Christmas brunch on Christmas day. We like soup! So, for this place setting I thought it would be fun to dress up the table for soup. You can adjust your own decor to suit your needs. Just make sure your wood slices are large enough for the plates you'd like to put on them.
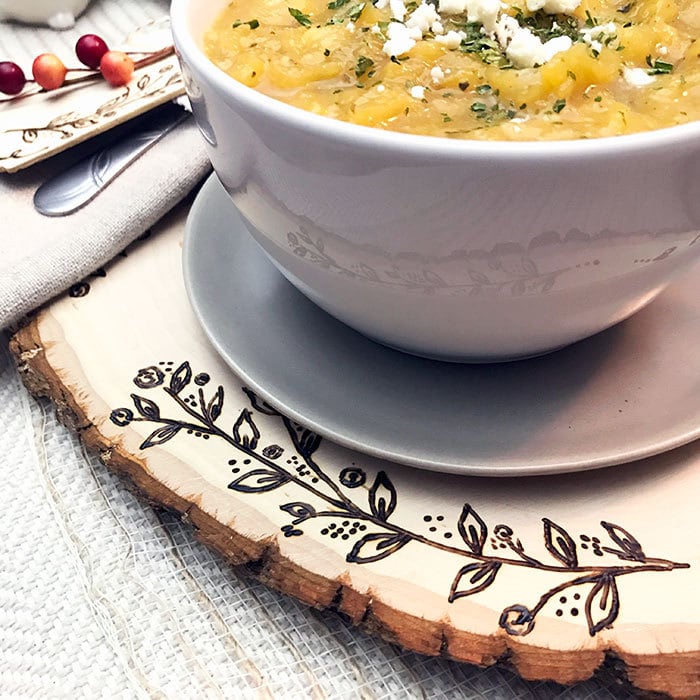
Making a pretty wood burning place setting
This project requires knowledge using a wood burning tool. If you've never done any kind of wood burning, make sure to practice on scrap-wood ahead of time. I just bought smaller wood squares for under $1 each to practice on.
Materials
- Medium wood slice – I used the Walnut Hallow brand from Michaels
- Wood burning tool – also Walnut Hallow
- Optional supplies to make a tag: Wood tag, fabric and glitter ribbons, twine and fake berry stems – more from Walnut Hallow on Amazon
Instructions
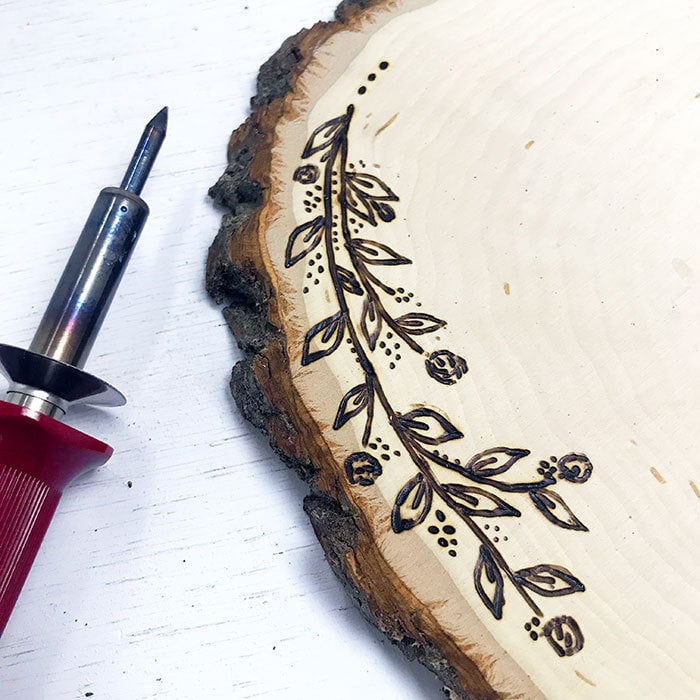
- Sketch out your design ahead of time to make sure you like the layout you are going to make.
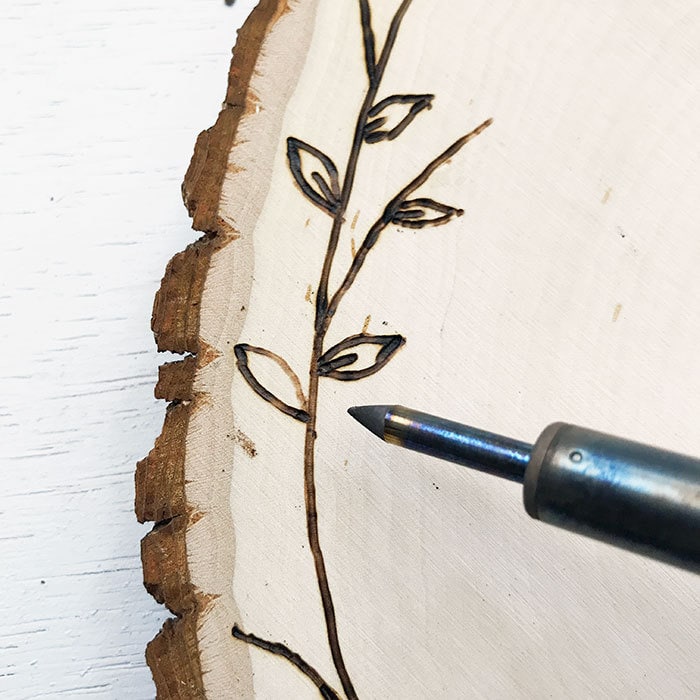
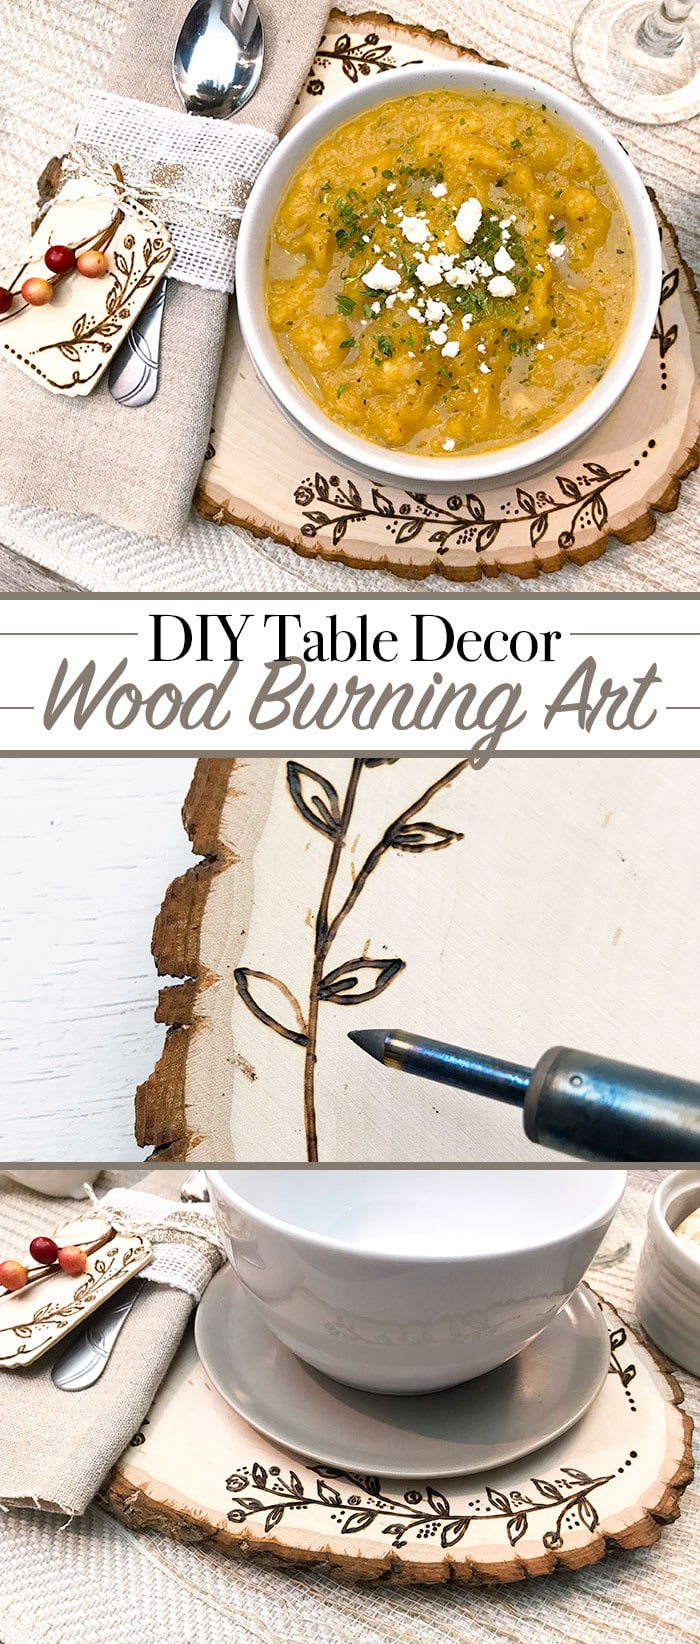
- Slowly “draw” your design on the wood slice with the wood-burning tool. I found that if I go over my design once, very lightly it was like drawing the pattern on the wood. Then I went back and slowly drew each individual line to create the dark, burned design.
- Use this wood slice as a base for the place setting.
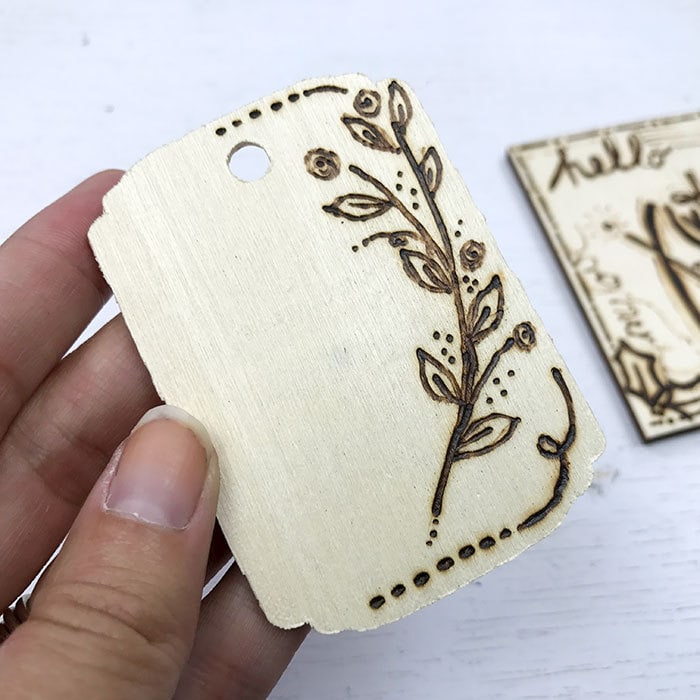
- To make a decorative napkin ring: Create a wood-burned design on a small wood tag. Layer different sizes and types of ribbon and twine around the napkin. Tie on the wood burned tag. Add in a little bit of fake berry twigs.
Tip: You can add color to your wood burned place setting by using paint or die to accent the wood. Or, use colored ribbons for the napkin ring for a splash of color.
Take a look at this video – This is me drawing with the wood burning tool. Create your designs one line at a time. This is definitely a craft that takes patiences if you want your art lines to be nice and rich burnt wood.
Steps to make your own Wood Burning Art Decor
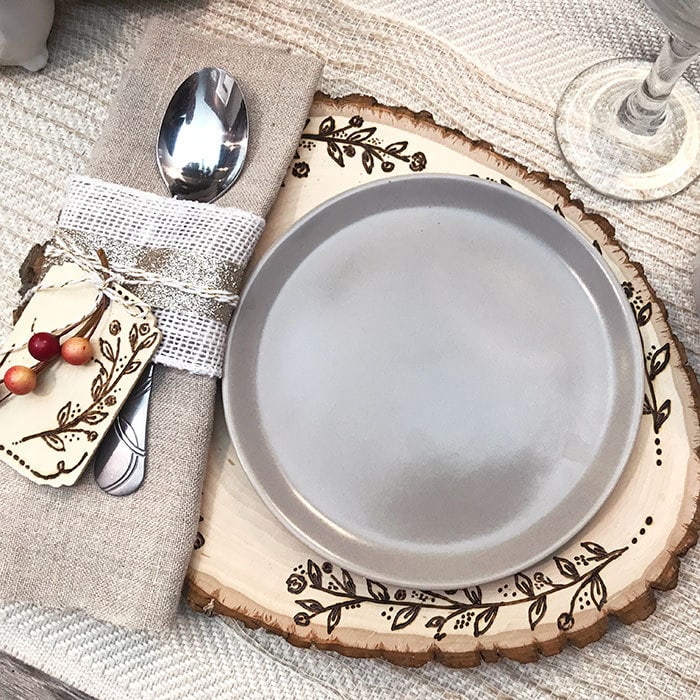
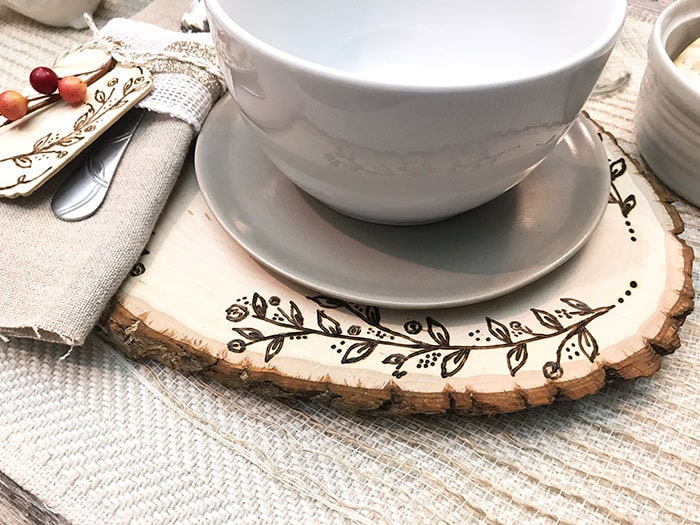
You can add more custom art to your holiday place setting by created handmade wood burning art napkin ring tags. Just create a design on a wood tag and add it to your handmade napkin rings.
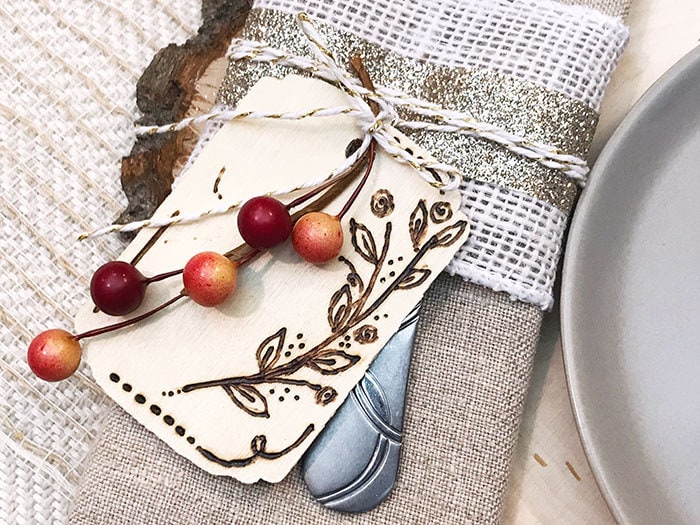
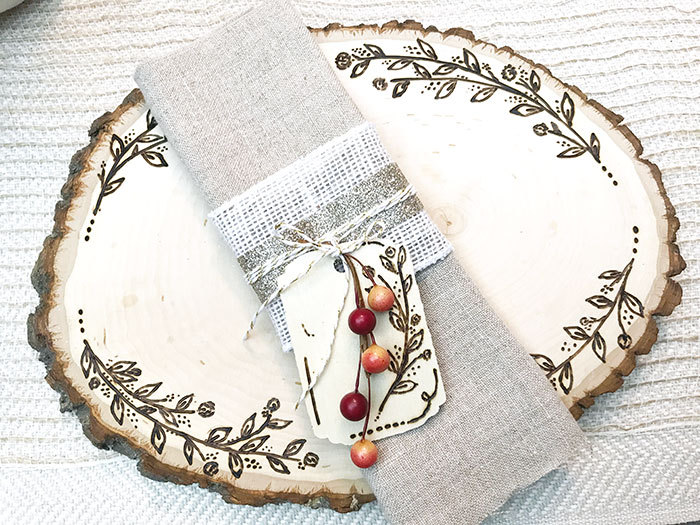
If you love this idea but aren't sure about wood burning… try the holiday accent decor tray I designed using paper cut files and my Cricut machine.
Bonus! This place setting tray can also double as a food display tray. Just add a base and you're good to go.
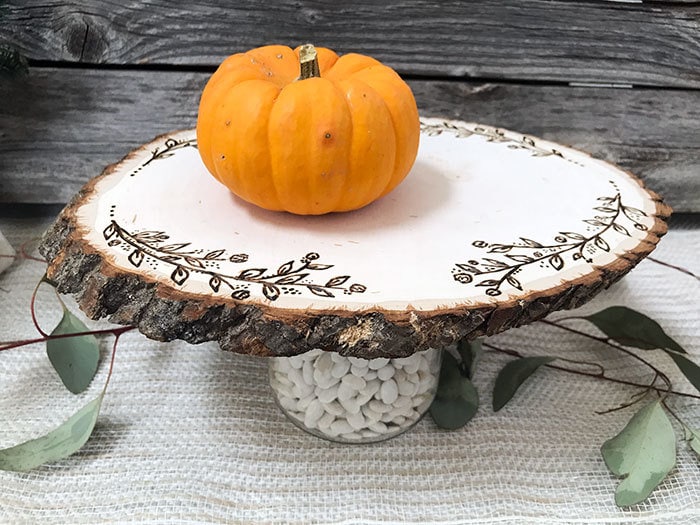

Thank you to all the sponsors this year:
Smart Fun DIY, Walnut Hollow, HomeRight, and Scrapbook Adhesives by 3L
Check out more fun DIY Holiday Decor Ideas
Enter for your chance to win!
a Rafflecopter giveaway


Really cool project! I love the wood-burning technique!
Thank you so much!
Very pretty. I like the wood burning.
Beautiful DIY. Wood burning is one of my favorites!
Thank YOU!
I love how simple this is. I have a tendency to go nuts with the wood burner and this is a true testament that less is often more. This is definitely perfect!
Thank you so much Allison! I tend to go overboard quite a bit too… especially if I have no time and all the colors!
gorgeous project and so clever!
Thank YOU!