I love little Halloween decorations. I'm not into the scary seasonal fun, but more on the cute and happy trick-or-treating side of things. So I decided to make my own mini Jack-o-lanterns to start off the decorating season.
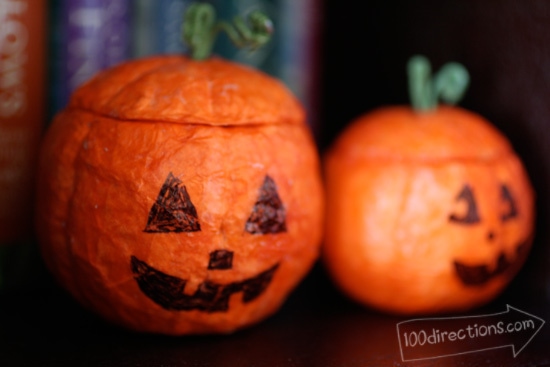
Here I'll show you how to make your own Styrofoam jack-o-lanterns… if you'd like to make larger pumpkins, just start with a larger Styrofoam ball.
As someone who adores all things Halloween but leans more toward the adorable and cheerful side of the spooky season, I couldn't resist sharing my this cute DIY project with you.
Instead of going for the eerie and spine-tingling, I've opted for something a tad more whimsical – mini Jack-o-lanterns! 🧡
Make a Styrofoam Jack-o-Lantern
In this post, I'll guide you through the steps to create your very own Styrofoam jack-o-lanterns. Don't worry, if you're feeling ambitious and want to supersize your pumpkins, just grab a larger Styrofoam ball to get started. Let's dive into the crafting fun together!
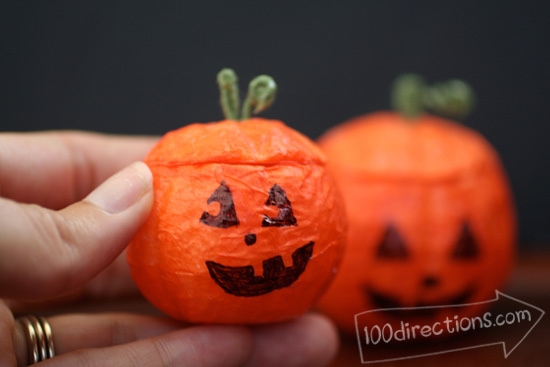
Materials you need to make a Styrofoam jack-o-lantern:
- Styrofoam ball
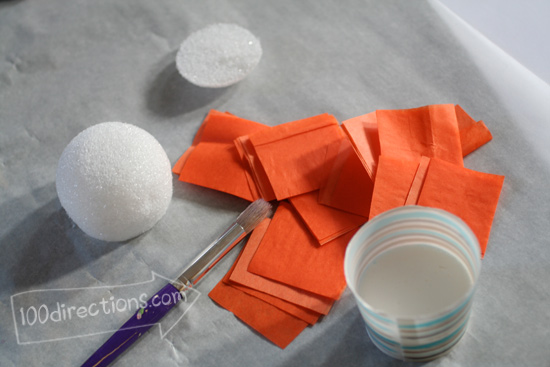
- Orange, un-coated tissue paper
- Mod Podge
- Paint brush
- Small craft knife
- Black Sharpie marker
How to make a Styrofoam jack-o-lantern:
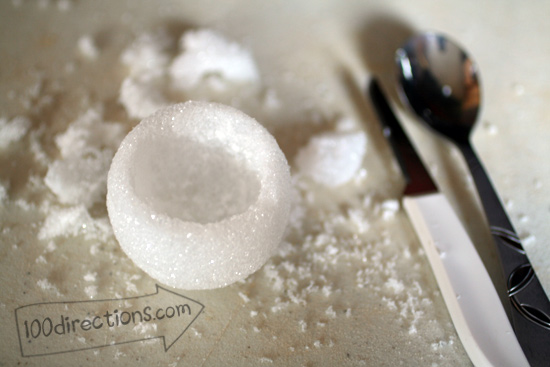
- Flatten the bottom of the ball by pressing the Styrofoam on to a hard surface.
- Cut a small portion of the ball off the top. This will be the lid to your jack-o-lantern.
- Using your craft knife, cut out the middle of the Styrofoam ball as if you were scooping out the middle of a pumpkin. I used a spoon to help with this.
- Decoupage each piece using Mod Podge and orange tissue paper. Set aside to dryI recommend un-coated tissue because it seems to work better for me.
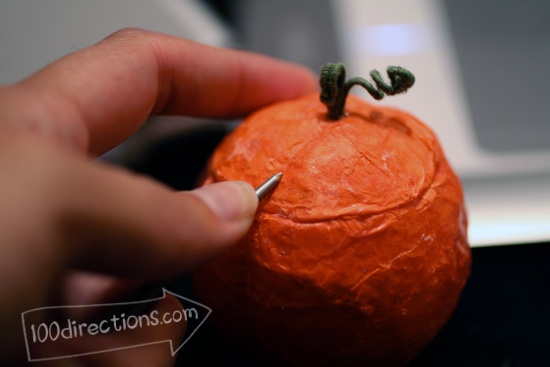
- Using some kind of sharp pointer (I used a scratch awl), create the creases in the sides of the lid and base to give the ball a pumpkin look. Do not puncture the tissue and Styrofoam, but rather, press firmly to create the dents in the Styrofoam.
- Using floral wire, make a stem and press into the lid.
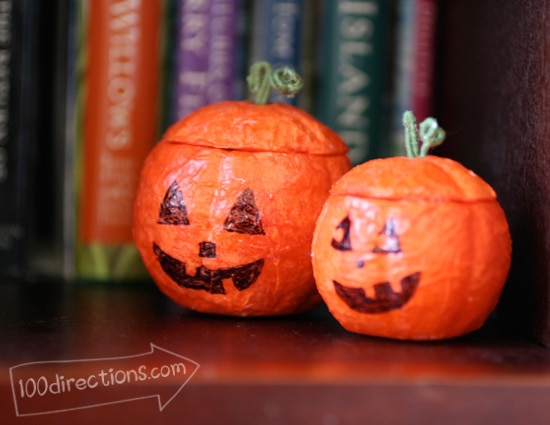
- Using the black Sharpe, draw a face on the pumpkin to create the jack-o-lantern.
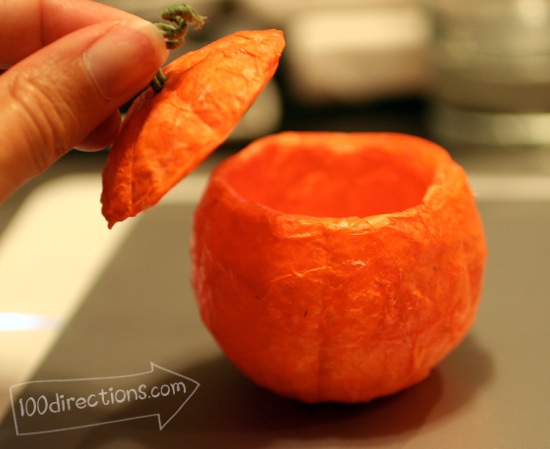
You could leave off the face drawing and have yourself some super cute little pumpkins for the entire fall season! You can use a small battery-operated tea light to add an extra accent to your Jack-o-lantern… the light will shine through the Styrofoam nicely!
Here's a video to help you see a little more about making these cute Styrofoam jack-o-lanterns…
I think these pumpkins would make create Halloween party favorites. If you leave off the face you could use them as Thanksgiving table place holders or center pieces. I'd love to see what fun you create… tell me about it in the comments below.


Hi Jen, love the mini pumpkins! Never seen before, thanks for sharing 🙂
candice
Hi, Jen! It’s great to see another ‘mini’ lover! It seems I’ve always loved itty-bitty (it also happens to be my husband’s nickname) and I really can’t recall when I started making tiny things, but lately mine tend to get even smaller. I’ll be posting pictures of this crazy project on my ‘Knowing Fancy’ facebook page.
You did awesome work! Any witches or ghosts, or bats on the table?
From a fellow Mod Podge addict…
Kat, thank you so much! No other tinies in the works right now, but you just gave me some great ideas, I might just have to add some more things to the list!
Waoo..really Nice! unique idea 🙂
Jen, these are amazing! How cute! I featured them today 😀
Thank you so much, that’s fantastic, I’m glad you like them. I love that they really glow when you put a little faux candle light inside.