Today we're making a cute Disney shirt from a Big Brother hand-me-down. We like to repurpose things as much as possible in our house. For me, sewing and crafting are the easiest ways to turn something old into something new. So my youngest often gets stuck with hand-me-downs from the big brothers. You might think that's tough on a glitter loving girl, but really it's not too hard to turn boy clothes into cute little sister fashions. Today you can learn how to turn a plain white boy's t-shirt into a cute summer shirt for girls. Plus, we've add a little Disney sparkle just for fun.
BONUS: Today's project is part of the Month of Disney series hosted by Rachel from R and R Workshop . There is a whole crew of creative folks sharing Disney themed projects all month long. You'll find a whole list of Disney inspiration below!
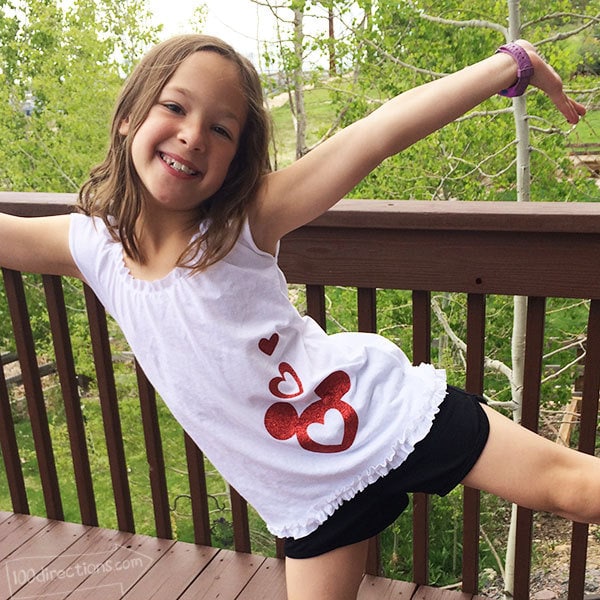
Make a Pretty Tshirt from a Big Brother shirt – Disney Style
Materials you need:
- Plain white boy's t-shirt – 1 to 2 sizes larger than actual size needed
- Fabric scissors
- Sewing machine or needle and thread
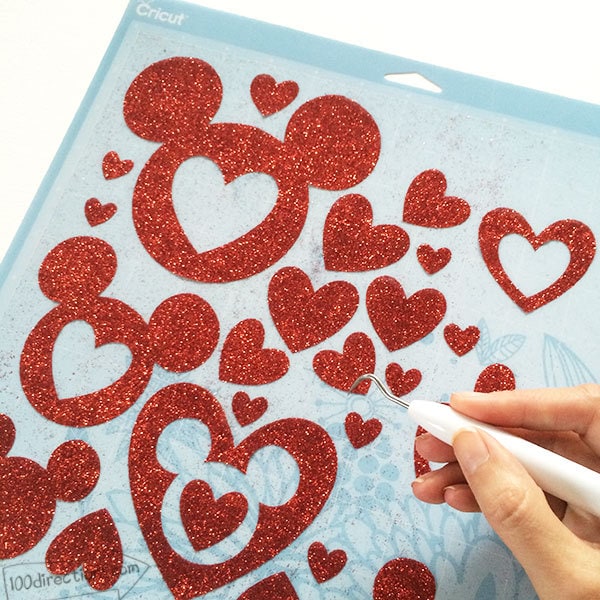
- Glitter vinyl from Tulip, Cricut Explore cutting machine and Mickey Ears cutting design.
Steps to make Pretty Tshirt
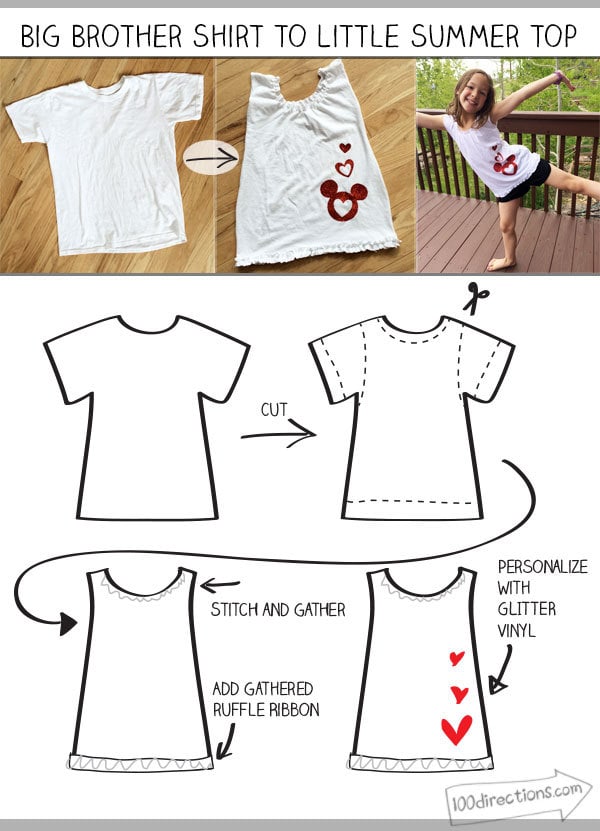
- First cut the neck/collar off of the shirt
- Cut the sleeve off, creating a straight line from the shoulder to about 2″ below the armpit of the sleeve.
- Stitch sides of the shirt to create the finished shape.
- Cut 1-2″ from the bottom of the shirt, removing the current hem line. Remove the hem from the strip of fabric you just cut, so you have a seamless strip of fabric. Cut the strip of fabric so that it's a single ribbon, rather than a band.
- Cut strips from the sleeves the same width as the ribbon you just created. You want to add the sleeve ribbons to the longer fabric piece so you end up with a ribbon of fabric that is at least 8″ longer than the perimeter of the shirt bottom.
- Loosely stitch the ribbon and pull thread to gather fabric slightly. Sew gathered fabric to the bottom of the shirt. No need to hem unless you'd like a more finished look.
- Loosely stitch the neckline of the shirt and pull threads to gather slightly. Stitch 1 to 2 more times with a tighter straight stitch to set the gather permanently. Again, no need to hem.
- Leave sleeves unhemmed as well.
- I then personalized this shirt with some glitter vinyl Disney Mickey designs I created. This is the same design I used for the Disney Mickey earrings. You can read more about creating the actual design here.
You can do so many things with a big brother shirt. The boys outgrow their clothes so quick, but the girls can still wear them, even with their ruffles and glitter.
More Disney Inspired Projects to Make
I joined up with a great group of bloggers to share this fun Disney DIY with you. Check out all the creativity in our A Month of Disney :
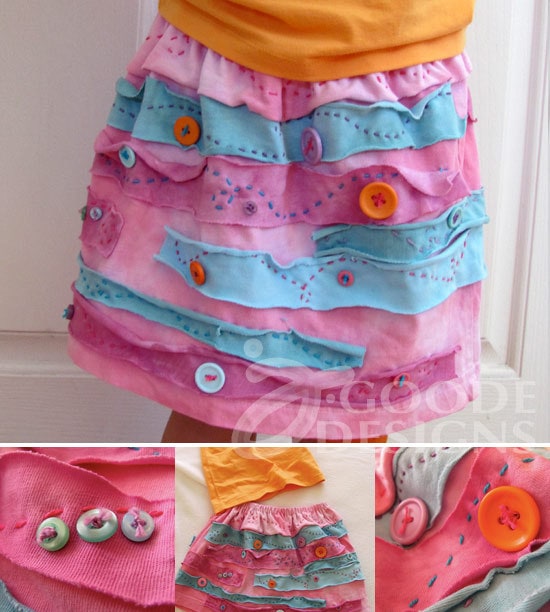
More projects to make with big brother shirts
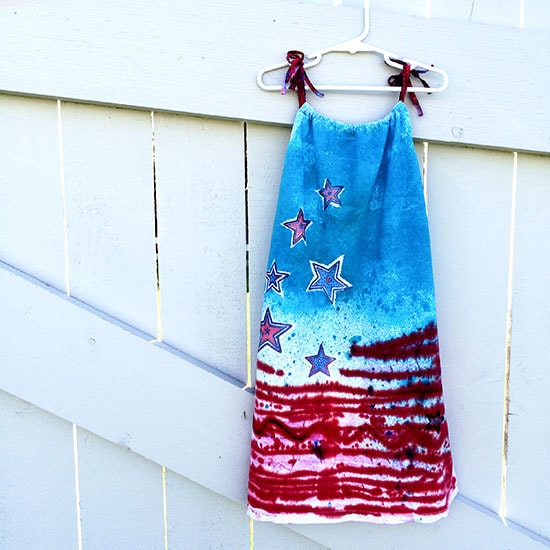
Do you like the re-use old clothes your kids grow out of? I'd love to what you like to create!




Thank you so much for sharing this fun project in the Month of Disney Series! 🙂
Thank you so much for hosting such a fun event!