Grab your Cricut and make your own Valentine Nail Art! Yep, you can make your own nail art stickers and decorate your nails with Valentine's Day themed art. This Valentine Cricut project is fun to personalize with your own colors and designs.
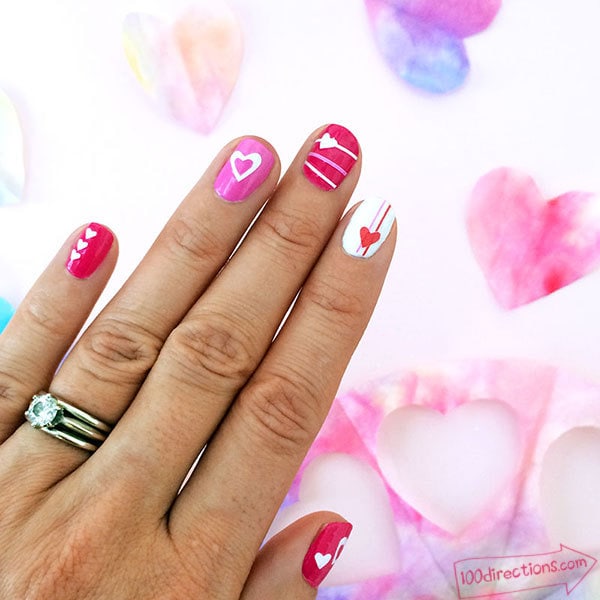
How to Make Valentine Nail Art with Cricut
Create your own custom nail art featuring pretty little hearts. Cut out these tiny nail stickers with your Cricut machine and you'll be able to create your own personalized manicure in minutes!
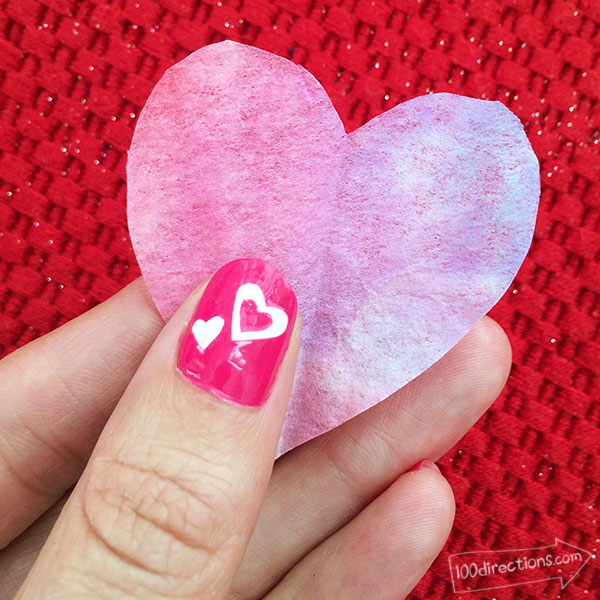
Add colorful stripes and hearts however you'd like. Paint your nails with your favorite color (or colors) and decorate until your heart's content. This is a fun and fast DIY nail art project you can create in less than 30 minutes.
Materials
- Cricut Machine
- Cricut Design Space software
- Nail Art designed by Jen Goode
- 12″ x 12″ StandardGrip Cricut® mat
- Printable Vinyl
- Colored nail polish
- Clear nail polish – top coat
- Scissors – small nail scissors work best
Recommended: Big list of Cricut Valentine's Day Projects
Instructions
- Apply a colored nail polish to nails and allow to dry.
- Print out the nail design on paper to determine if the sizing is right for your nails.
- Print and Cut designs on printable vinyl, following on-screen instructions.
- Peel and stick the nail stickers to each nail as desired.
- Apply a clear top coat nail polish to seal your nail stickers in place.
Note: Mix and match the sticker accents in whatever vinyl colors you’d like!
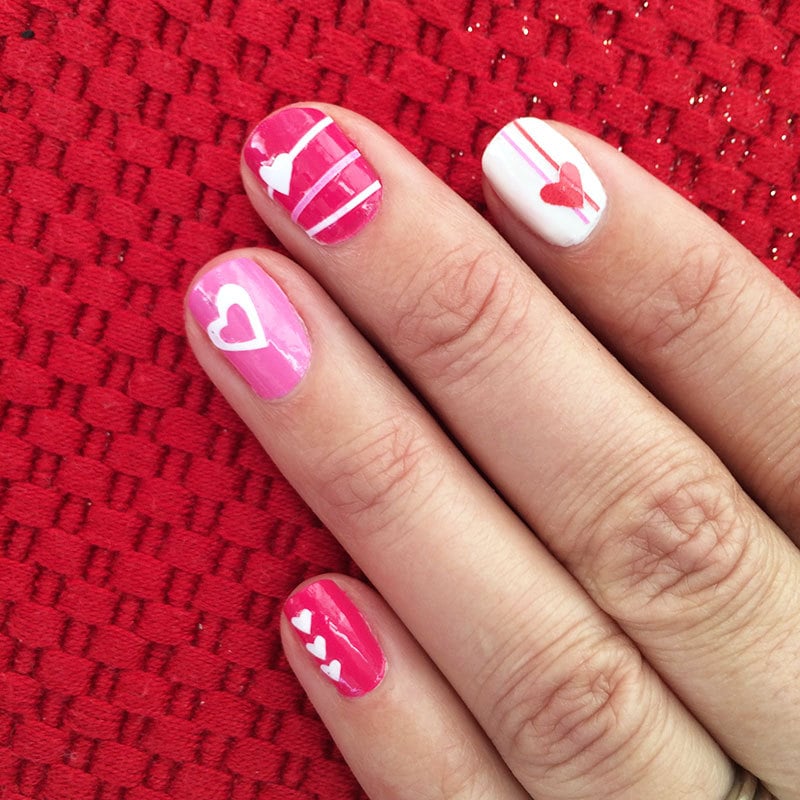
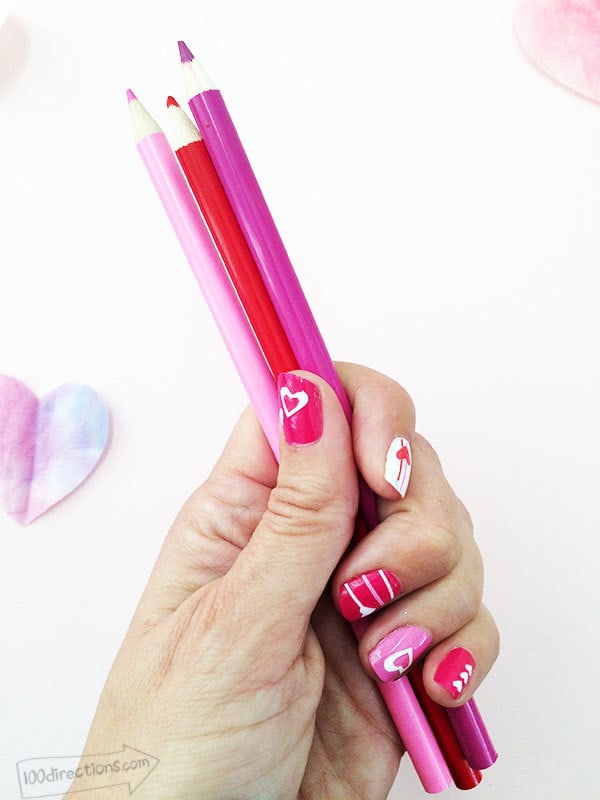
Mix and match the nail art however you'd like. You can use the full nail stickers or just the tiny decals, it's completely up to you. Customize, personalize and have fun! I'd love to see the Love Heart Nail Art you create with this set! Stop by the 100 Directions facebook page or tag me #jengoodeart to show me your creations!
Looking for more fun nail art ideas? Click here to take a look at the other nail art project tutorials I've shared.




I LOVE YOUR NAIL STICKER IDEAS!
Thank you so much! I’d love to hear how they work out for you!