I saw a neat Halloween pumpkin decor that featured a spiderweb hanging from a side cut pumpkin. I wish I had written down where I saw it because it inspired this next Halloween pumpkin craft I created. This mini pumpkin luminary features a fall tree digital art set I also created that you can use to make your own project. This pumpkin craft project is relatively easy to make and requires very few supplies. If you don't have items on the list below, read through the instructions before heading to the store, you might have something similar or another supply that would make a good replacement materials.
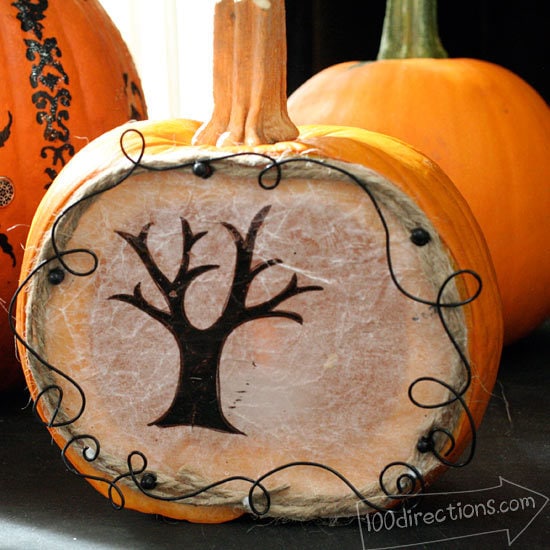
Here's how to make your own little pumpkin luminary:
Materials you need:
- Small pumpkin
- Wax paper
- Mod Podge
- Paint brush
- Straight pins
- Twine
- Eyelets and eyelet punch (I use a crop-a-dile)
- Back craft wire
- Battery operated faux votive candle
- fall tree digital stamp set by Jen Goode
- Ink jet printer
- Glue
- Scissors
Grab the free project art!
[wpdm_file id=96]
Make a pumpkin luminary
- Cut the pumpkin on the side and clean it out. Set aside.
- Cut a piece of waxed paper at least 2″ wider and taller than your pumpkin.
- Prepare wax paper by crunching into a ball and flattening back into a sheet. This will create wrinkles in the paper.
- Apply a thorough coat of Mod Podge on one side of the wax paper. Let dry.
- Choose which tree you'd like to use for your pumpkin luminary. Print the tree on the wax paper making sure the ink prints on the Mod Podge side of the paper. (The Mod Podge allows the ink to stick to the waxed paper).
- Using the slided portion of the pumpkin as a measurement tool, cut the wax paper to fit on the side of your pumpkin.
- Glue two layers of twine along the edge of the wax paper to create a kind of frame around the image.
- Place at least 5 eyelets around the edge of the twine and paper.
- Using craft wire create a swirl and loop design to follow the frame of the piece. Glue in place.
- Place a battery operated votive candle inside the pumpkin (make sure to turn it on).
- Attach the wax paper image to the opening of the pumpkin using the stick pins to hold in place through the eyelets and into the pumpkin. Note: I didn't have black headed stick pins so I dipped the heads of the pins into black paint and let dry while I made the rest of my project.
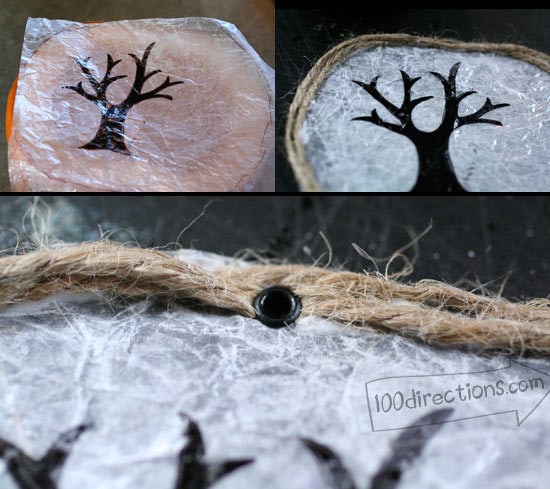
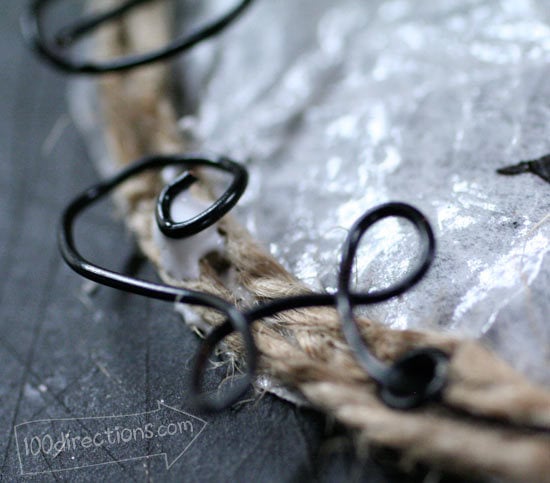
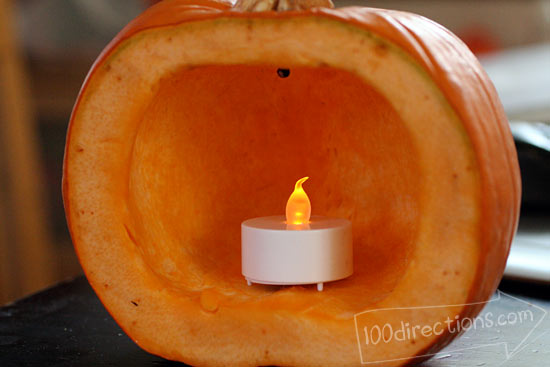
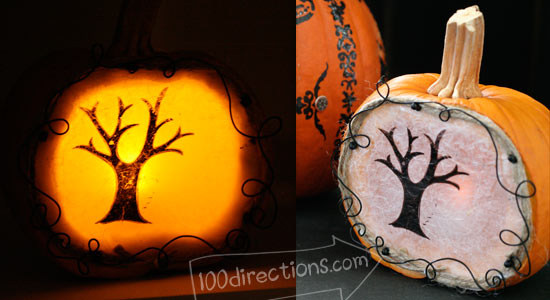
That's all. You can use any image you like, but make sure to print it on to the wax paper. The texture you get from the wax paper and printing is different than if you hand drew on to the paper… very cool look. You can make a whole bunch of these little pumpkin luminaries using different images. make one just like I did using the art I created, just download your free copy of the fall tree digital art set. If you missed it, the download link is above with the list of supplies. The art set comes with 6 different files you can use on a variety of projects. I hope you have fun with it and can't hear what you create – Come back and tell me about it!


I love this idea. But can you really put a piece of wax paper with glue on through your printer??????
Yes, I really did put this through my printer. Ink Jet Printer. A Laser printer does get hot so will melt the wax paper.Make sure the Mod Podge is completely dry before printing.
I love this tutorial, so fun!
Fun and pretty, I’ve never seen anything like this!
thanks for the idea…sure beats the hell out of carving…..going to use those patterns i collected for years to trace