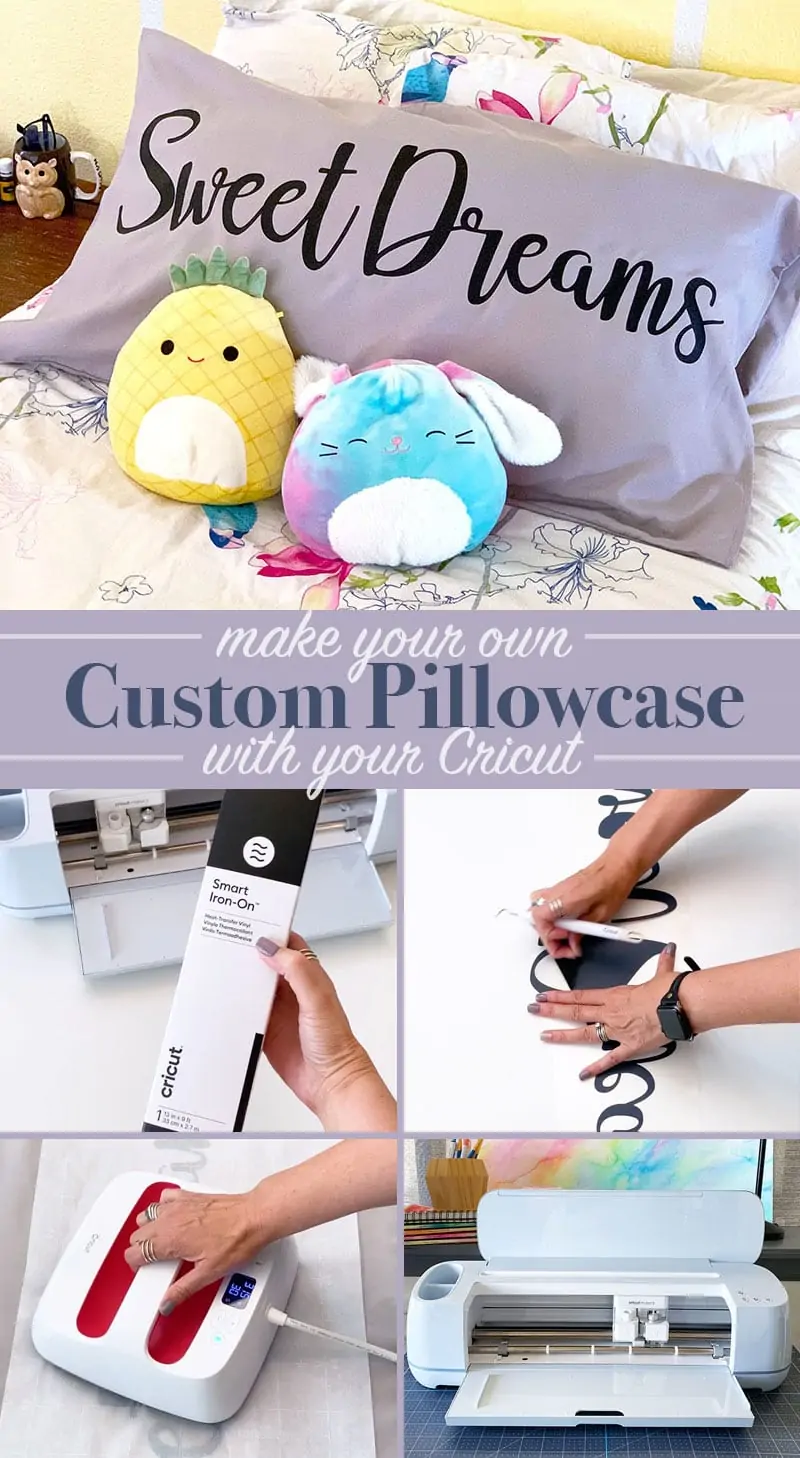
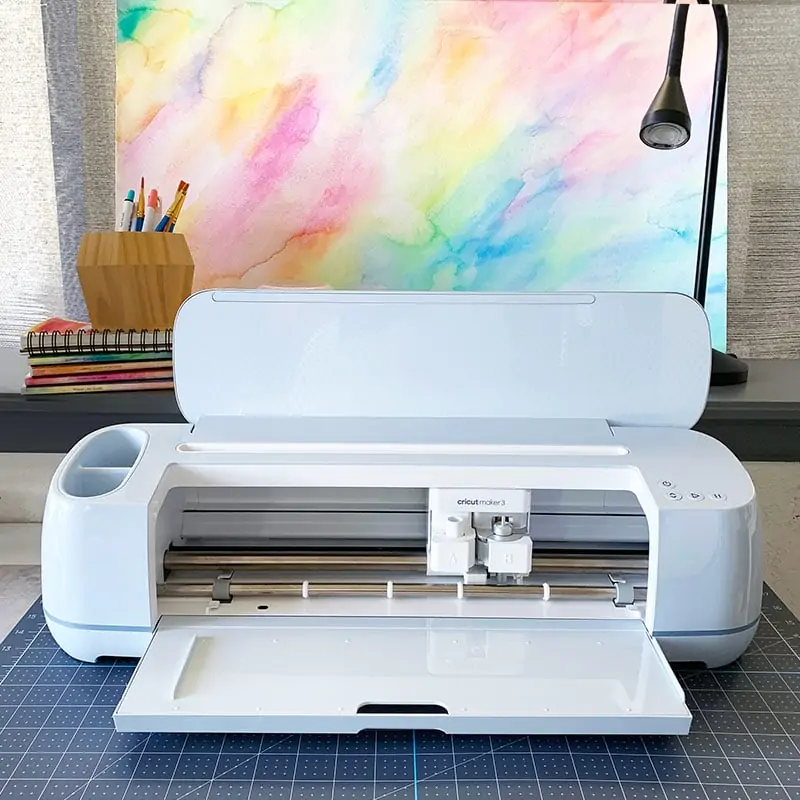
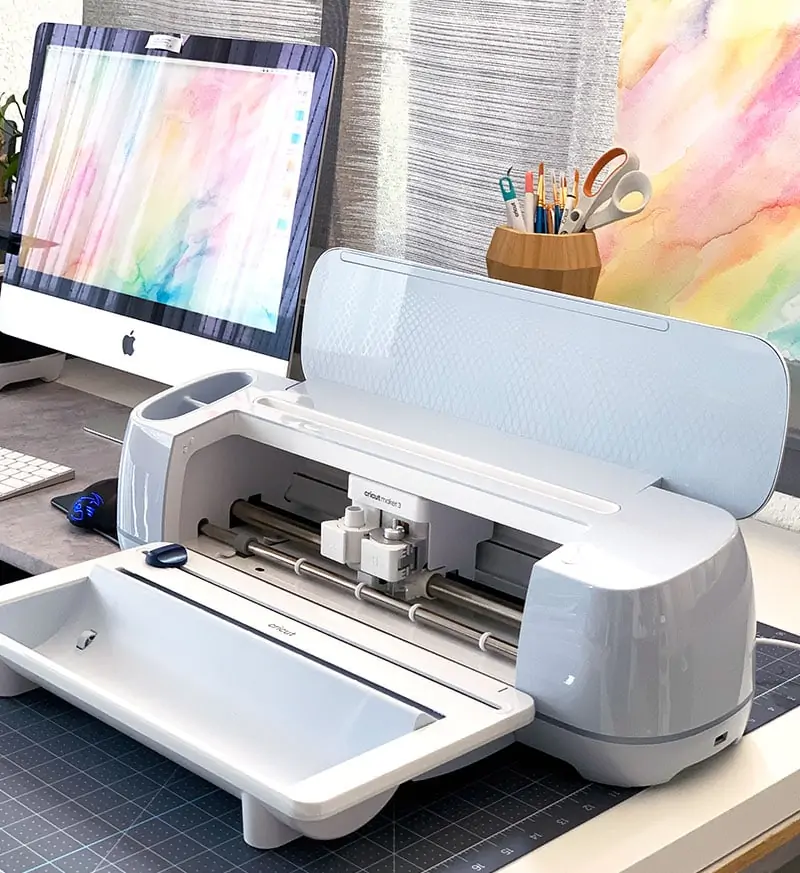
Making large custom pillows is a breeze with the new Cricut Maker 3! You can easily create all the designs you need and cut them in one go. The Smart Materials and larger scale continuous cutting capabilities make the Cricut Maker 3 perfect for quick diy pillows and pillowcases. This Cricut project is great for group projects, gift giving and home decor. I'll show you how to make your own!
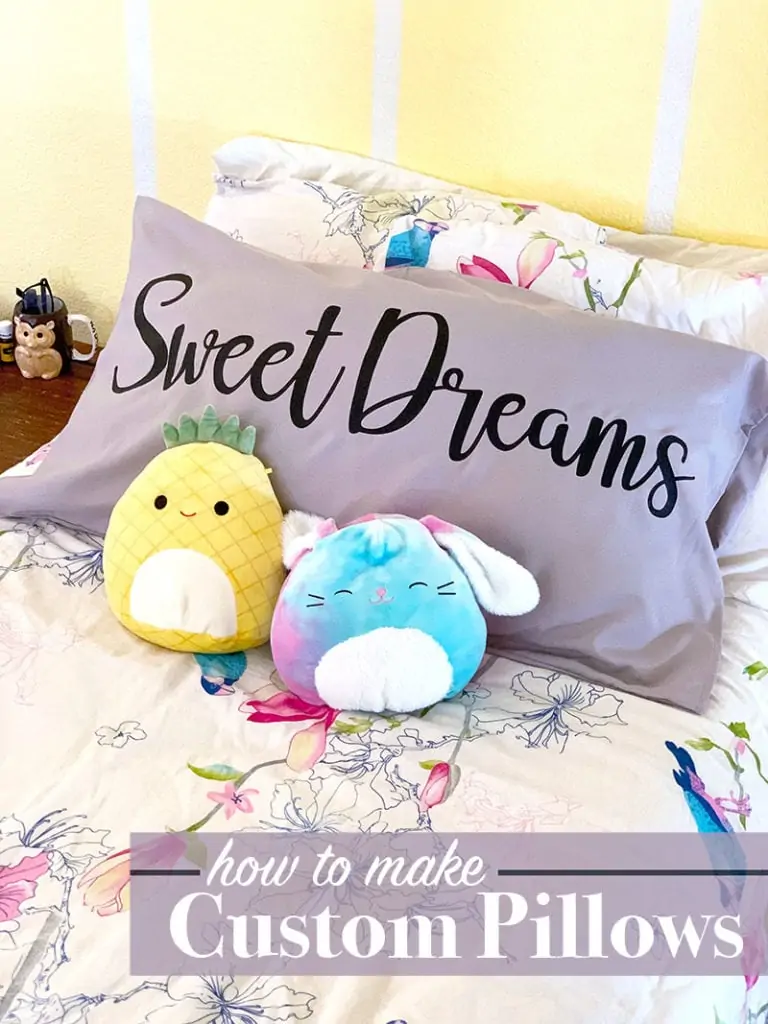
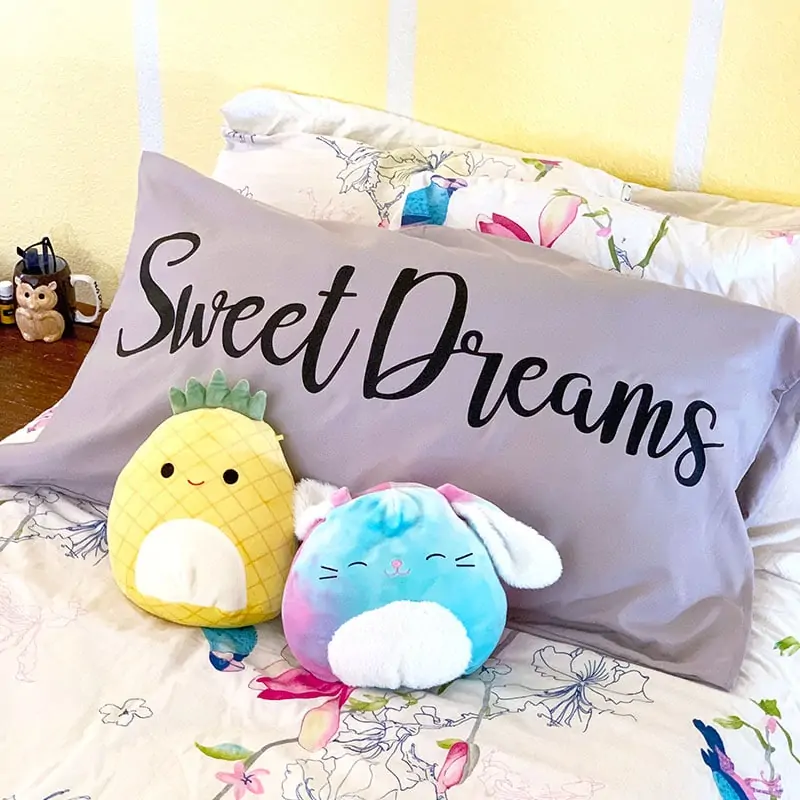
Pillowcases are a really fun and quick way to dress up bedding. It's a budget friendly option that you can easily customize for any room. You can mix and match colors and coordinate designs you apply. With the Cricut machine, you can quickly cut a variety of art designs and word art to suit your style. I went with a classic “sweet dreams” for my teen daughter's room.
How To Make Custom Pillows With Cricut
For this project I am using a king sized (20″x36″), 100% polyester pillow case in gray. There's a large selection of pillow case options, I'll share the link below. You can use whatever size pillow case you'd like, pick your favorite and choose a fabric you prefer. Just make sure the vinyl or iron-on material you use is compatible with your fabric.
Materials:
- Cricut Maker 3 cutting machine
- Sweet Dreams design find it in Cricut Design Space
- Pillow Case (King size)
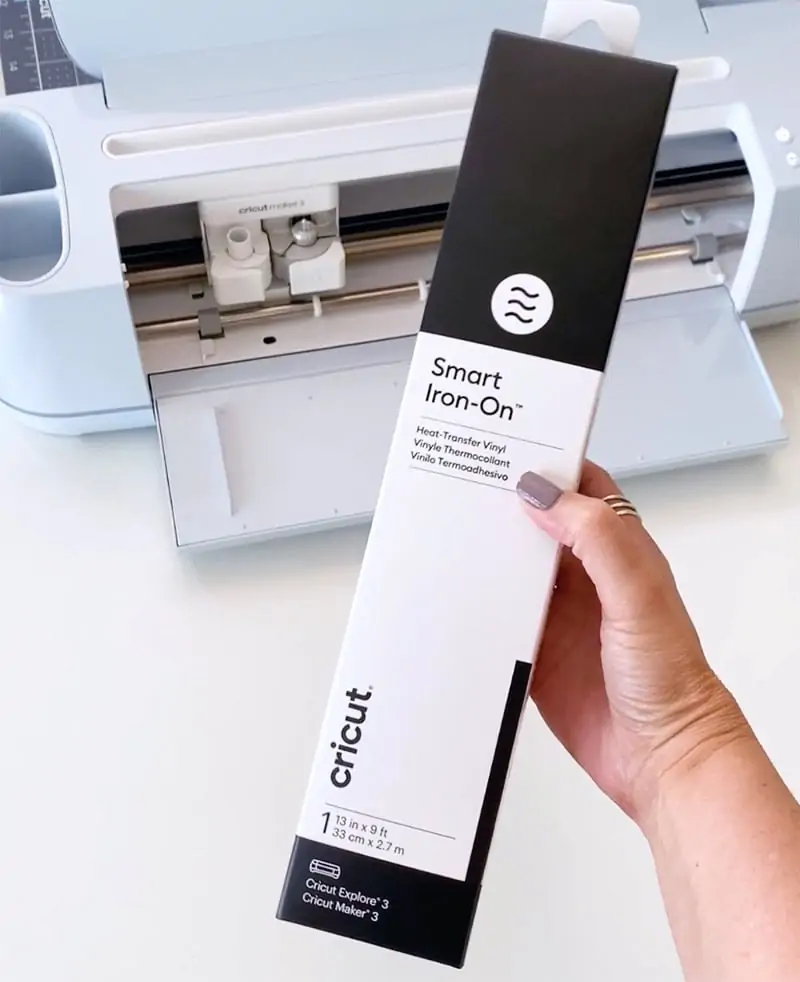
- Cricut Smart Vinyl in black
- Weeding tool
- Easy Press – I use the 9″x9″.
- Parchment paper
Instructions:
- Create your own design or use the Sweet Dreams project I've already set up for you.
- Size the design to fit your specific pillowcase.
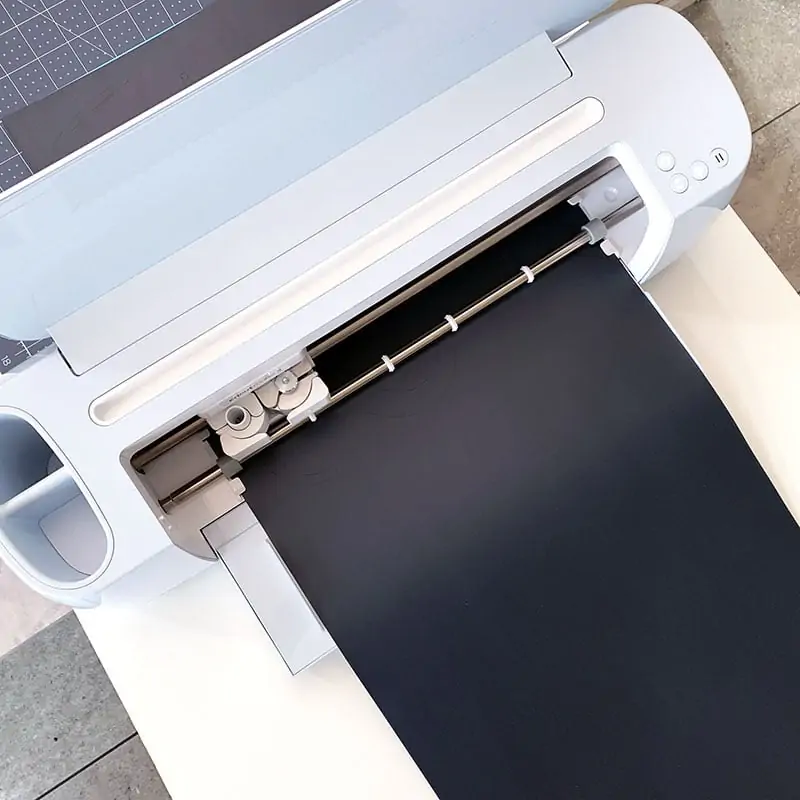
- Follow the on-screen instructions to cut the design from your vinyl. (Vinyl goes shiny side down on to your machine.) Reminder: Make sure to mirror the image before cutting!
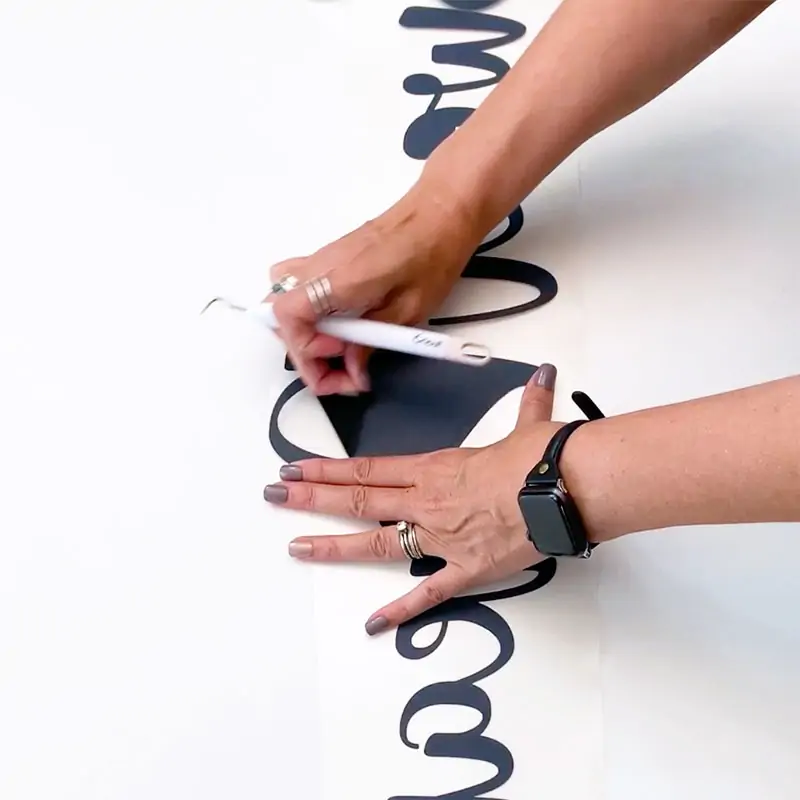
- Weed the design.
- Set up your workspace and iron any wrinkles out of your pillow case.
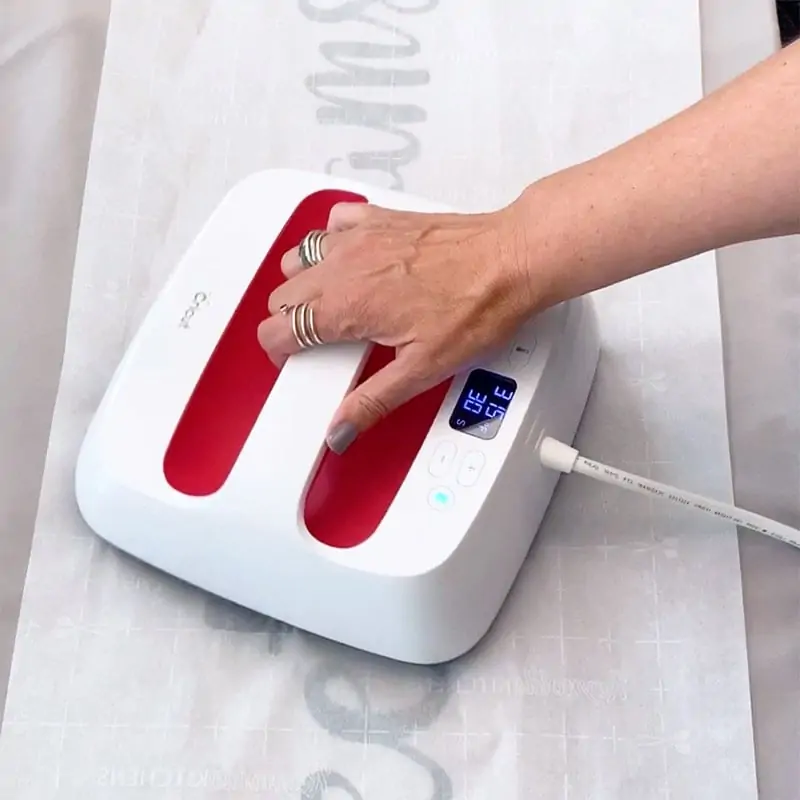
- Using your EasyPress, apply the vinyl to your pillowcase following the Cricut heat transfer guide for the materials you are using. I like to use parchment paper over the top of my vinyl while heat setting, it helps protest the vinyl and the EasyPress.
Make your own! Head over to Cricut Design Space and get started with my Sweet Dream Pillowcase project
Learn more about the different Cricut Machines, materials and projects you can make!
This project took about an hour, start to finish, including designing the word art. This is the perfect project for a quick craft afternoon, right? Create your own custom pillows with your Cricut. Grab a roll of Smart vinyl and your Maker 3 and you'll be personalizing pillowcases in minutes!
Looking for more Ideas? Check out all the Cricut projects I've designed for you!
