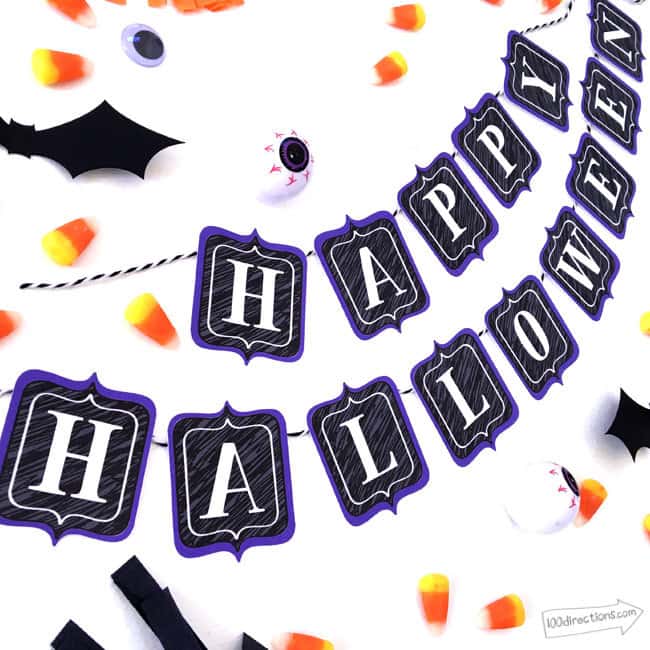
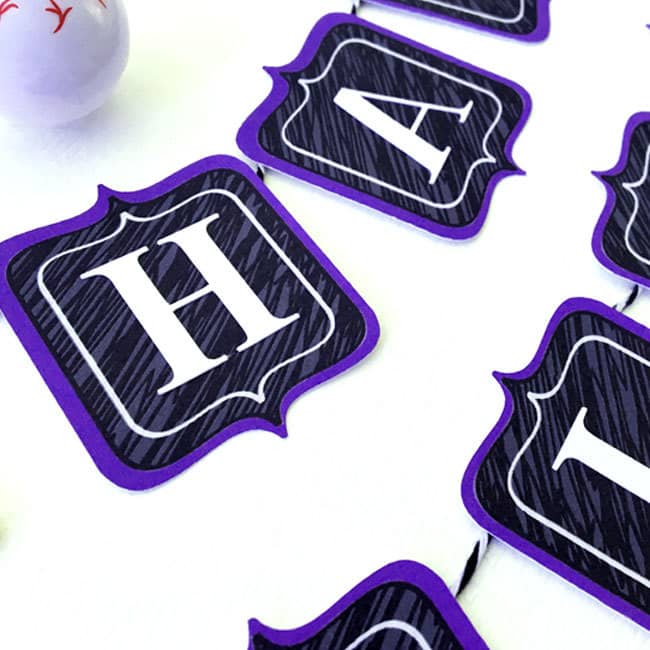
I think Happy Halloween garland is so much fun and so simple to make. You can create so many different looks and color combinations with DIY garland so you're sure to create something all your own. This fun Halloween project can be customized to fit your own personal style. I went with black and purple with accents of candy corn colors. You can change up the background pieces of the garland to whatever color you like. You can also change the color of the letters.
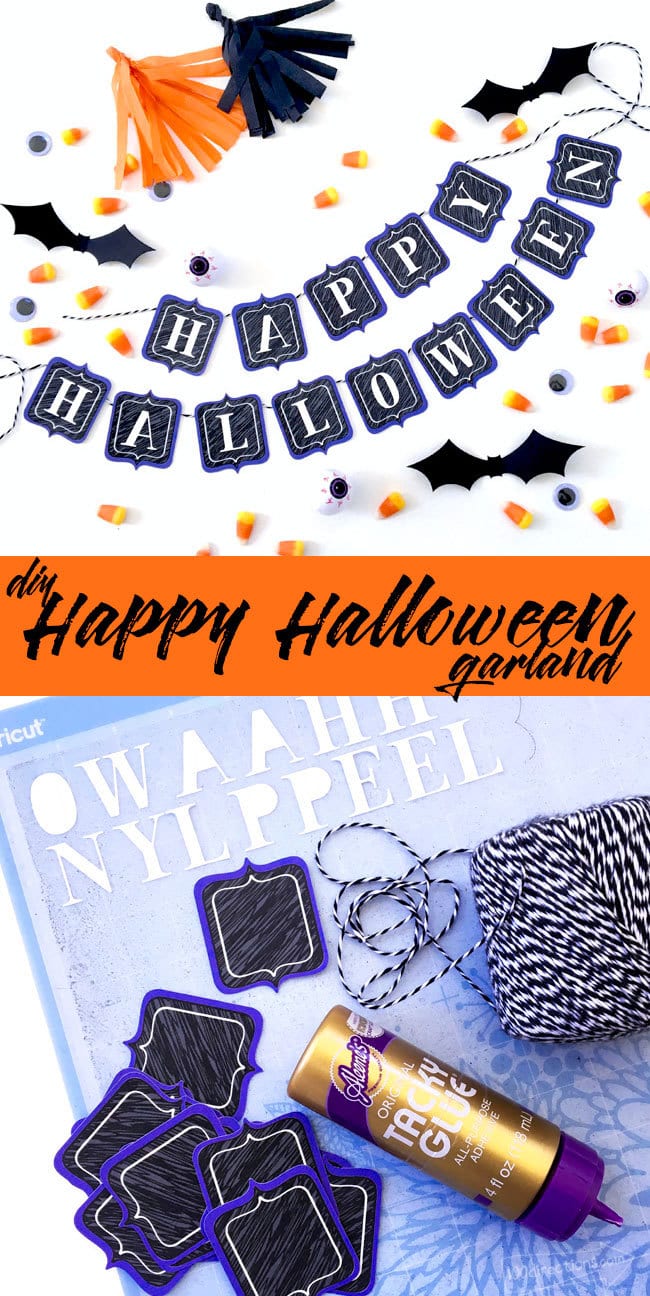
DIY Happy Halloween Garland
Use your Cricut machine to make your own Happy Halloween garland with this fun design created. You can add this decor piece to existing Halloween decor or use by itself. You can also use the letter blocks to decorate other Halloween crafts you make.
Materials
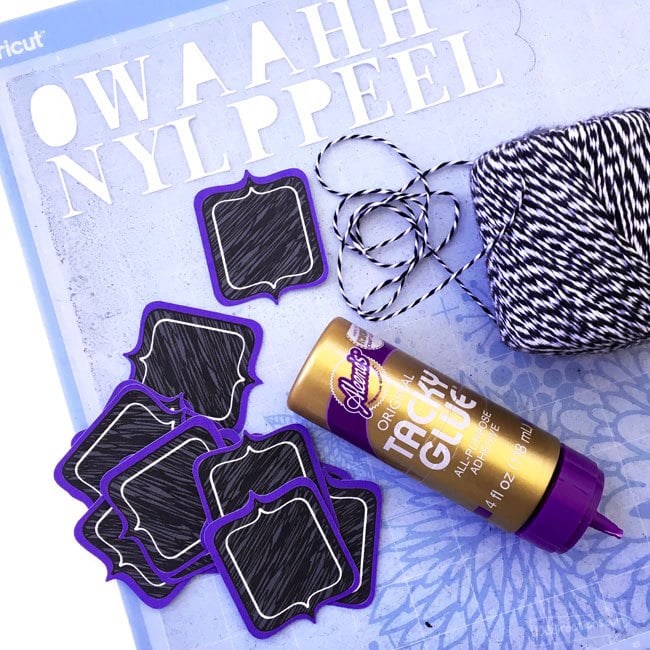
- Cricut Explore® machine
- Cricut Design Space™ software
- Halloween Print Then Cut Designs by Jen Goode
- 12″ x 12″ Standard Grip Cricut® mat
- Black and white cardstock
- Printer
- Twine
- Glue
- Tape
Instructions
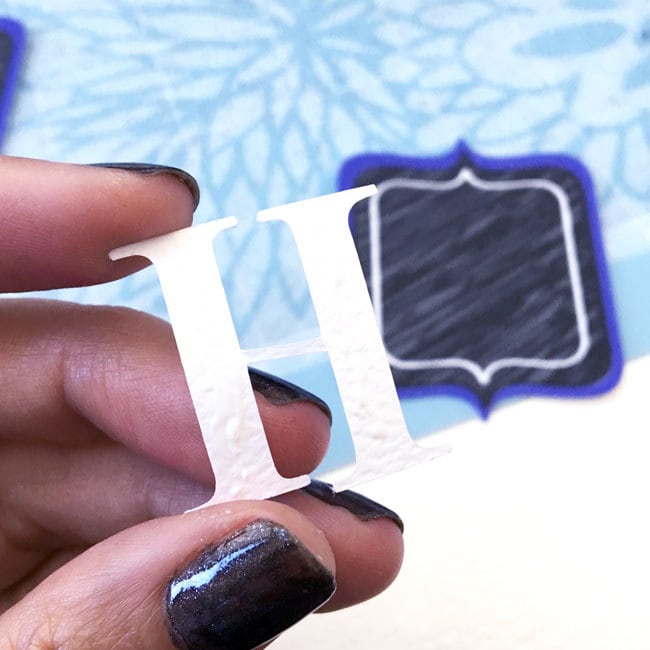
- Follow onscreen instructions to cut individual Happy Halloween letters from white cardstock.
- Print then cut 15 garland banner pieces.
- Glue Happy Halloween letters to the individual banner pieces.
- String together the banner pieces by taping the string to back of each banner letter.
- Hang to display as desired.
Optionally, flatten the letters to individual banner pieces in Cricut Design Space to print then cut each finished letter block without requiring any gluing.
Make your own Happy Halloween Garland in Cricut Design Space.
Click Here to get started.
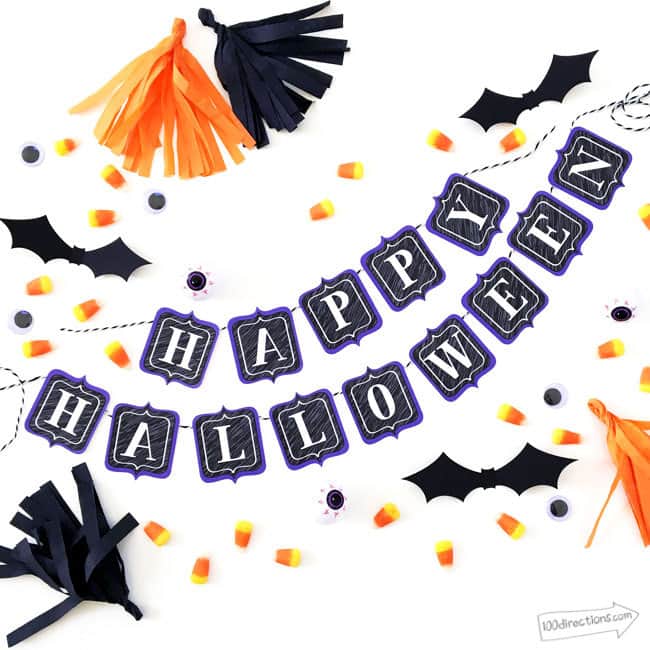
Tip: Layer with bat garland or spiderweb garland for a more decorative look.
Make your own Happy Halloween Garland in Cricut Design Space. Click Here to get started.
I hope you have fun making your own Happy Halloween garland. I'd love to hear about it so make sure to stop back by and tell me what you created!

