I love decorating for Halloween, but I don't love the scary Halloween decor. I prefer the vintage, cute or elegant Halloween projects and decor. Something unique or ornate is more my style when it comes to decor, so I'm excited to share this project with you… it's definitely easier to make than it might look!
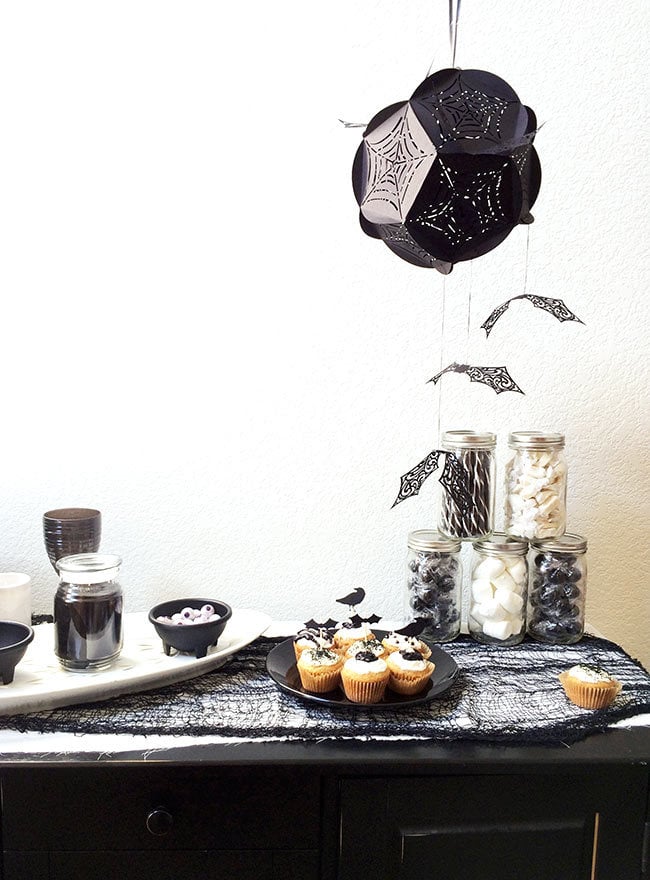
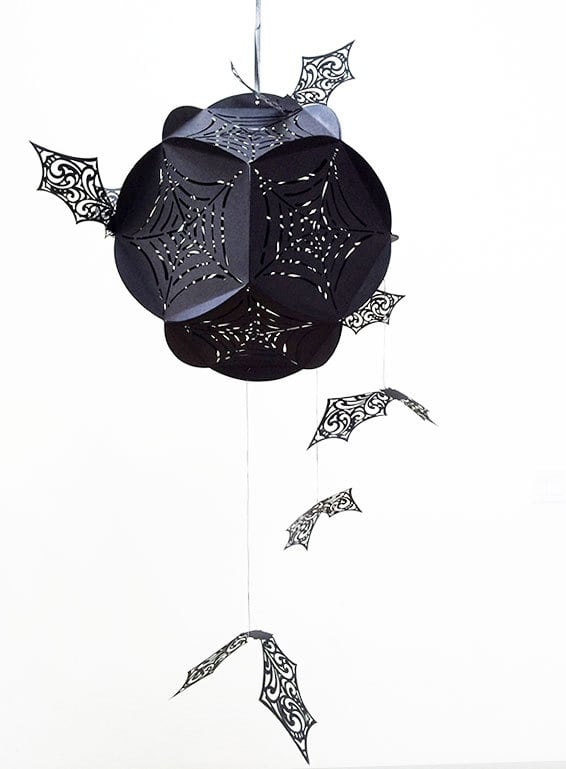
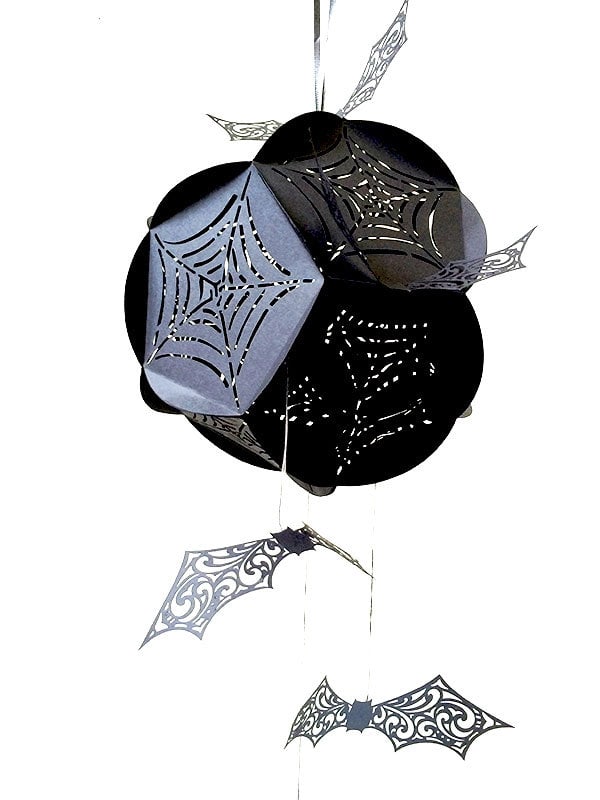
Since my son made a Blooms Ball for school last year, I've been in love with these paper orbs. They look so fancy but are so easy to put together. For this Halloween piece, I created my own cutting files to use with my Cricut machine (you can grab some freebie cutting files below). You can use any images you'd like. The base piece for the ball is a circle with a score lines that form a pentagon in the middle.
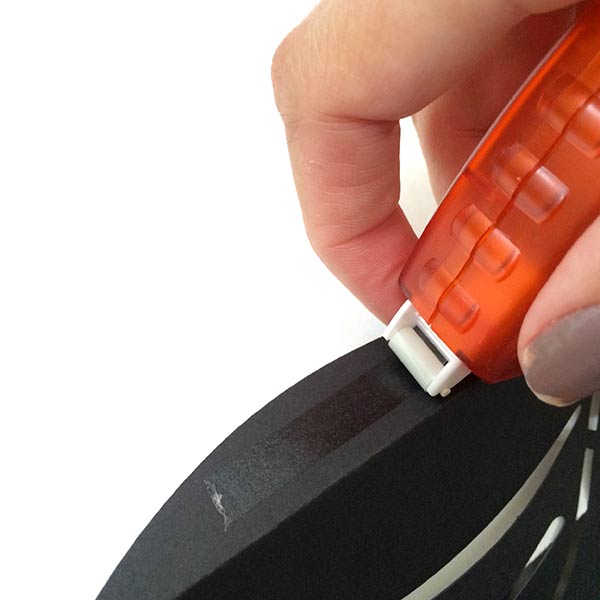
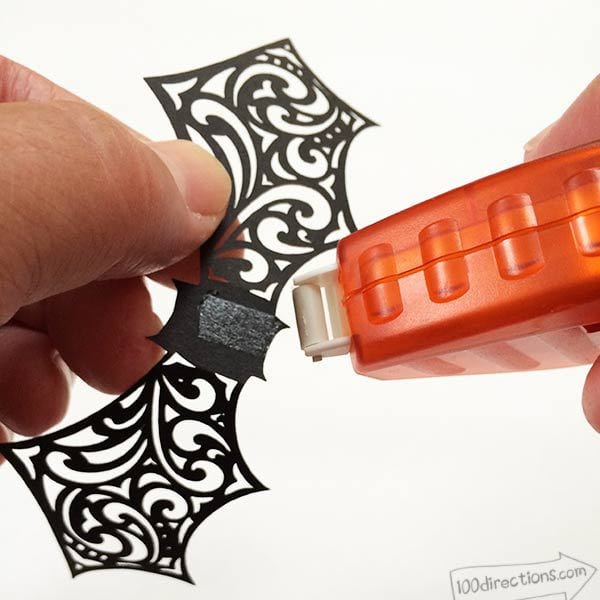
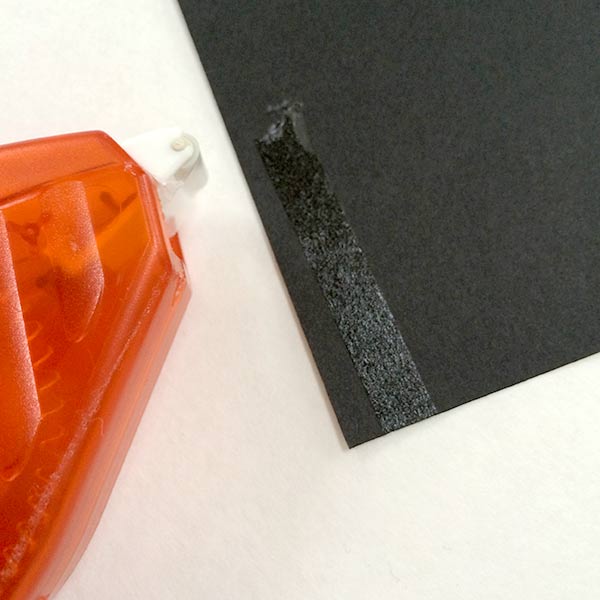
Now let me mention, I used Tombow's Xtreme tape runner to put this entire piece together. The Tombow folks sent me free tape runner along with other cool goodies as part of their Sticky U program. I then promised to make something fun and share with all of you.
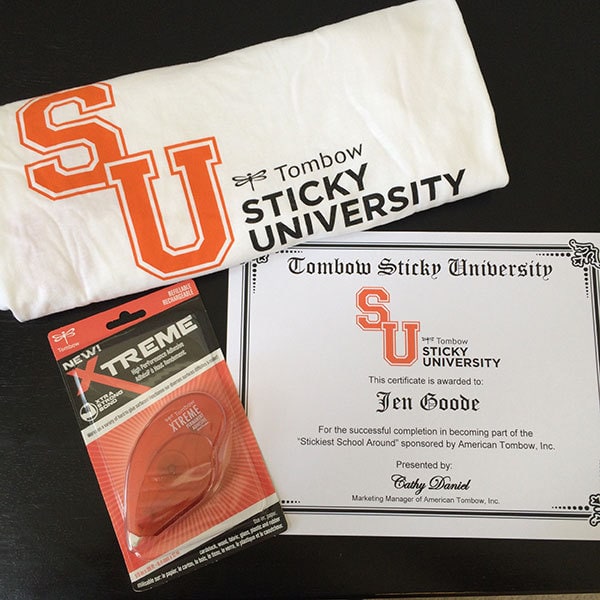
I've made a ton of things with this tape, but nothing super fancy, so I thought today would be a great day to share. This project is the perfect example of how this tape works well. All kinds of sharing fun going on here today!
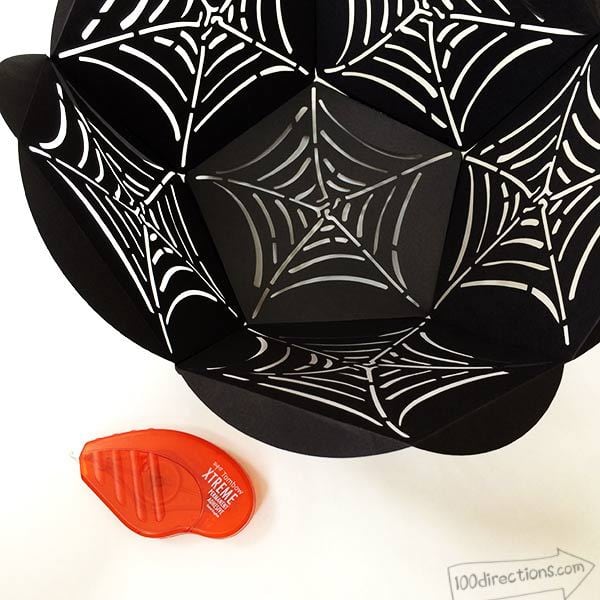
Materials you need:
- Cardstock
- Scissors or a Cutting Machine (I used my Cricut machine)
- Cutting shapes
- String/thread
- Xtreme adhesive tape runner from Tombow
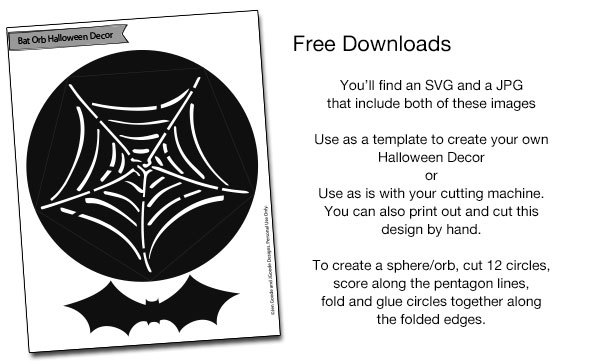
I have a few free design files for you to use to make this project. Below you'll find an SVG and a JPG file. Each file includes both a circle with a web and score line as well as the outline of a bat. The decorative bat design will be available later. Enjoy!

Make your own Halloween Decor Bat Hanging Centerpiece
- Cut out 12 circles.
- Fold along score lines.
- Adhere each folded piece to another circle until you've created a complete ball.
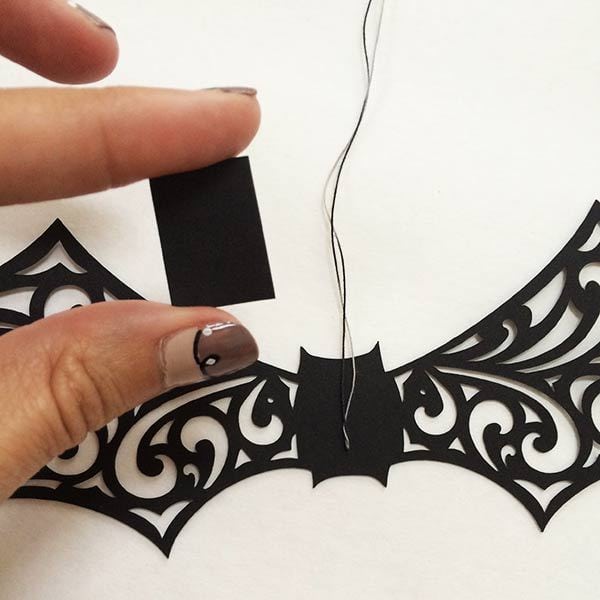
- Cut out 6 bats. Adhere 3 bats to the ball. Hang 3 bats, using string, from the ball.
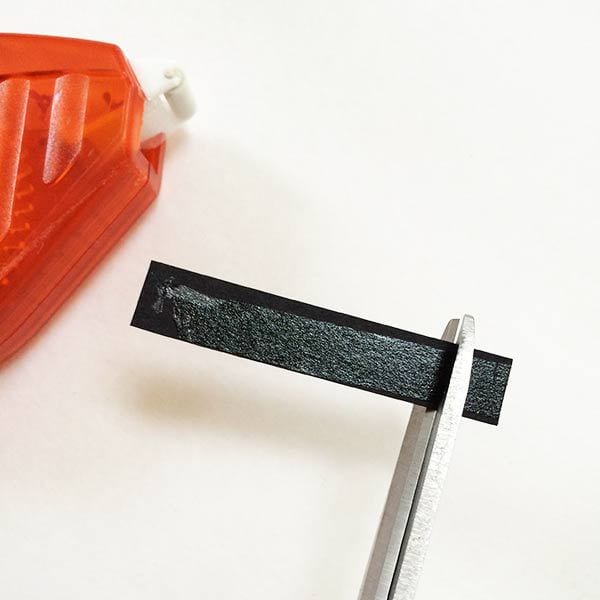
- To apply the string without cutting any holes, use a small piece of cardstock and adhesive.
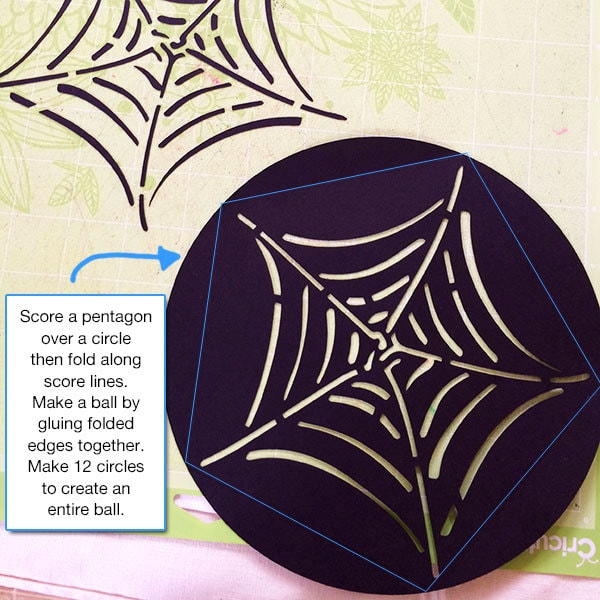
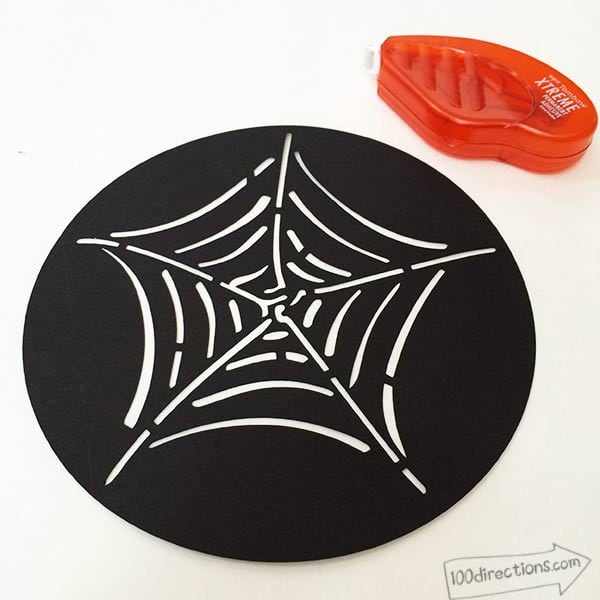
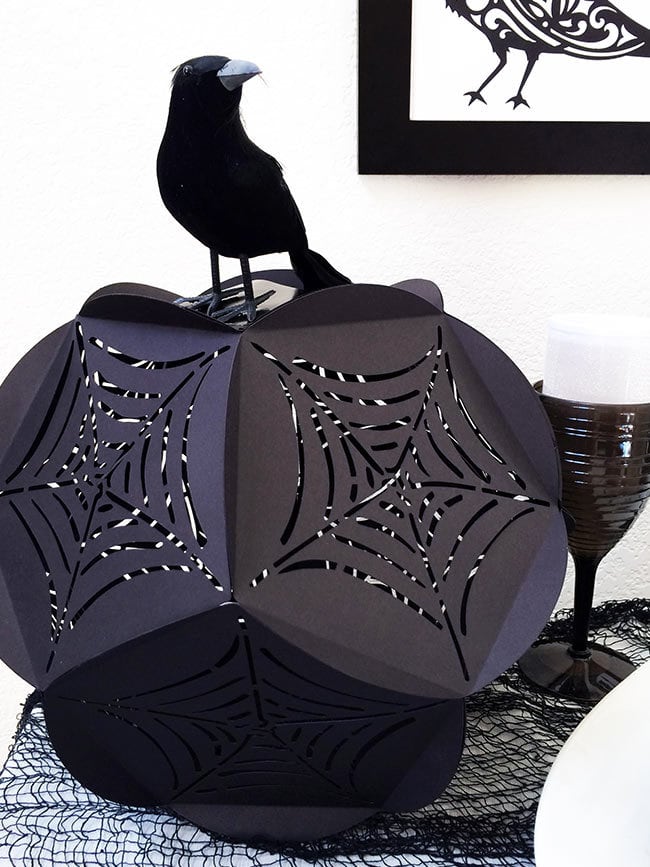
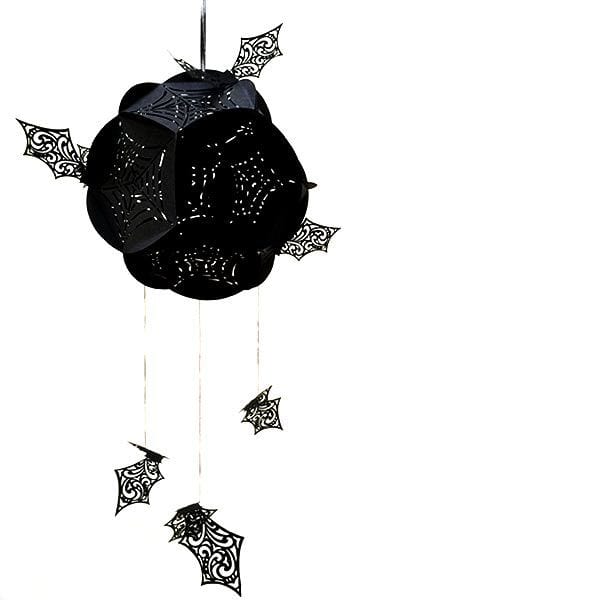
Check out more Cricut projects or have fun creating more great Halloween ideas. If you use the circle template in Design Space, add your own cutting shapes to create a decorative ball that fits whatever decor you are using. What's really cool, this hanging Halloween bat decor ball won't deflate!



Jen, could you walk us through cutting your own files? I haven’t tried making my own drawings, but I have used clipart and line drawings from online coloring pages. I never get the opportunity to save them in svg because it doesn’t list that when I choose ‘save’. The problem is that when I upload the image and clean it up with the eraser tool, Cricut cuts a double line instead of one clean line. Thanks
Hi! I will absolutely share a walk through. There are a couple ways to cut your own files, so I’ll write up a few different posts showing the different techniques. Thank you so much for asking!
As for saving as an SVG file – SVG files have to be created in that format to begin with. Sometimes you can convert a file from one type to an SVG, for example, in Adobe Illustrator, you can import and jpg file, convert using the “live trace” feature and then save as an svg. However, for a good cutting file, there needs to be some clean up done between live trace and saving. I’ll share more info soon!