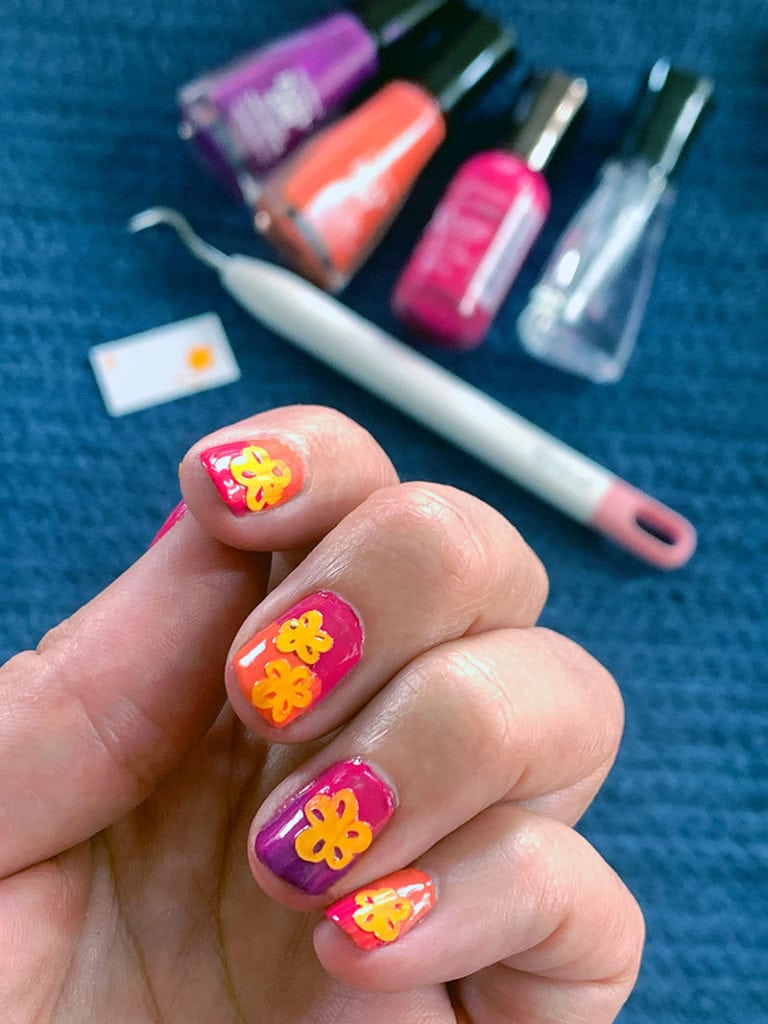
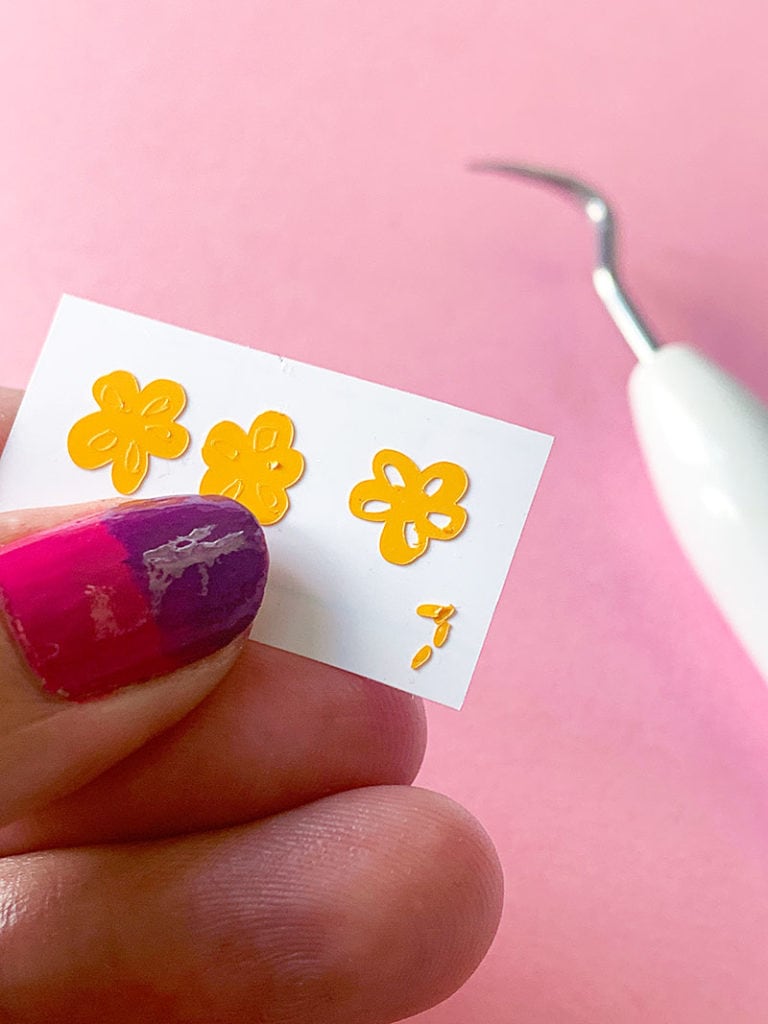
Cut out little floral nail decals with your Cricut in minutes! Dress up your fingernail art designs with DIY nail art you make with your Cricut and vinyl. You can include these cute little cut designs in a nail gift set or share for a fun group manicure activity. Vinyl nail decals are quick to make and fun to use!

How to make Vinyl Nail Decals with Your Cricut
To make your own vinyl floral decals, you can use any color of vinyl you'd like as long as it will cut with your Cricut machine. I think the permanent adhesive lasts longer, but even the removal vinyl will cut and adhere.
Materials
- Cricut machine and Cricut Design Space account
- Vinyl you can cut
- Floral art by Jen Goode – design canvas to help get you started
- Top Coat nail polish
Side note: I used my Cricut Joy to make this project, but you can use any of the Cricut machines that connect to Design Space.
Instructions
- Head to the design canvas I've already set up to help you get started.
- Resize the art designs to your preferred sizing or use the images I've set up.
- Follow on-screen instructions to cut the floral designs from the vinyl of your choice.
- To apply the vinyl decals to your nails, make sure your nails are clean and dry. Add a polish color and or top coat first if you'd like. Apply the decal, press firmly in place. Apply a top coat to seal the vinyl in place.
Tip: Make sure to use a top coat to seal the decal to your nail and help it last longer. I like to use Out the Door or Insta-Dri.


This entire week, I’m sharing Family Fun activities you can make with your Cricut. I’m co-hosting the week’s events along with The Country Chic Cottage, 30 Minute Crafts and Mad in Crafts. A whole bunch of our crafty blogging friends will be joining in with their own ideas all week long, so check back each day for more ideas.


