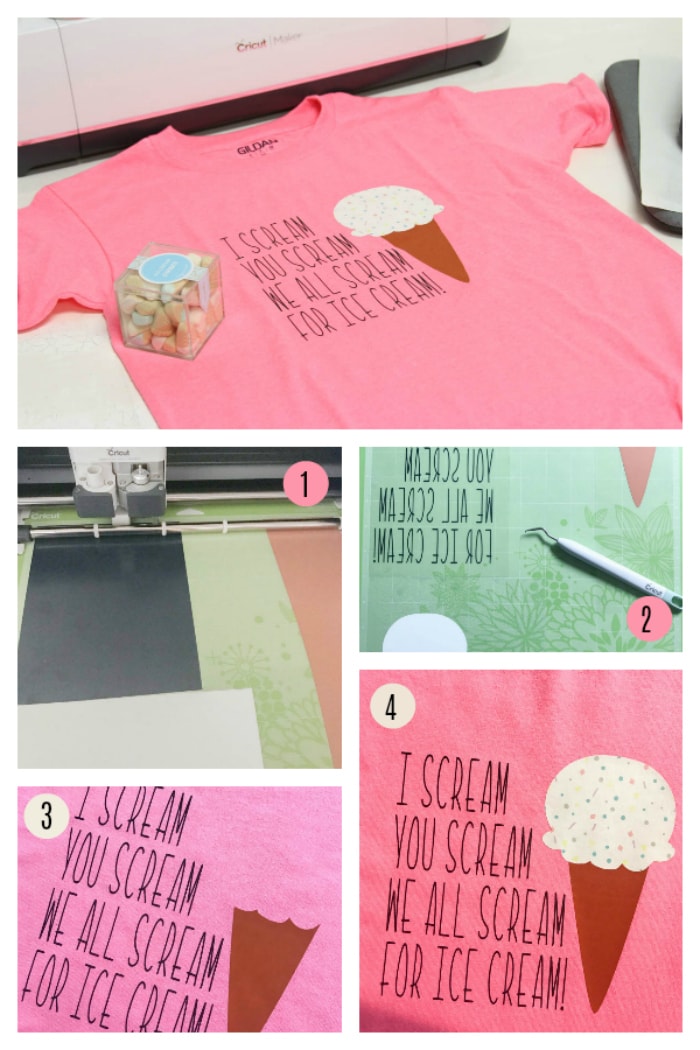
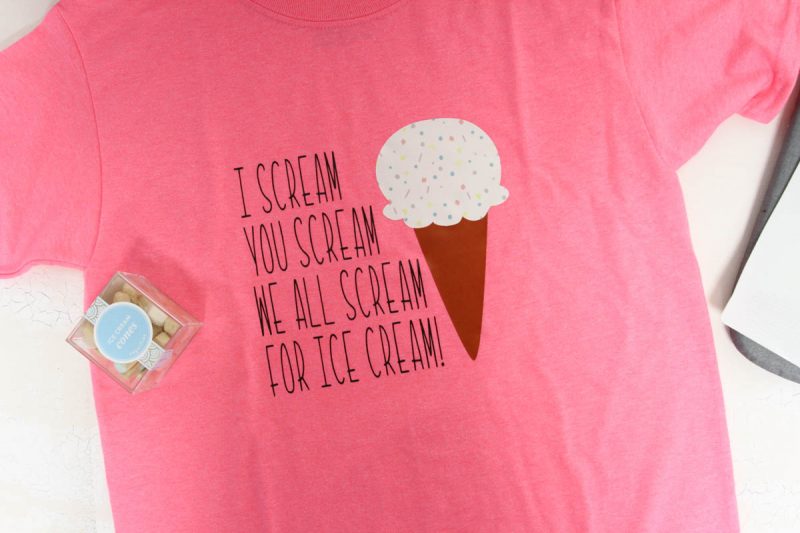
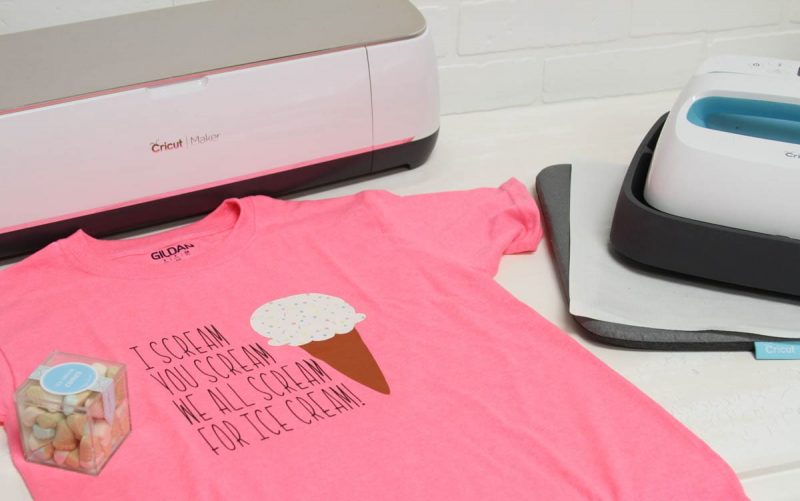
Get out your Cricut and make DIY Ice Cream T-shirts in minutes. Today my friend, Jessica Roe, is sharing this fun DIY Cricut project. This is such a fun project for summer parties. You can customize it to create a different shirt for everyone in the family!
Who isn’t going to scream for ice cream when they see this cute shirt?!
Hi everyone! It’s Jess from Everyday Party Magazine, and I’m so excited to be back again! I’m a Cricut enthusiast, and I love using Jen’s cut designs for party decor, favors, and more!
DIY Ice Cream Shirts
Whether you are creating a cute t-shirt for yourself or want to create shirts at your next ice cream social, this design is perfect! Change the “flavor” of the ice cream simply by changing what vinyl you use!
How to make your own cute ice cream shirt
July is National Ice Cream Month, and I think it is a crime not to celebrate it as often as we can during the month! Of course you should always have a cute shirt to wear when you’re celebrating, and I have the easiest DIY Ice Cream Shirt ever!
Materials
- Cricut Maker cutting machine
- Cricut Design Space account
- Ice Cream cut design by Jen Goode
- Cricut Iron On – Black
- Cricut Iron On – Brown
- Cricut Patterned Iron On – Party
- Cricut EasyPress
- Cricut EasyPress Mat
- Cricut Protective Sheet
- Pink Shirt
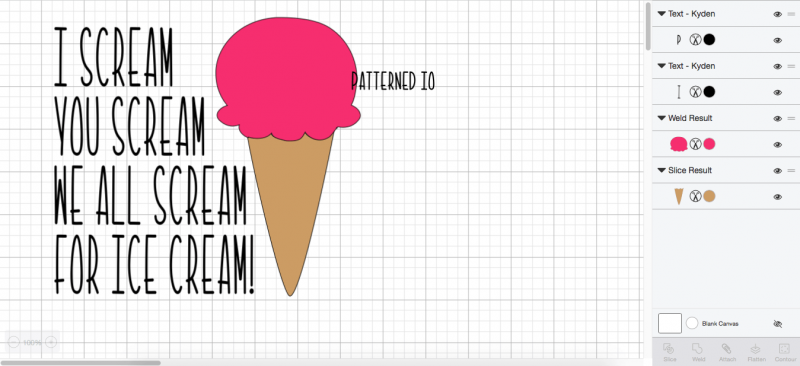
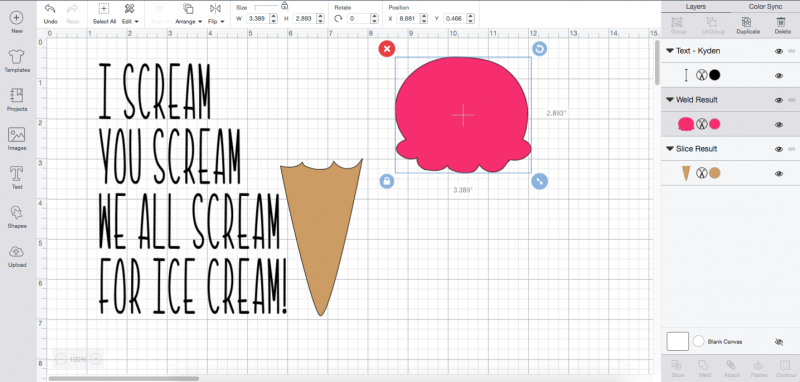
I've set up a Cricut Design Space canvas to help you get started with this cute summer craft. ~ this project is currently unavailable in Cricut Design Space ~
Instructions
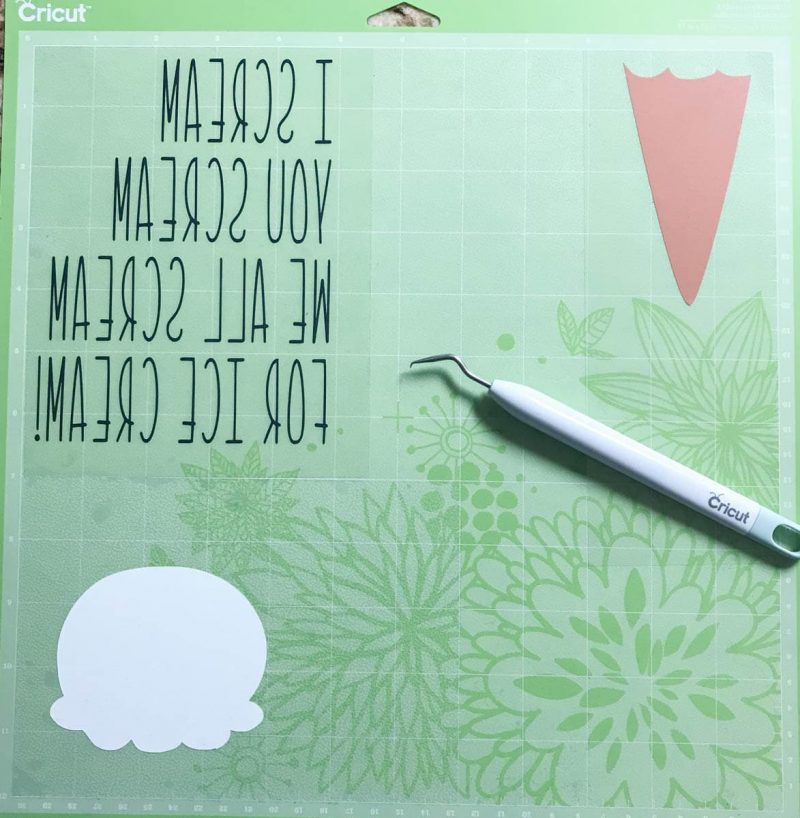
- Cut Iron On and place on Cutting Mat. I cut my Iron on just slightly larger than the size of the cut, and fit the whole project on one cutting mat. Don’t forget to place Iron On on the mat shiny side down, and mirror your cut. Send to the Cricut machine.
- Weed the Iron On.
- Prepare your shirt for Iron On, pre-heat the EasyPress to the recommended heat setting, place the shirt on the EasyPress Mat, and warm the shirt for 15-20 seconds before placing the Iron On on to the shirt. I fold the shirt in half and add a light crease to give myself a visual of the center line when I make a shirt.
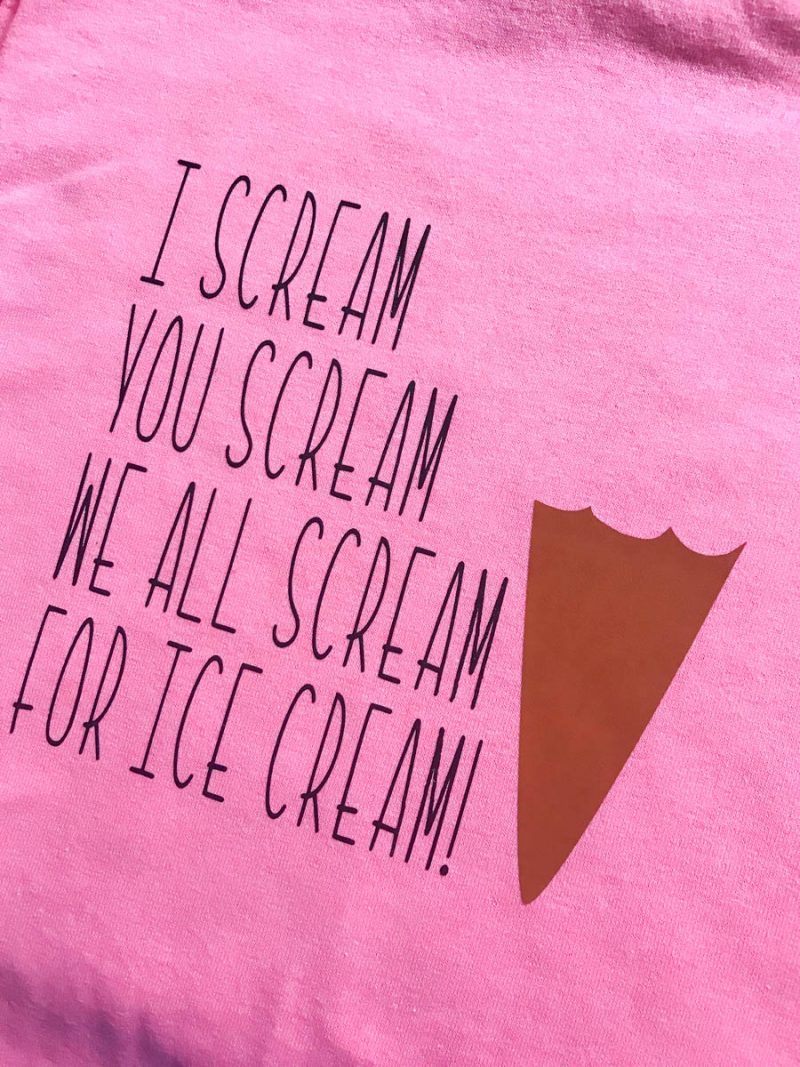
- Place the Iron On on the shirt where you would like it. I sliced the ice cream cone to fit right next to the ice cream scoop because you cannot layer patterned Iron On.
- Press each part of the design on the shirt, with the protective sheet between the EasyPress and the designs.
- Remove the Iron On transfer sheet, and enjoy your super cute new ice cream shirt!
- Remember to wash your shirt inside out to keep it looking good for a long time!

More Ice Cream Cricut Project ideas
- Ice Cream Party Garland
- Ice Cream Party Invitations
- Ice Cream Party Photo Props
- Gumball Ice Cream T-shirt
And just in case you get hungry while creating all these ice cream cuties, or you're looking for treats to make for your ice cream party, here are a few ideas for you.
DIY Ice Cream Shirt– project design by Jessica Roe
There are so many ways to celebrate National Ice Cream Month, and this shirt is just one of them. Head over to Jessica’s blog for more Ice Cream Celebration inspiration. Have fun creating with your Cricut!
