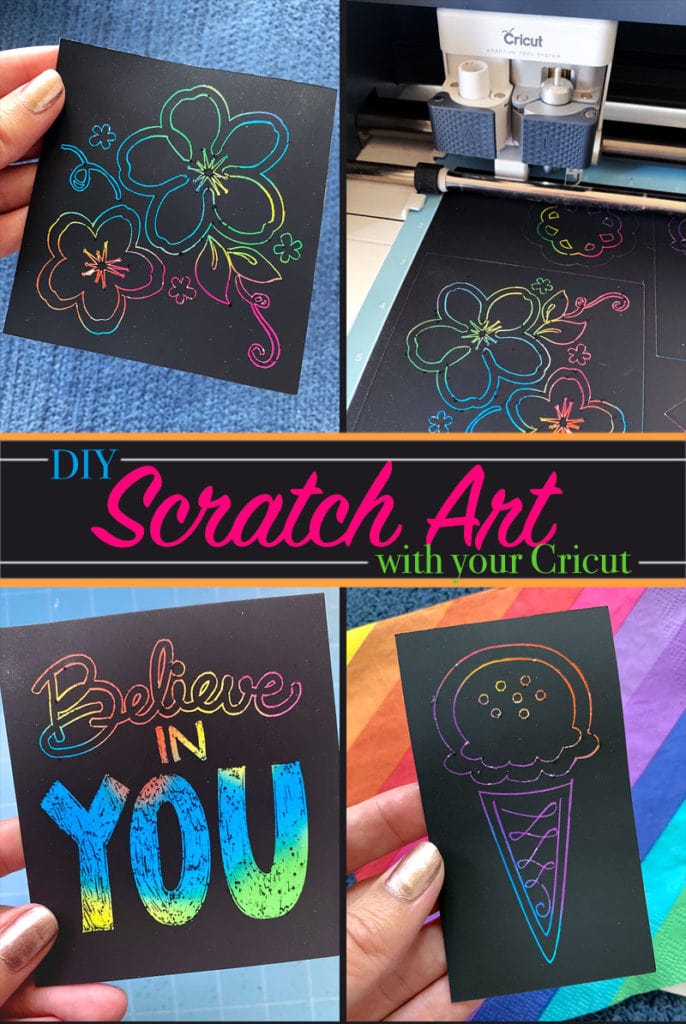
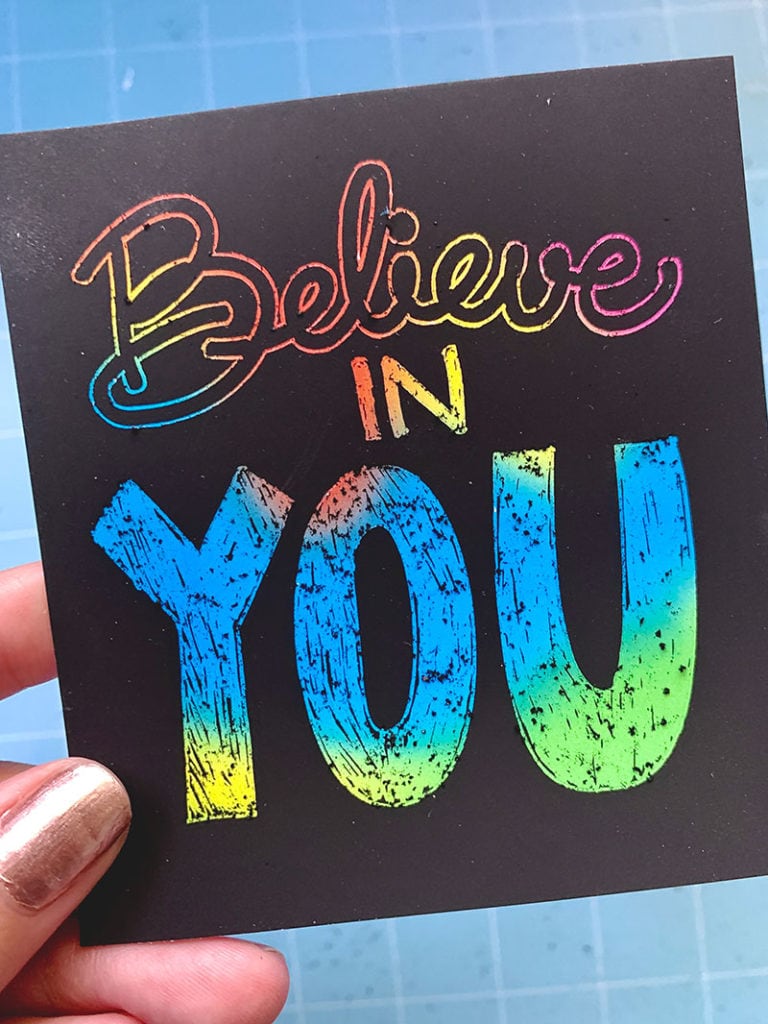
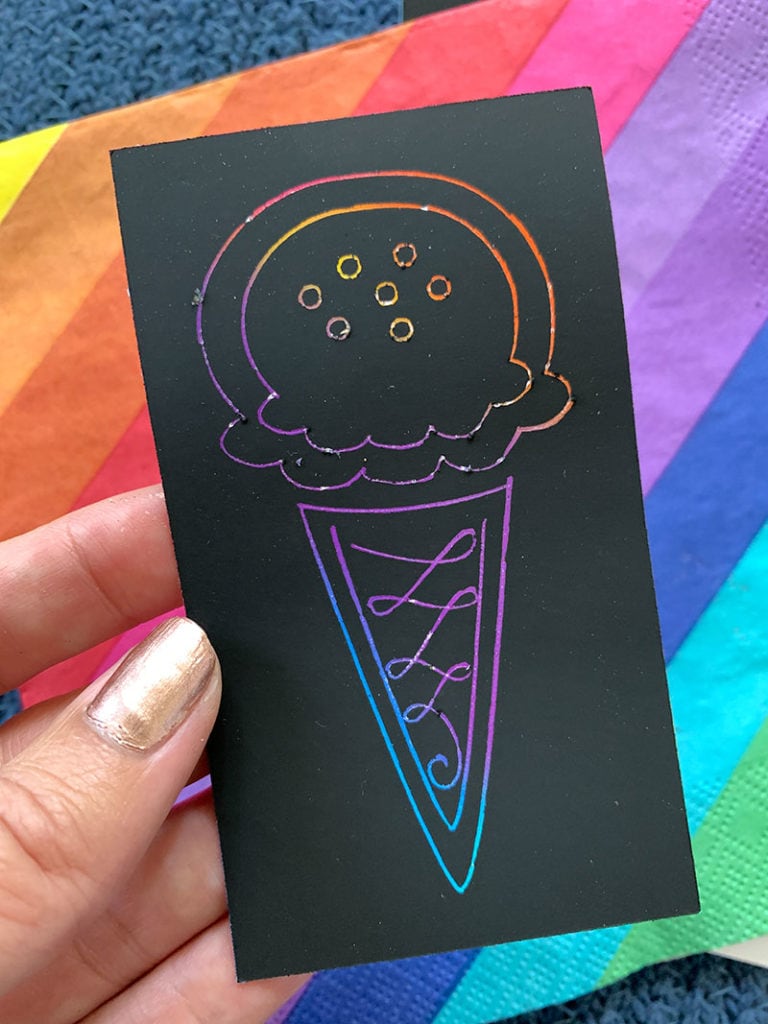
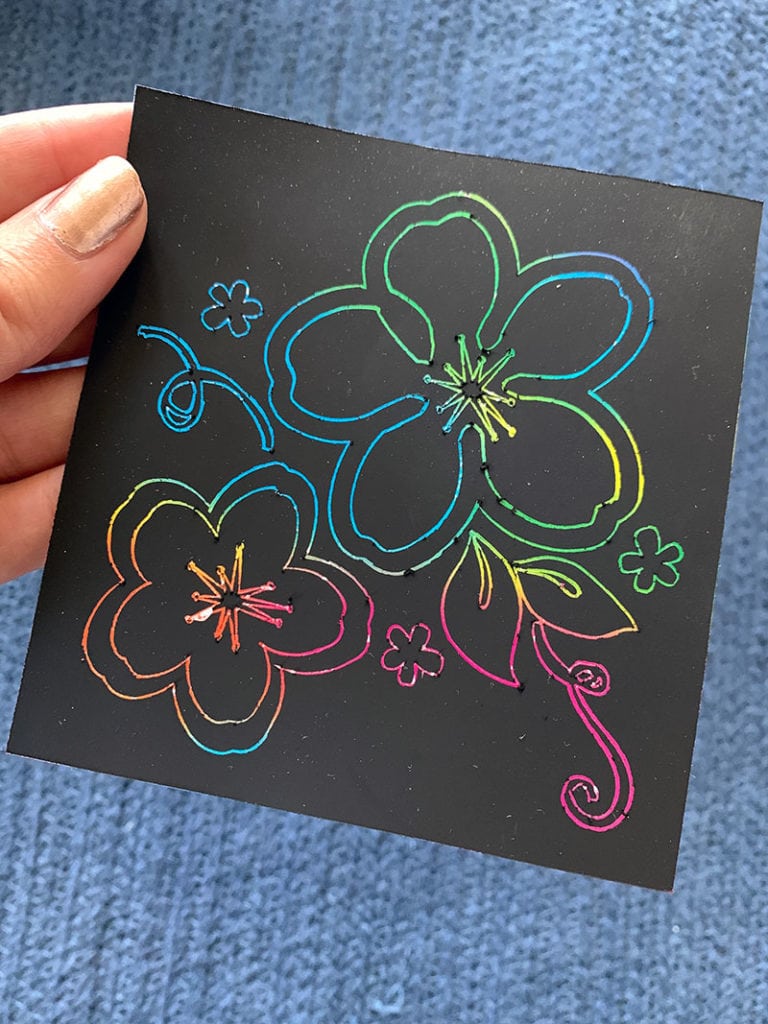
Make your own scratch art designs with your Cricut and have fun with the whole family. Scratch art is a fun way to create a coloring page that all ages can enjoy.
How to Make Scratch Art with Your Cricut
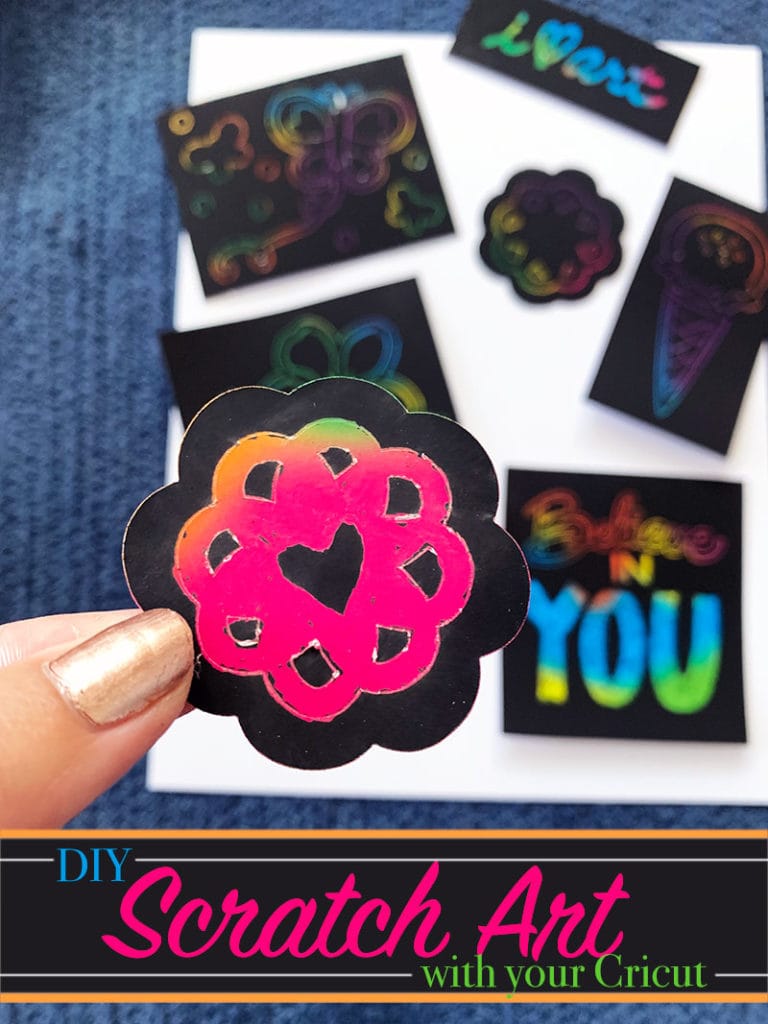
With the Cricut machine you can also cut out your scratch art designs to make fun art activity cards. Perfect for a family fun night or party activity.
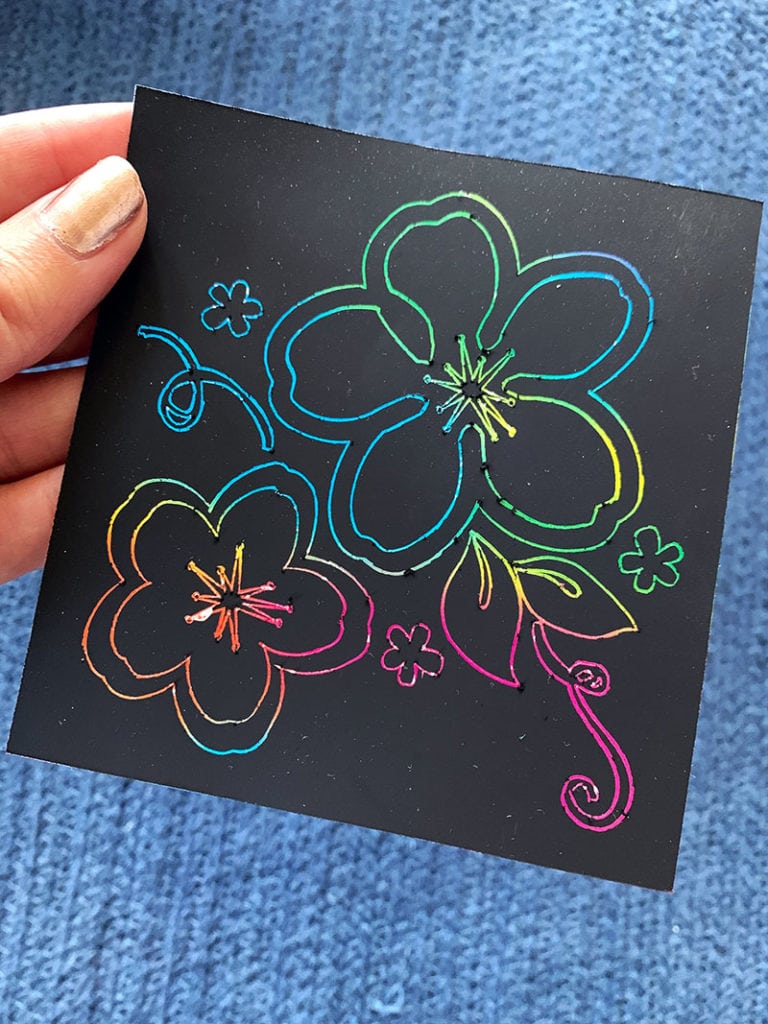
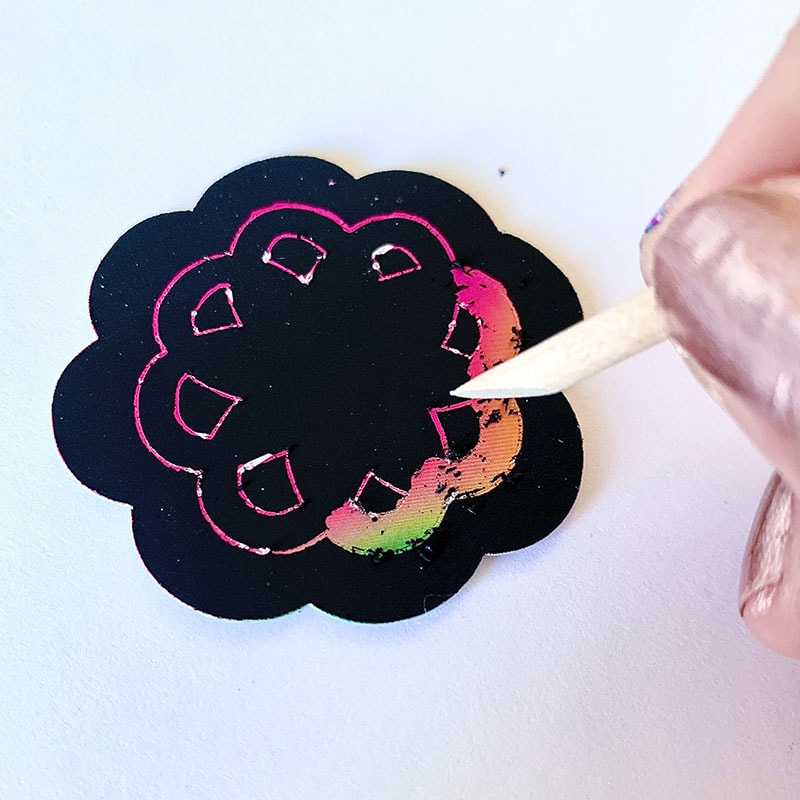
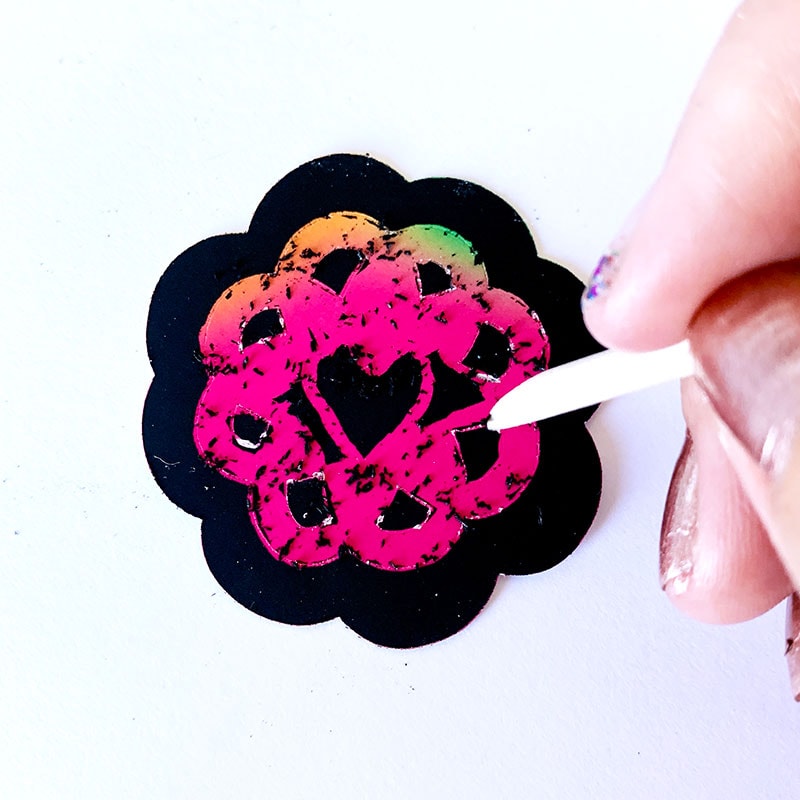
Typically, blank scratch art sheets are used to create freehand drawings or something stencils are used. Here's how you can use your Cricut to create 100s of unique scratch art designs. Use a scratch tool, like a toothpick, skewer or fingernail cuticle stick to “color in” or fill the scratch are designs.
Materials
- Cricut Maker cutting machine and Cricut Design Space
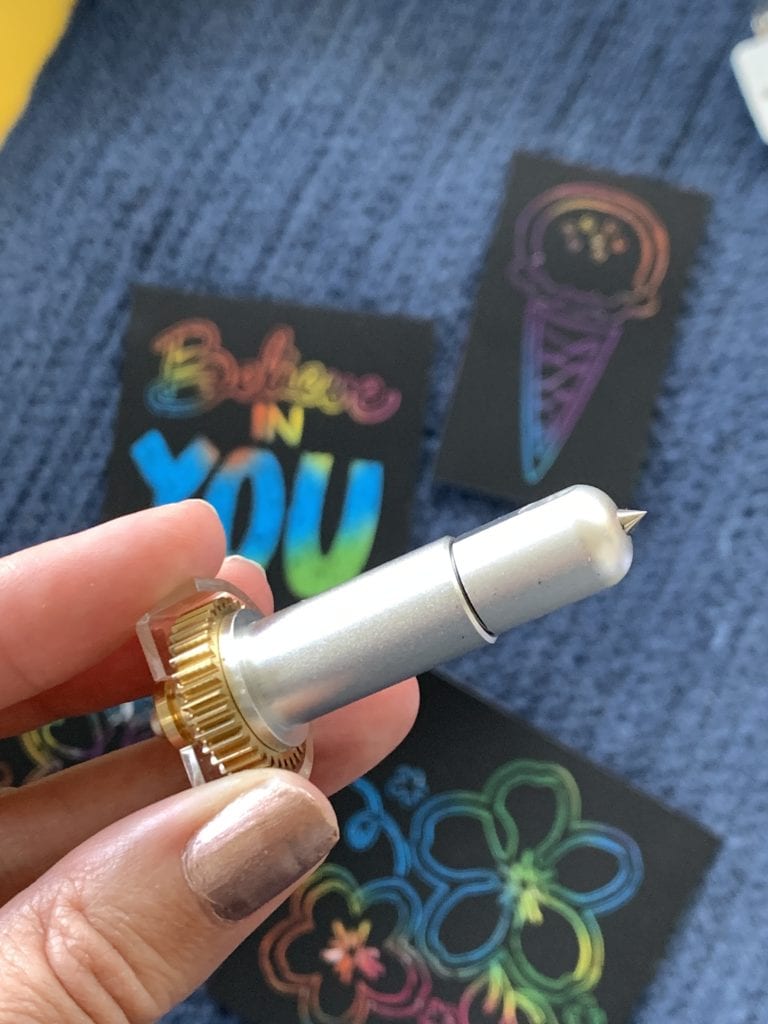
- Engraving Tip
- Scratch art project canvas by Jen Goode
- Scratch Art paper
- Scratching tool
Tip: make sure the designs you are “engraving” are not too detailed. The scratch paper is fairly soft, so it can tear easily. There are a few spots on mine where the coated layer of black and color tore off of the white paper and you can see it in the finished design.
Note: you might be able to use a different blade/tool with this and your machine, but Ive found the engraving tip to work best.
Instructions
- Open the project I've preset to try out these designs and see how I've set up the images to use with the engraving tool.
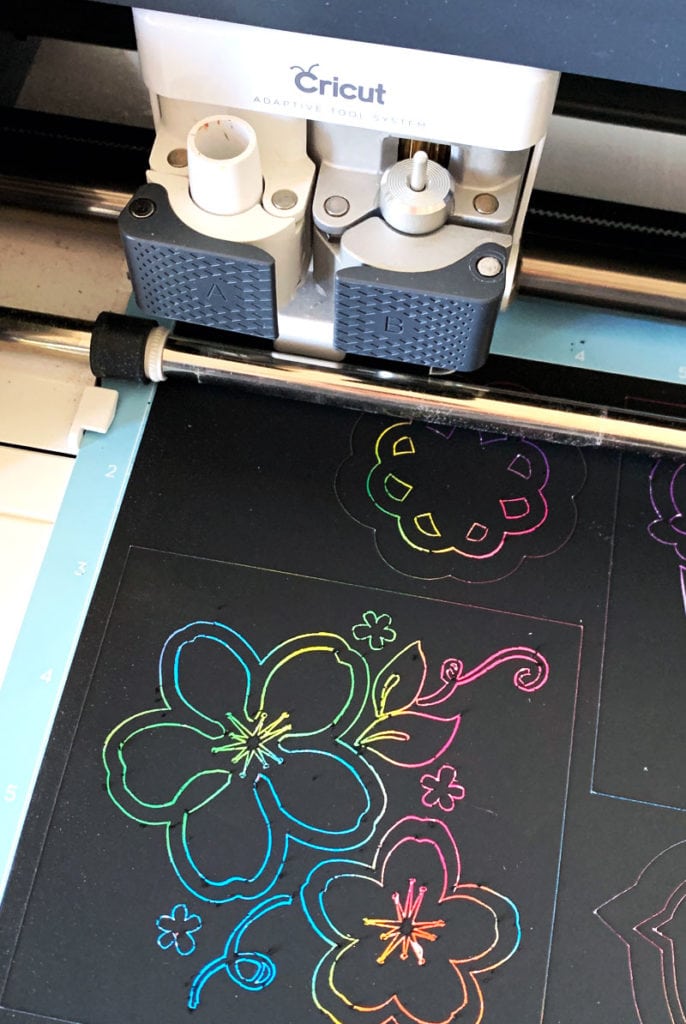
- Set whatever design you are using to Engrave. The outer shape needs to be set to Cut.
- Follow on-screen instructions to send the art to the cutting mat.
- For cut settings, I used “vellum” and “less” pressure.
This entire week, I'm sharing Family Fun activities you can make with your Cricut. I'm co-hosting the week's events along with The Country Chic Cottage, 30 Minute Crafts and Mad in Crafts. A whole bunch of our crafty blogging friends will be joining in with their own ideas all week long, so check back each day for more ideas.
