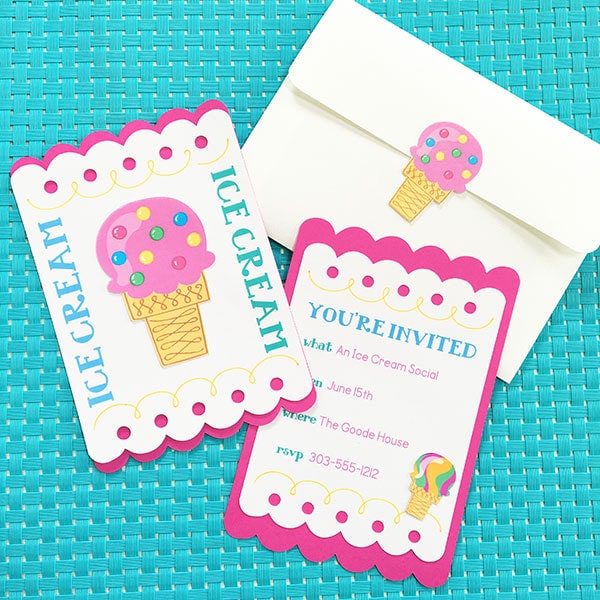
Create your own DIY Ice Cream Party Invitations. It's such a sweet cricut project. Add your own party info, set it all up in your Design Space account and then make as many invites as you'd like. Woowee, I can taste those scrumptious ice cream sundaes from here!
DIY Ice Cream Party Invitations
This DIY ice cream party invitation project is part of a whole set of ice cream party accessories and decor pieces you can make yourself. You can mix and match the ice cream flavors to personalize the look you want. You can even pick your favorite cone shape… fun, right?
Materials
- Cricut machine
- Cricut Design Spac
- Ice Cream Cone Print Then Cut Designs by Jen Goode
- 12″ x 12″ Standard Grip Cricut® mat
- Printer
- White and hot pink cardstock
- Glue stick
Instructions
- Following Design Space Make-it-Now instructions to print then cut the t-shirt design onto iron-on transfer paper.
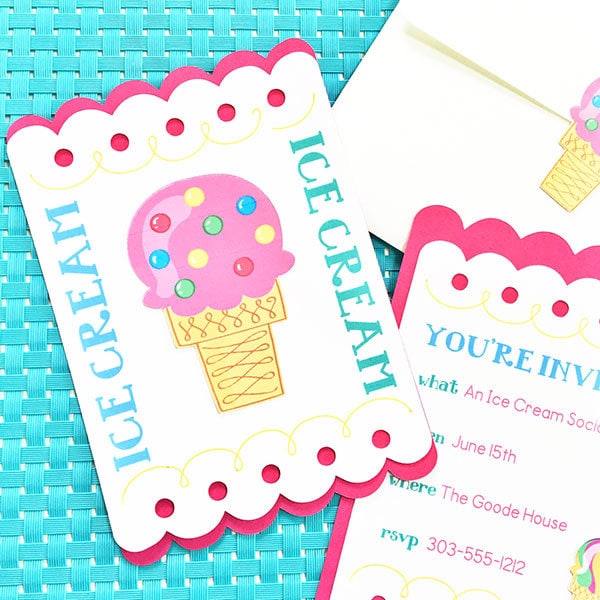
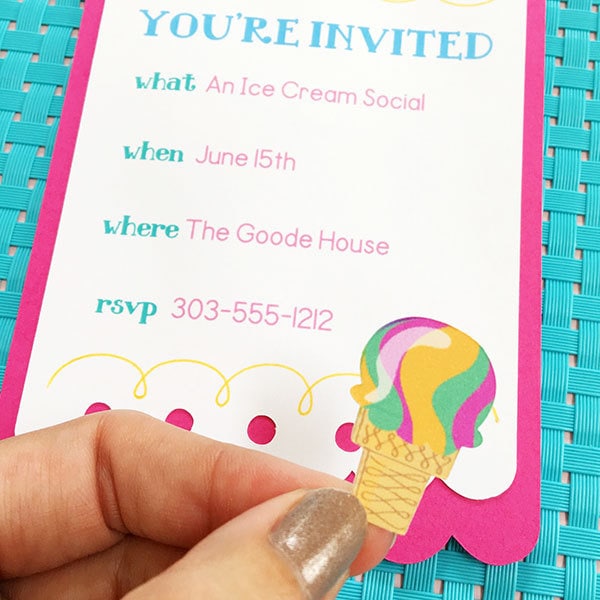
- Layer each invitation piece together, as shown, and glue it together with the glue stick. Place the invitation's main message on one side of the pink cut-out and place the party details design on the back so you have a single invitation. (Photo shows the front and back separately as two cards).
- Glue the small ice cream cone on to accent the lower right of the party info side of the invitation.
- Assemble the envelope by gluing the sides inside the back flap.
- Place invite inside an envelope and then seal with the larger ice cream cone – like a sticker.
Make your own Ice Cream Party Invitation in Cricut Design Space. Click Here to get started.
Tip: Add some glitter for sparkle. You can also cut out a bunch of tiny ice cream cones and use as confetti inside the envelope for a fun surprise.
Ready to host your own ice cream social? Start with your very own DIY ice cream party invitations and have fun personalizing the entire event! Then add a bunch of other fun ice cream party ideas to make your event extra special.


