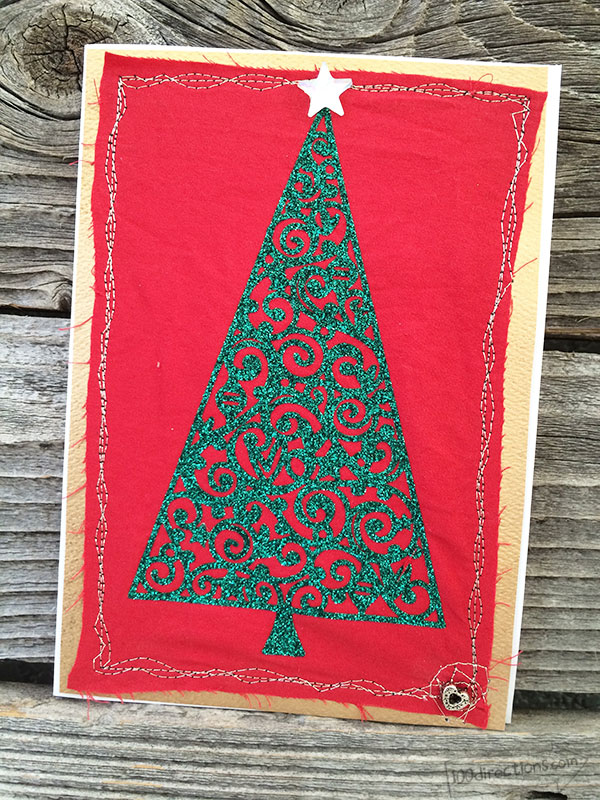
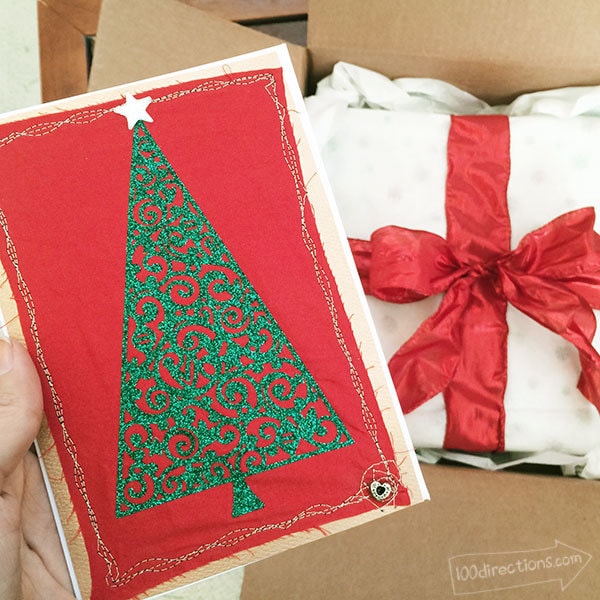
I love this time of year, gift buying, gift making, gift giving and gift wrapping… I love it all. Everything about gift giving makes me oh so happy. Today I'm sharing this DIY Glitter Christmas Tree Art Card that I just made to finish off some pretty gift wrapping. I had the opportunity to sign up for this year's Secret Santa swap with Cricut. Each person who signed up makes a Cricut project for someone else and then shares the project they made and the project they received. Now today I'm supposed to be sharing the project I made and who I made it for. But, I just shipped it out today (yes, I'm always behind) and I don't want to spoil the surprise just yet. So, I will share the finished project in a few days. Instead, today I am sharing the card I made. AND, bonus for you, you can make this card too.
Glitter Christmas Tree Art Card
This Cricut card is really a pretty quick and easy project to make. However, it does take a little patience.
I designed this tree art and love all the details. What I didn't think about with this project was how much focus it would take to weed the design properly. What I figured out, add an extra layer to any Cricut design and draw it with the pen first. Then you can see where the cuts are. Make sure, if you do this, that you are drawing on the hidden side of your project. This drawing technique worked for my project because I used iron-on vinyl and the drawing is on the under side of the of the vinyl.
Materials you need
- Cricut Explore Cutting Machine
- Christmas Tree Art by Jen Goode – project canvas in Design Space (image M91DB72)
- Green glitter iron-on vinyl
- Red fabric
- Gold cardstock
- Blank card
- Needle and thread or sewing machine
- Extra Embellishments
Instructions
- Cut the Christmas tree design as a mirror image using the green glitter vinyl. BEFORE cutting, make sure to add a draw/write layer so the design shows up on the vinyl.
- Carefully weed out all the excess pieces from the tree design. Be careful, the Cricut pens are not permanent on the vinyl so the drawn lines will smear. You just need the lines to be able to see what you are weeding.
- Using a damp cloth, wipe off remaining ink.
- Iron design on to fabric as per the iron-on instructions.
- Sewing fabric to cardstock.
- Glue finished art to the front of a blank card.
- Add little embellishments to accent your card design. I added a crystal star to the top of the tree and a little silver heart in the lower right corner of the card.
Tah-Dah!
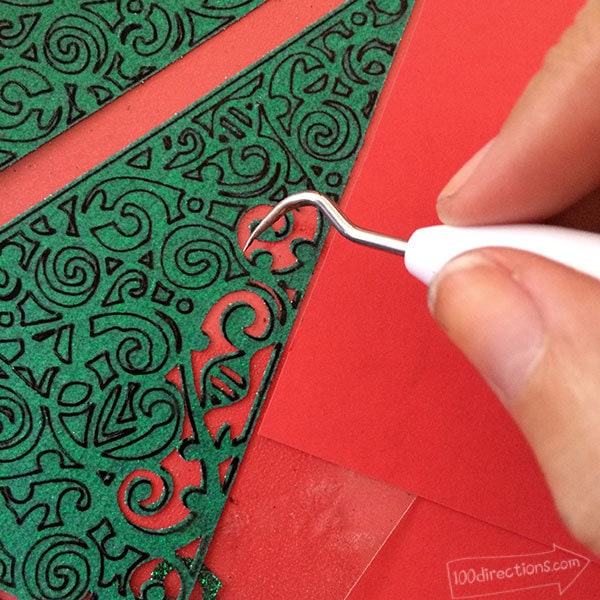
If you have the vinyl, I also suggest cutting two of this design… just incase you need a piece you accidentally remove from the art. It takes a little practice weeding out all these pieces – and some really great eyesight. Please don't get grumpy if you find yourself weeding for more than 30 minutes. I tried to warn you! But the result will be well worth it… so much pretty detail, right?
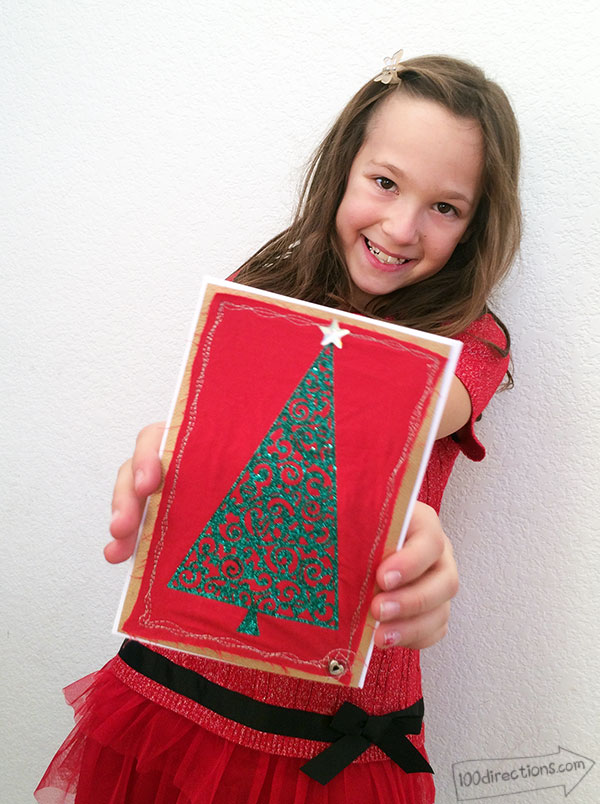
Don't you love how my model holds this card so professionally. She loves her job.. and I love that she will work for OREOs!
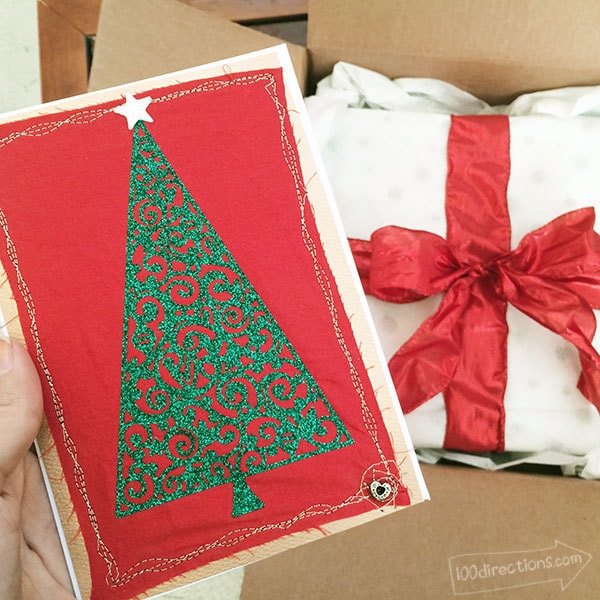
I used a sewing machine with metallic thread for all the stitching on the card. You can do whatever you like to customize the look for your own personal style.
So there you have it. My handmade Christmas card using my Cricut Explore. You have a whole pile of other fun projects you can make with your Cricut, check them out! I'd love to hear which ones you love or which ones you try.
You can see all the different Secret Santa projects this year by following the hashtag #SecretCricutSanta. I can't wait to show you the gift I made too!

