It's time to decorate for the holidays which means it's also time for DIY Christmas Ornaments. Make your own Handmade Christmas ornaments with fancy cut paper designs. You don't even need scissors! This Cricut Christmas project is perfect for decorating and even gift giving!
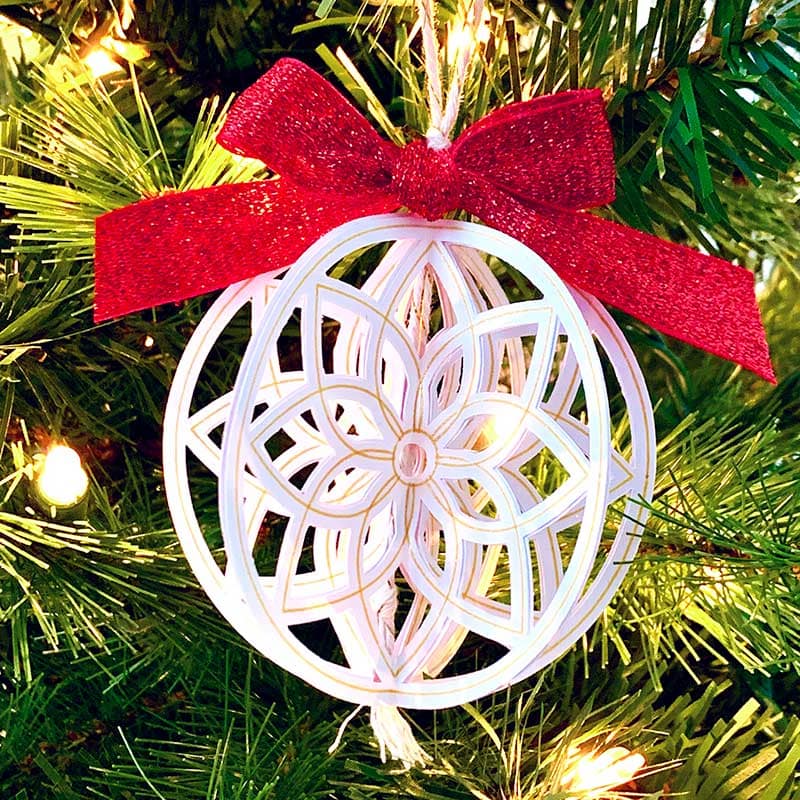
I love making my own paper ornaments because it's a fun way to customize our holiday tree without spending a ton of extra cash. You can choose from a variety of papers or even layer in some vinyl if you'd like. I think glitter cardstock or acetate would be gorgeous too.
DIY Christmas Ornaments
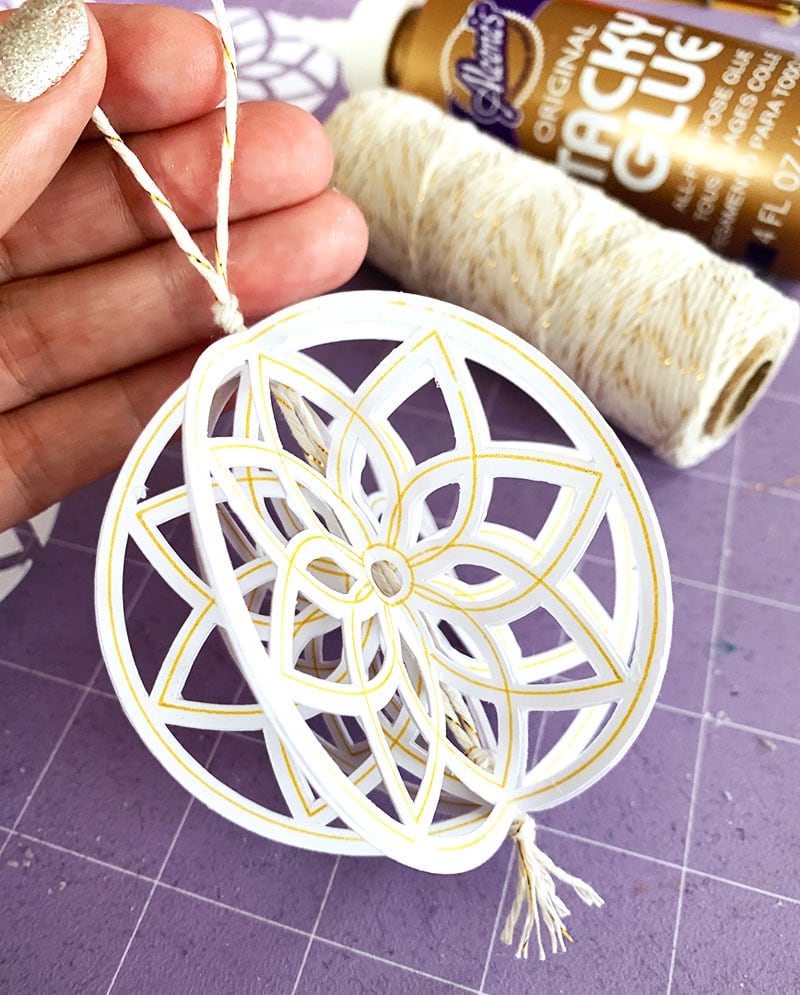
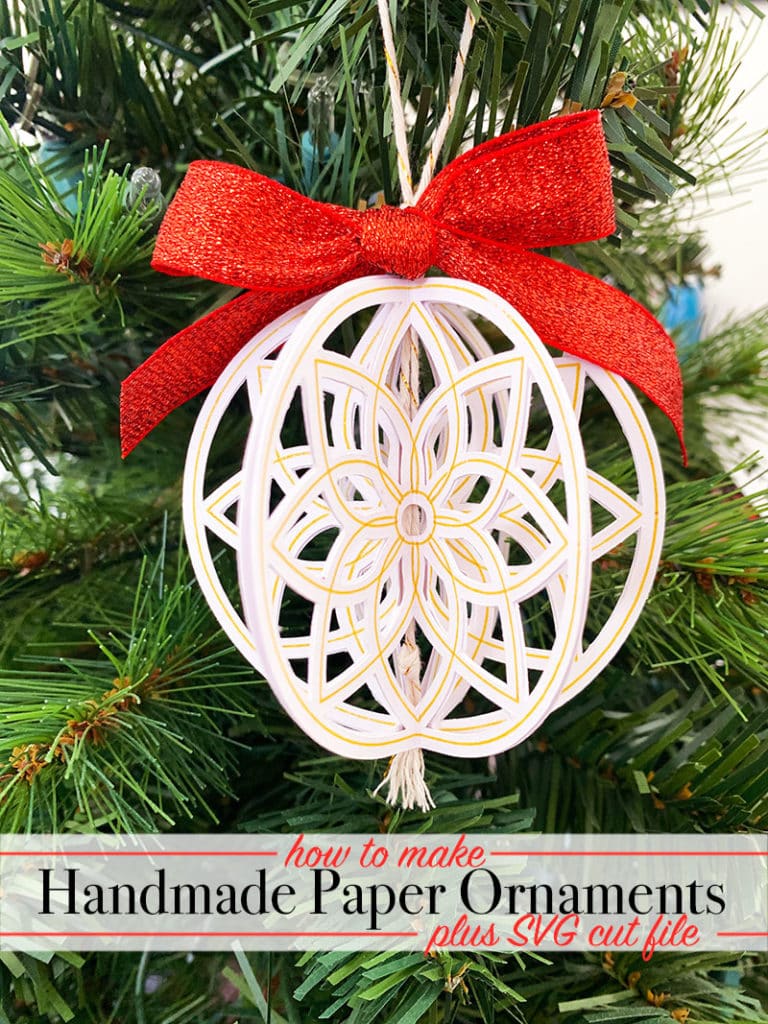
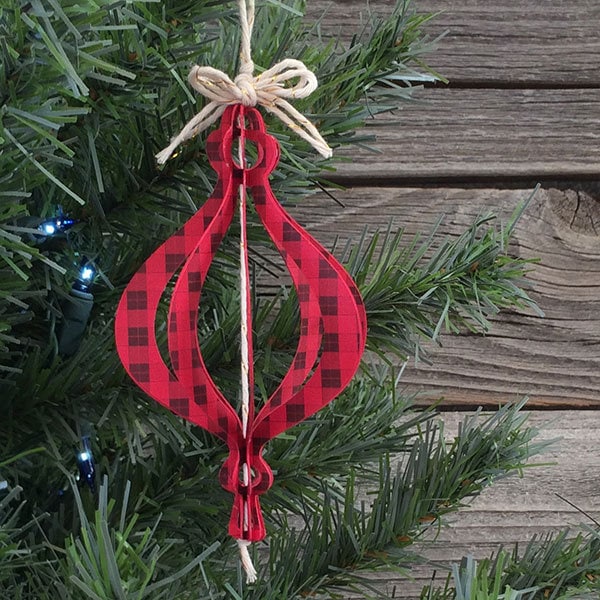
You can make pretty, handmade ornaments with layers of paper. Cut fancy designs and attach the pieces together to create beautiful 3D paper cut ornaments. I've created an SVG cut file you can use to create this ornament design. Create a 6 layer ornament like the picture shown, or change up the number of layers and paper colors for more unique styles.
Materials
- Cricut machine and Cricut Design Space
- Ornament cut file by Jen Goode – download below
- Cardstock in your choice of color/s
- Cricut Pen (optional)
- Score Stylus
- Glue
- Twine

Instructions
I added an extra design accent to this cut file meant to be created with a Cricut pen. You can turn this layer off in the design as well as pick your own favorite ink color to use.
- Upload the cut file design to Cricut Design Space.
- Size the design to whatever your preferred size.
- Send the design to the mat and duplicate the design until your Design Space mat has the number you'd like to cut. In this case, I cut 6 pieces.
- Follow on-screen instructions to score, draw and cut each piece of your ornament.
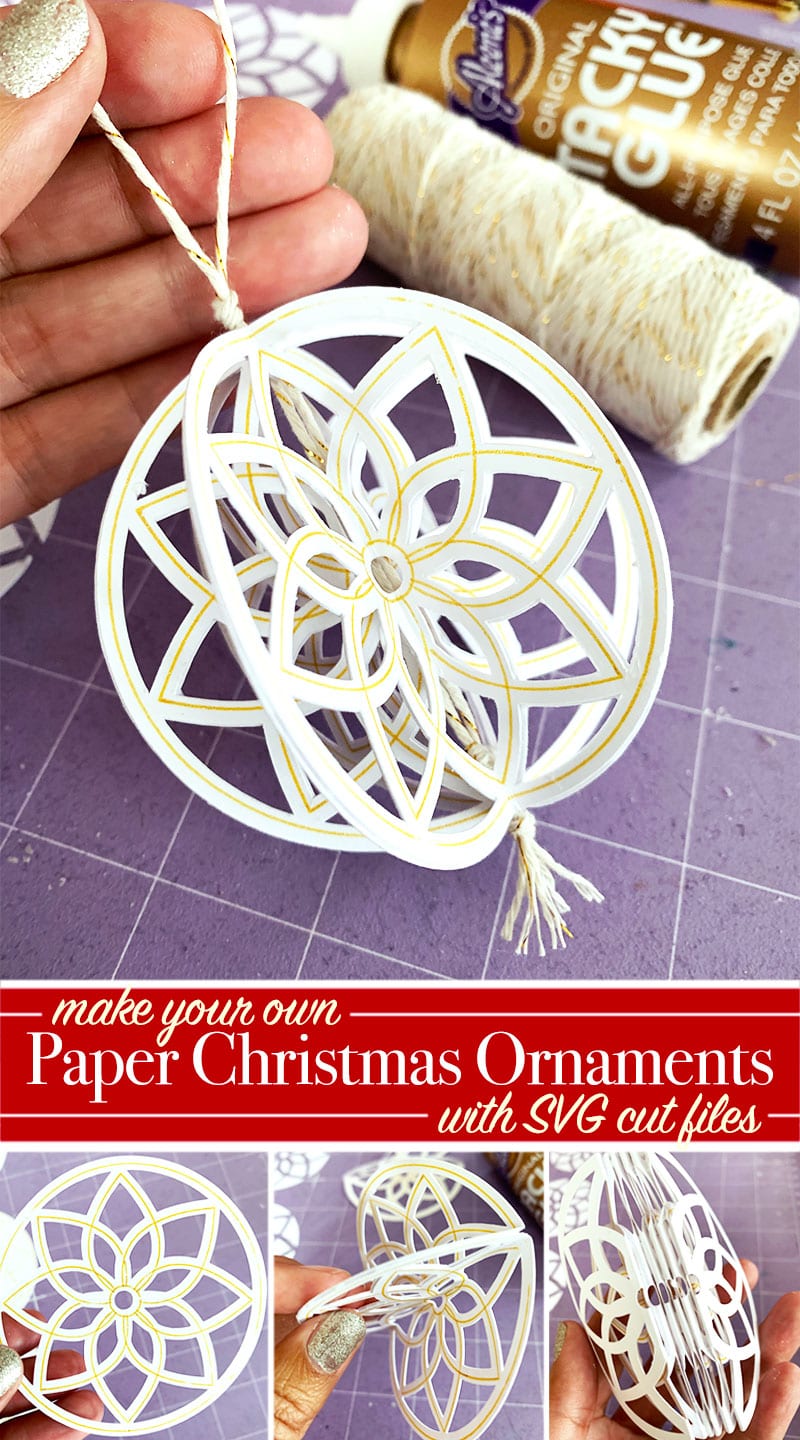
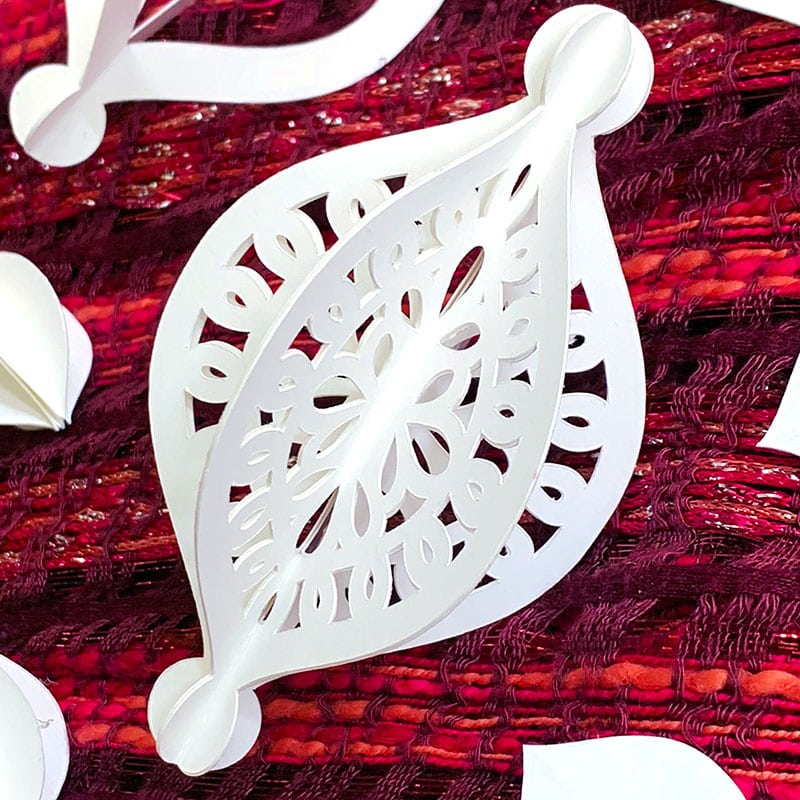
- Remove the cut designs from the mat and carefully fold each piece along the score lines.
- Match up the pieces and glue together, one side at a time until you create a full 3D ornament.
Tip: To ensure the draw lines are created on the ornament correctly, make sure to attach draw lines (as well as score or engrave lines) before sending your project to the mat.
To attach the twine
- You can tie twine onto the ornament after you've assembled the entire piece.
- Or, I like to place the twine down the center of the ornament before I close the sides. To do this, simply tie a loop at one end of the twine and a knot at the other end. Make sure the knots are far enough apart to extend outside the center of the ornament.
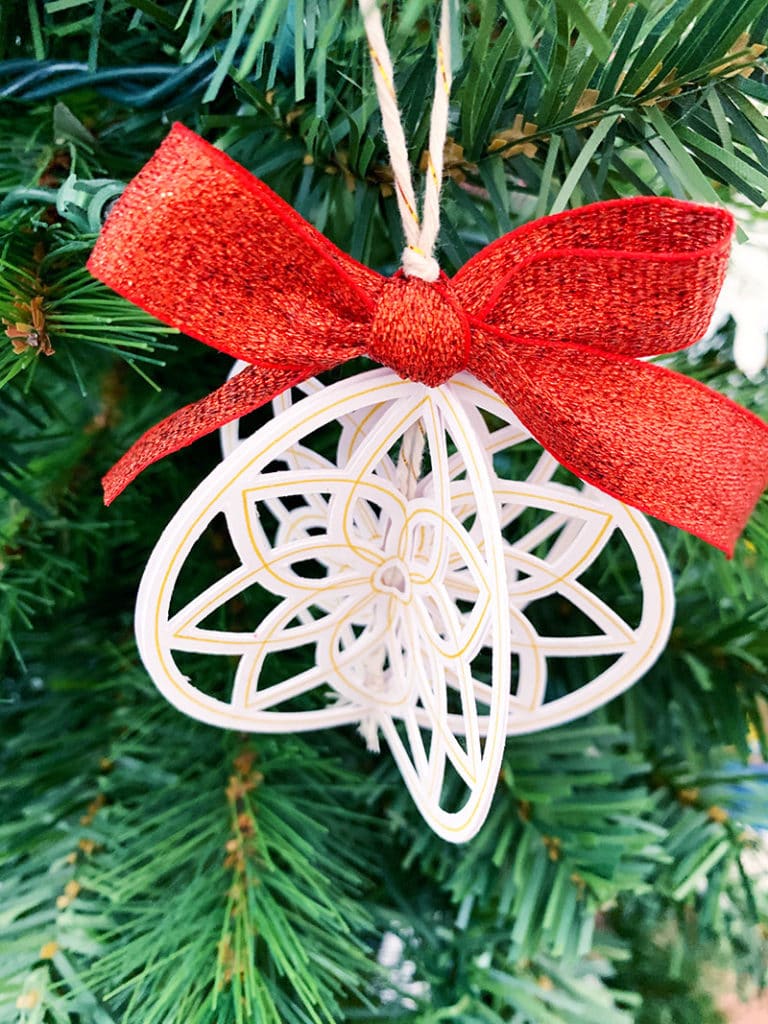
- Optionally finish off the design with a ribbon bow tied at the top.
- You can decorate the ornament with glitter or add beads to the twine. Get creative and customize the look however you'd like!
If you like this 3D paper ornament
I have more paper ornaments with cut files or printables you can use. Check out these download links below. Click each image to visit the article and download link.
More Handmade Ornament ideas
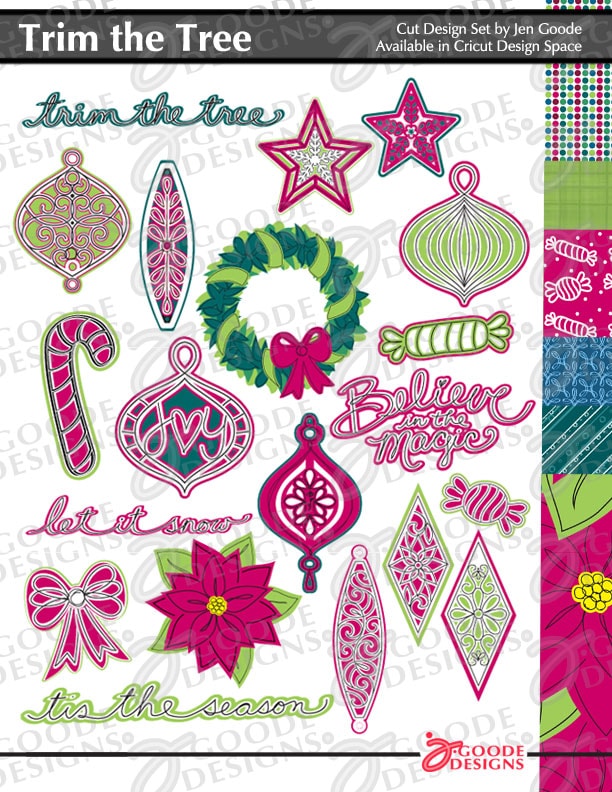
I have more paper ornaments you can make. I have an entire paper ornament set available in Cricut Design Space. Or you can try one of these fun ornament projects below.
Cute Paper Ornaments you can make
Now take a look at these other paper ornament projects. I think you'll love them all!
More Christmas SVG Files
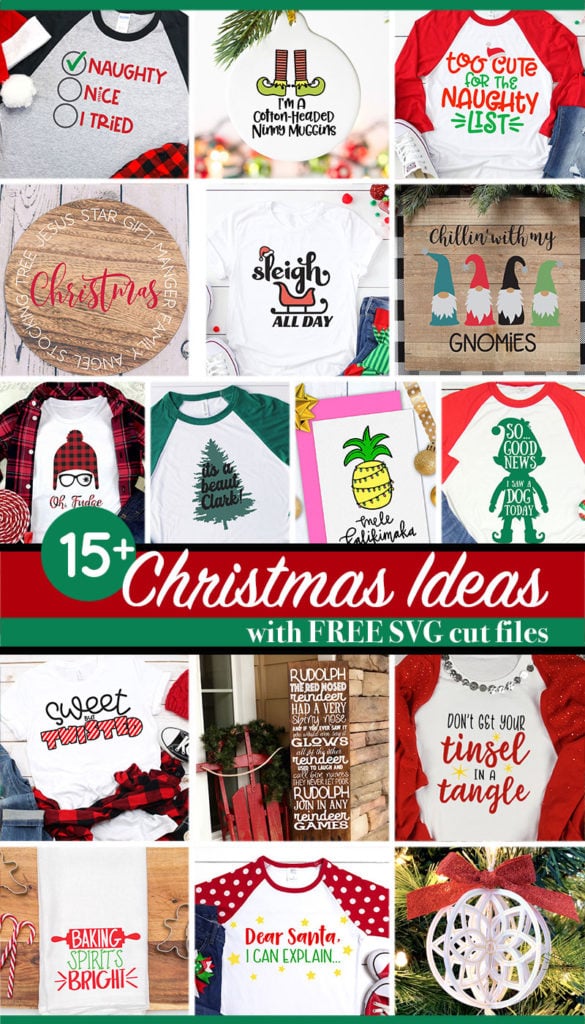
My creative friends are sharing their talents again this month with their own fun Christmas cut files and associated Cricut Christmas projects. Take a look at these festive files, pick your favorites and get ready to craft for the holidays!
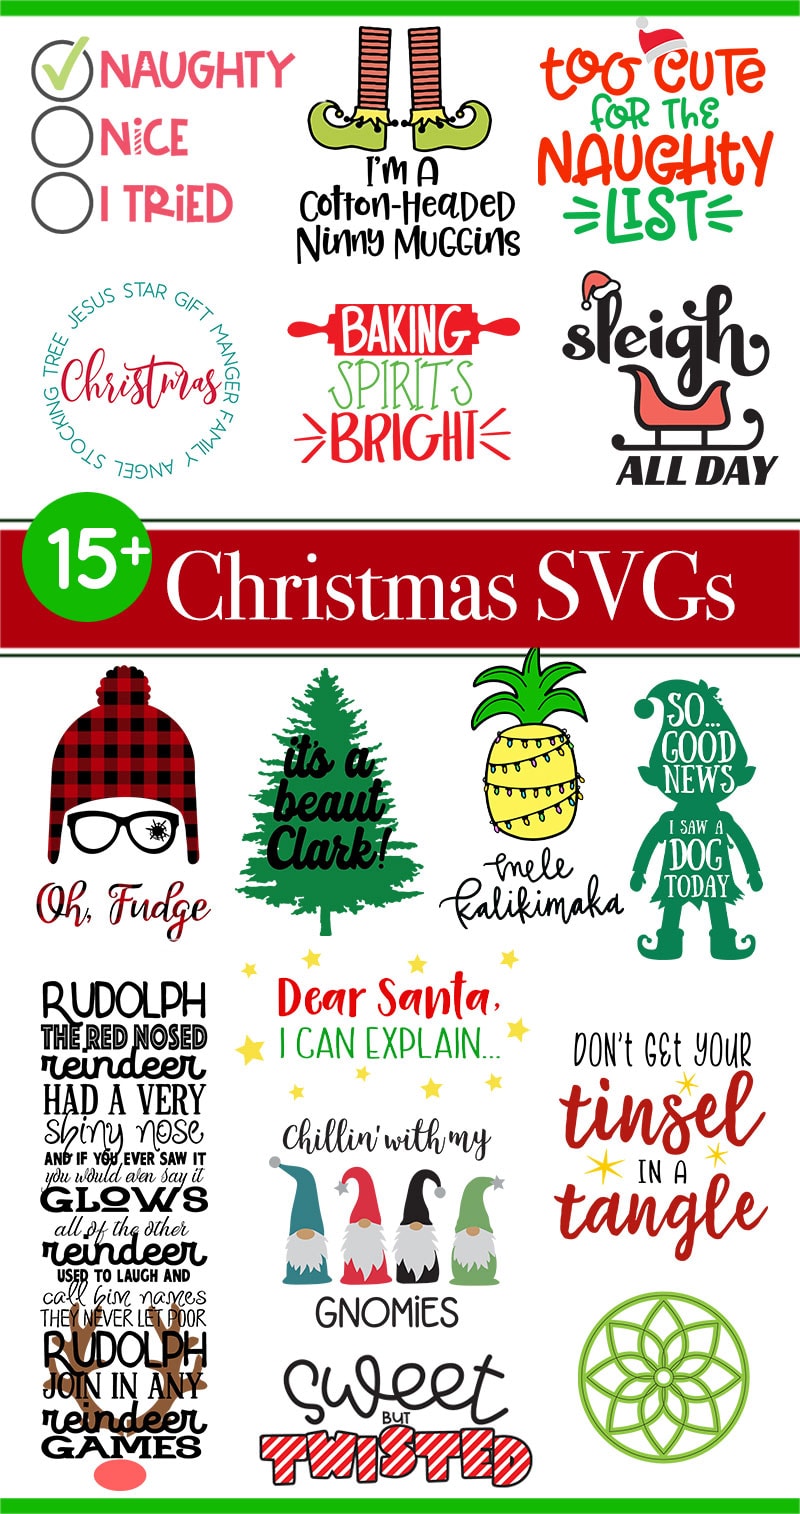
You'll want to head to each site (links below) to download the SVG file and check out the project. Each designer has created a tutorial with their cut files to give you and idea of what you can make too. I think there's going to be a ton of Christmas crafting ahead for us all!
- Baking Spirits Bright – The Country Chic Cottage
- Don't Get Your Tinsel In A Tangle – Kingston Crafts
- Chillin With My Gnomies – Brooklyn Berry Designs
- Mele Kalikimaka – Pineapple Paper Co.
- Naughty Nice I Tried – That's What Che Said
- Oh Fudge – Hello Creative Family
- Sleigh All Day – Hey, Let's Make Stuff
- Dear Santa, I Can Explain… – Happiness is Homemade
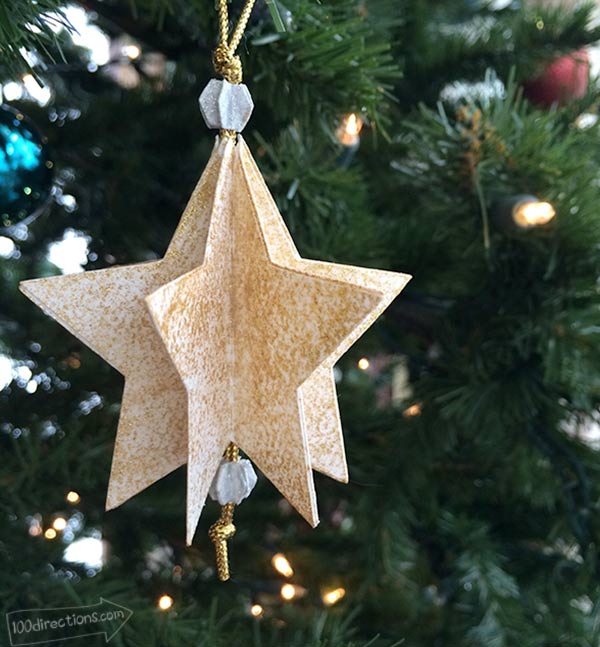
- Handmade Paper Ornaments – 100 Directions
- Cotton-Headed Ninny Muggins – SEE Lindsay
- Sweet But Twisted – Artsy-Fartsy Mama
- Rudolph The Red Nosed Reindeer – Pattern Revolution
- Christmas Round Sign – Crafting in the Rain
- Elf – Good News, I Saw A Dog – Mad in Crafts
- It's Beaut Clark – Everyday Party Magazine
- Too Cute for the Naughty List – Happy Go Lucky



Do you have to attach the draw lines to the ornament cut file before it is sent to the mat?
Yes, make sure to attach draw lines (as well as score or engrave lines) before sending your project to the mat.
I’d love to see a video of your assembly of one of the ornaments. Unfortunately, I am a very visual person so videos help tremendously. Thank you so much for the file!! I will definitely be attempting to make a few to add to our tree!
Thank you so much for the note. I agree! A video would be really helpful. I’m working on adding more visual content to help with the assembly, thank you for the request. In the meantime, this tutorial has a similar style ornament and does include a video. Happy Crafting! https://www.100directions.com/diy-christmas-ornaments-in-15-minutes/