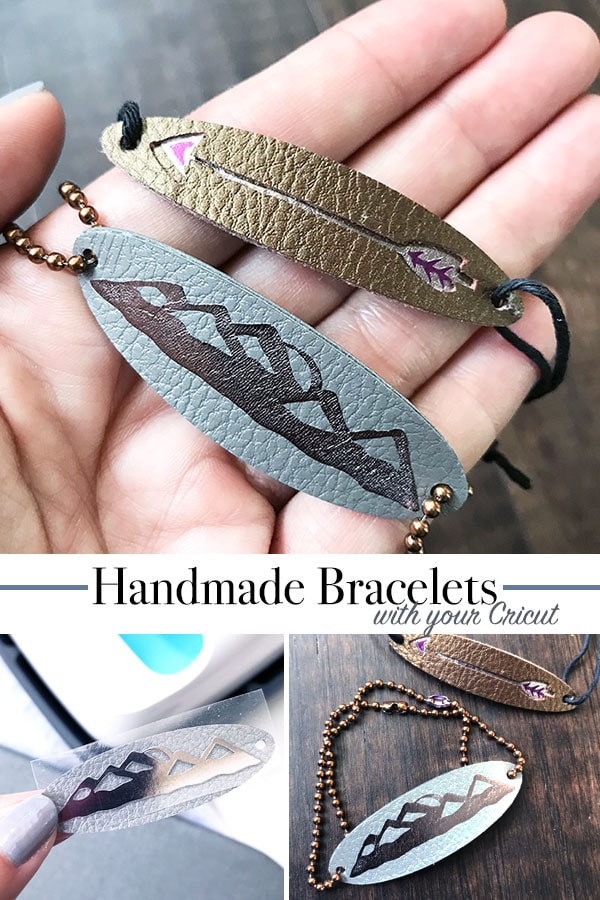
Make your own DIY Bracelets using Leather and Cricut. Today I’ll show you how to make bracelets in just a few steps. Grab some faux leather and iron-on vinyl and you can create stunning bracelets in just a few steps. This Cricut project is a perfect summer camp craft or you can make a faux leather bracelet as a gift for your favorite outdoor-loving friend.
Make Your Own Leather Art Bracelet
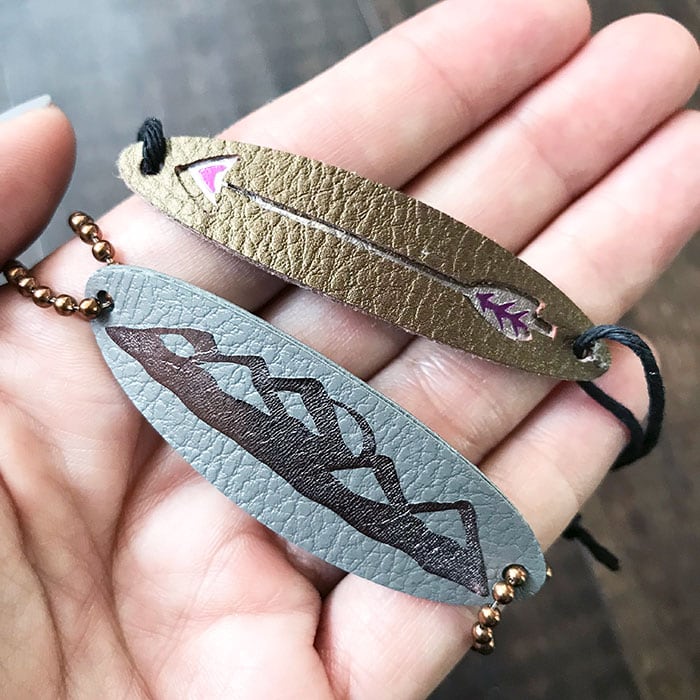
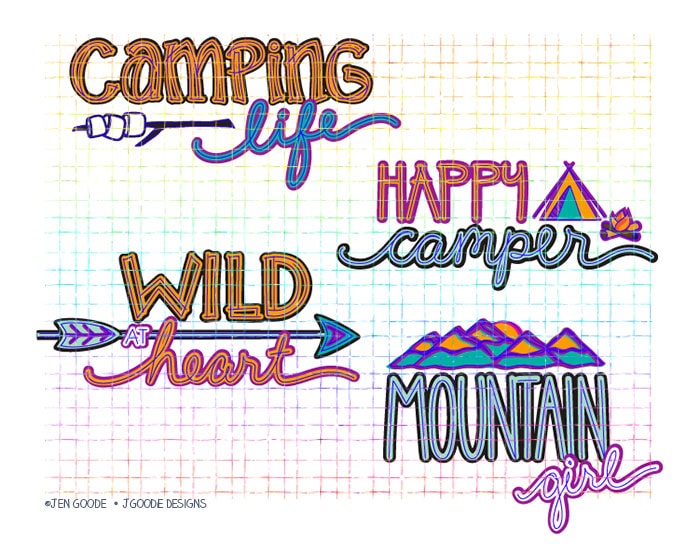
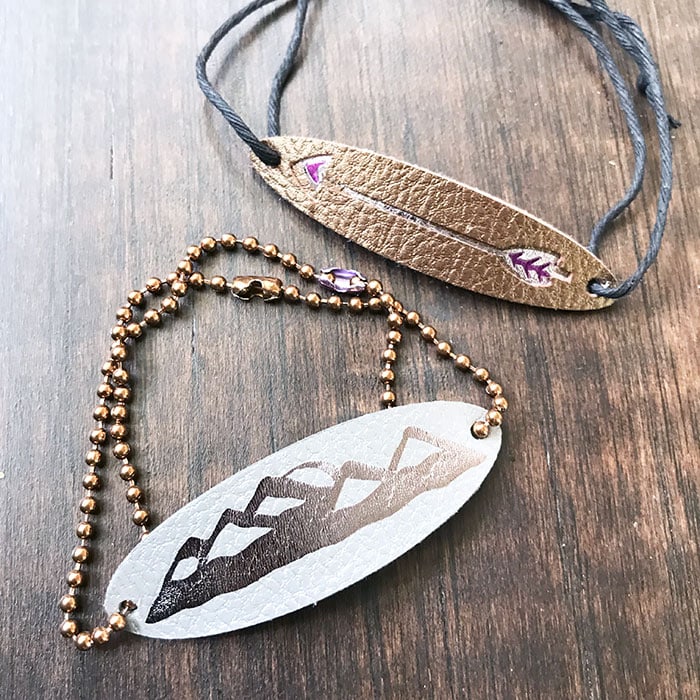
Use your Cricut machine to cut pretty designs that you can easily turn into wearable art. These bracelets can feature a whole variety of designs. To create these handmade bracelets, I’m using iron-on foil and easy to cut faux leather along with original camping/outdoor themed art designs I created. This new art is part of a full bundle set – over 30 designs created by multiple designers. These are the four designs I created. Scroll below to see the rest of the designs available in this set.
FOR A LIMITED TIME: Get this Camping SVG Set for FREE below.
To create these cool bracelets, we are going to create our own base cut-outs and then iron on the art designs. You can customize the back o your bracelets too if you’d like.
Materials
- Cricut Machine
- Cricut Design Space
- Camping Fresh Cut SVG Bundle
- Faux Leather – I used a gray
- Foil iron-on vinyl – I used a gunmetal
- EasyPress or iron
- Glue – I used Aleene’s tacky glue, e6000 should work well too
- Craft stick for applying glue
- Twine, chain or other bracelet findings
Instructions
- Upload the art set from Jen Goode into Cricut Design Space. This set includes 4 different image layouts.
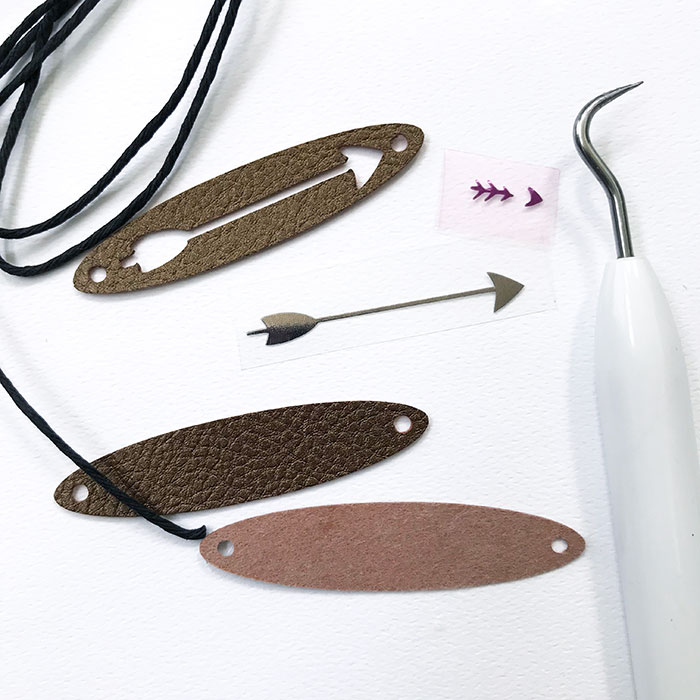
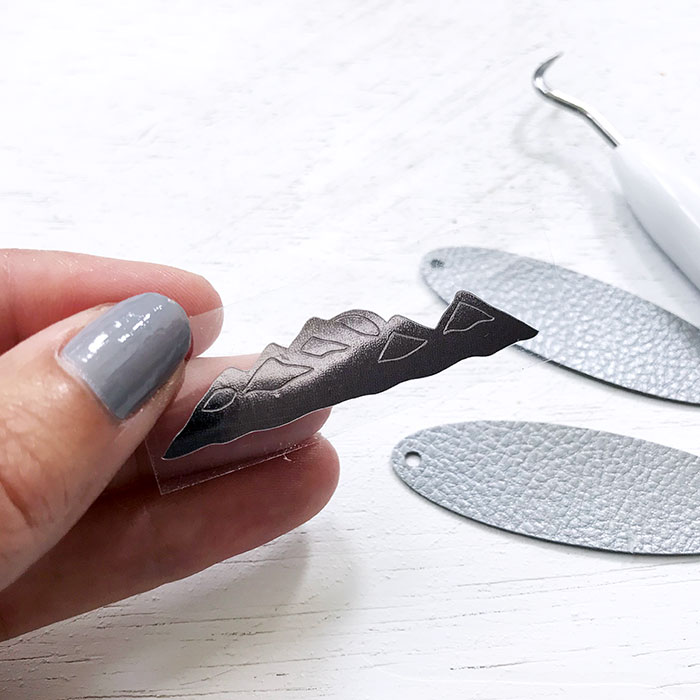
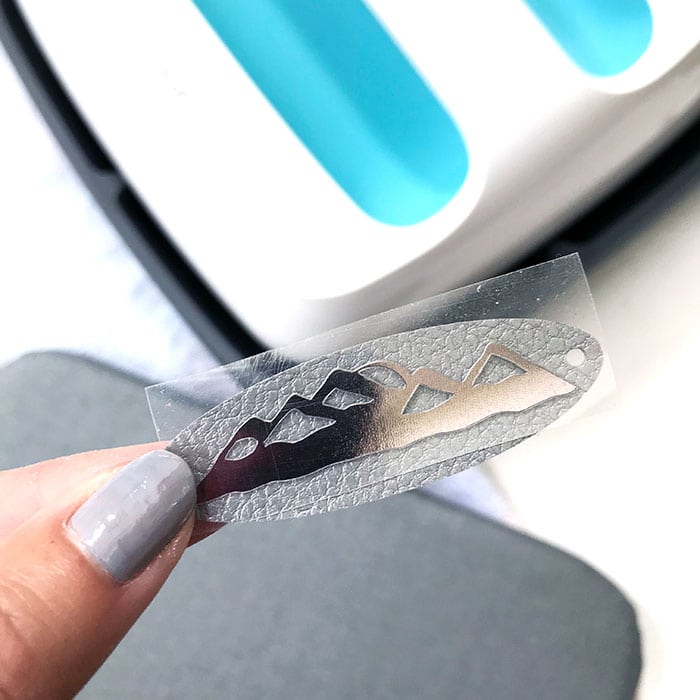
- Ungroup the 4 designs and hide the layouts you don’t need. We’ll start with the mountains design. Ungroup the entire Mountain Girl design and hide all of the pieces except for the mountains as shown.
- You can hide some of the cut details by selecting the mountains and then choosing contour.
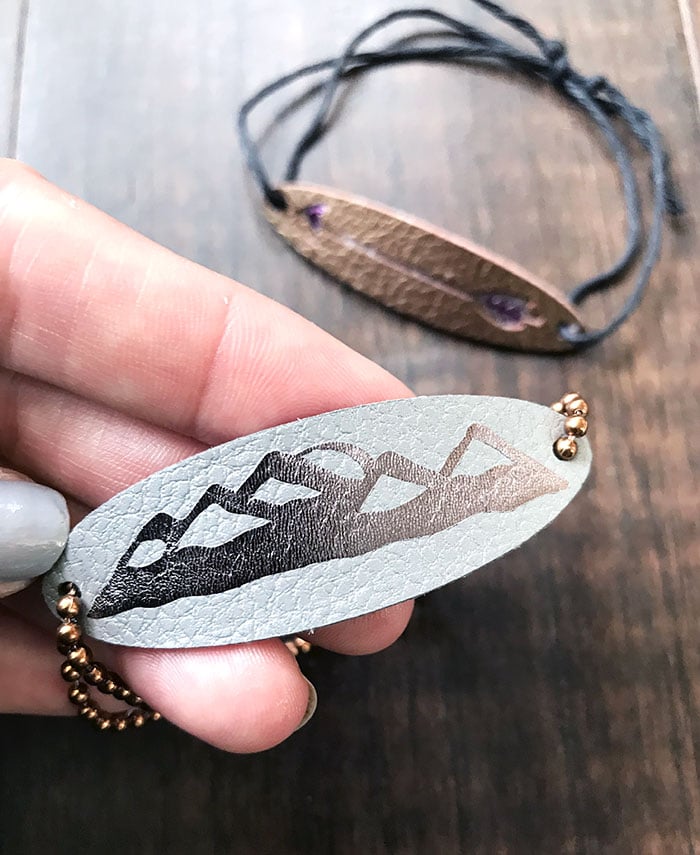
- Create the base cut shape: create an oval using the Basic Shapes tool. Then add circle cut-outs with basic shapes as well. Duplicate this layer – you will use it for the back of the bracelet.
- Set your EasyPress to 250 and apply the foil vinyl to the top layer of your bracelet.
- Glue the faux leather layers together by spreading a thin coat of glue to the backside of one piece and pressing the layers together. For some bracelets, I’ve used more than 2 layers of leather. Just glue each layer individually and make sure to press together well.
- Finally, add your bracelet chain or twine and other jewelry findings.
- I did not seal my bracelet designs, you can if you’d like. I wasn’t sure which product would seal best over the foil and faux leather, so I just did without. So far my bracelets are holding up well.
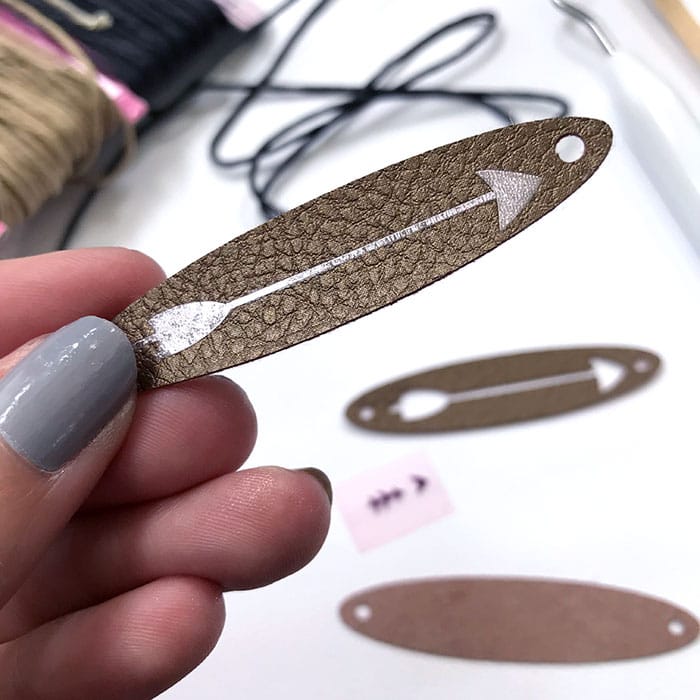
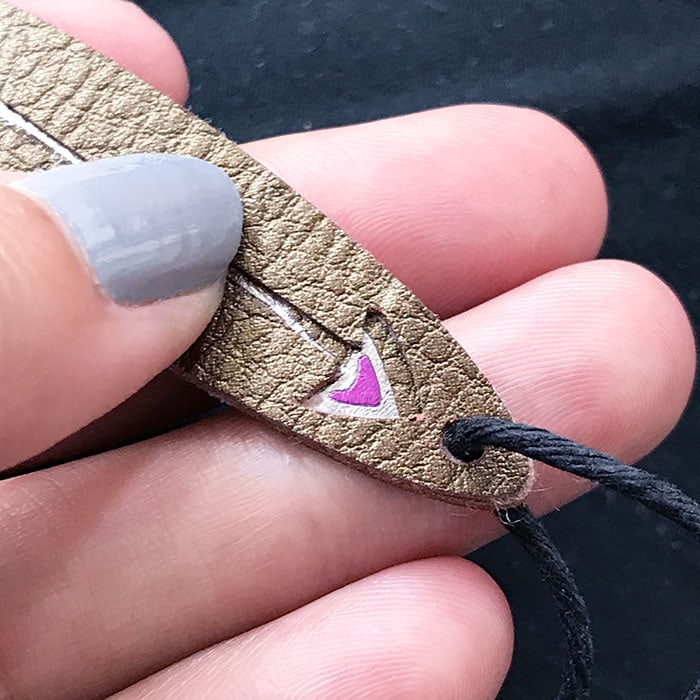
- To make the arrow bracelet, you will be creating more layers of vinyl and faux leather. Get creative, test some things out with paper to see what you think about the layers you want to use and have fun!
Camping SVG files
Download the Camping art set here.

I hope you have a great time making your own leather and iron-on foil jewelry. What other fun projects can you make with this same technique?


These are so fab! I need a Cricut Maker!
Thank you! And Yes You Do! So many fun things you could make.