When you don't want to deal with the mess of carving a pumpkin, or you want your pumpkin decorations to last longer than a week or two, painting is a great project to dig your brushes into. Here's another Halloween craft using the neat new stencils from Martha Stewart Crafts. I used the stencils with the adhesive backing so I could wrap the designs on the pumpkins and even get into the creases with the paint. It's a great weekend activity you can do with the family too!
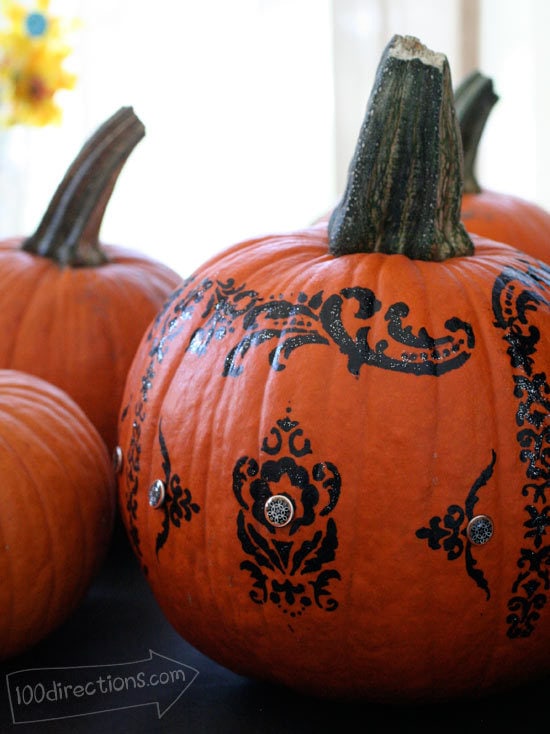
Materials I used:
- Martha Stewart Crafts matte black paint
- Martha Stewart Crafts stencils
- Sponge brush
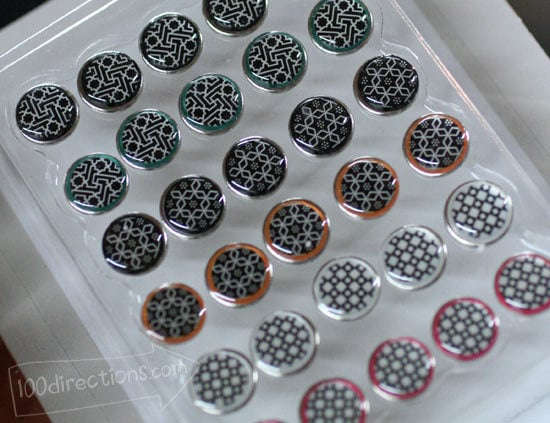
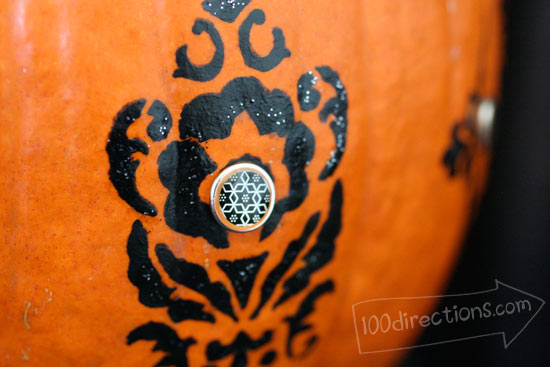
- Decorative thumbtacks
How to decorate a pumpkin with stencils:
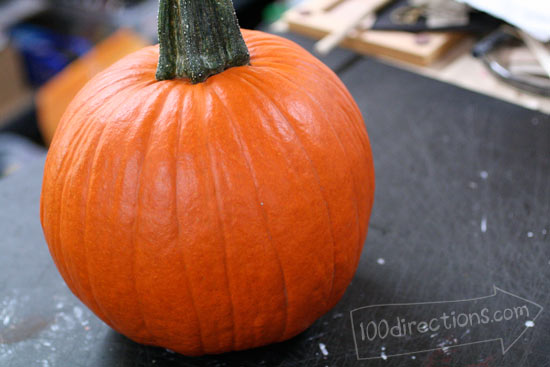
- Start with a washed and dried pumpkin.
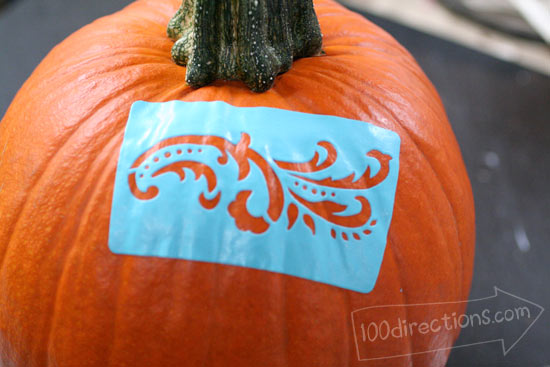
- Apply the sticky sided stencil where ever you'd like.
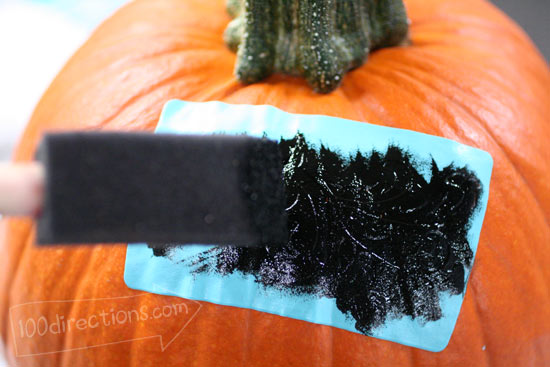
- Using your sponge brush, dab paint on to the stencil covered area using an up and down motion. Note: brushing or moving back and forth with the brush can create a smudged look at the stencil edge.
- Let dry for 1 minute. Peel off stencil and set aside. Let paint on actual stencil dry before applying again.
- Repeat the process until you have covered the pumpkin as desired.
- Add thumbtacks for extra decorative detailing.
- For a little extra sparkly, I added a second coat of paint… a glitter paint on top of the black using a regular small paint brush.
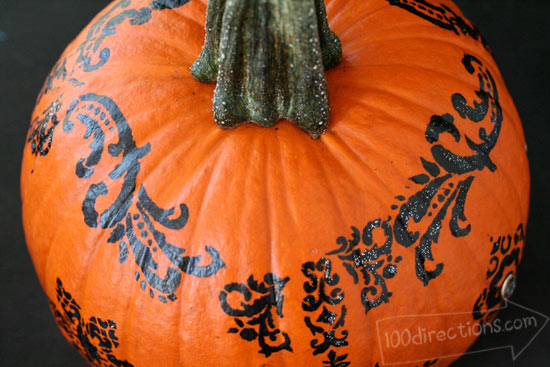
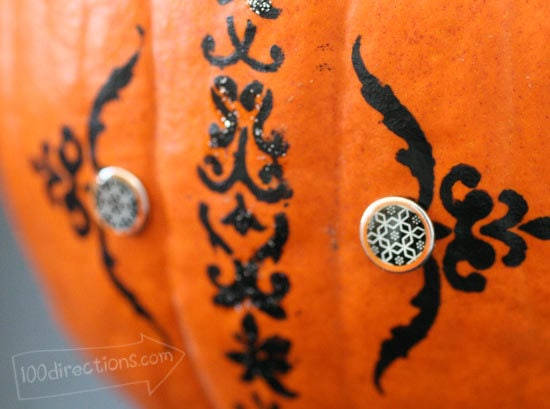
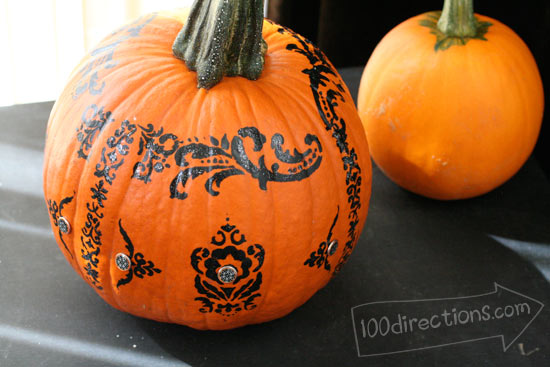
You can mix and match the stencils however you like. Combine painting and stenciling with your carved designs. Get creative and see what pretty pumpkins you can come up with!


Now THAT is my kind of pumpkin carving! I’m linking to this from some of my Halloween articles just fyi! 🙂
So glad you like it and thanks bunches for sharing! If you make one of your own, I’d love to see it!!