DecoArt has a new product, available in stores soon, that allows you to create custom art on a variety of fabric types. This isn't a typical fabric paint or dye. Instead of requiring you to use 100% cotton fabric items, Ink Effects works best on fabrics with less cotton. I was using poly-blends when testing and the color shows up vibrant and beautiful!
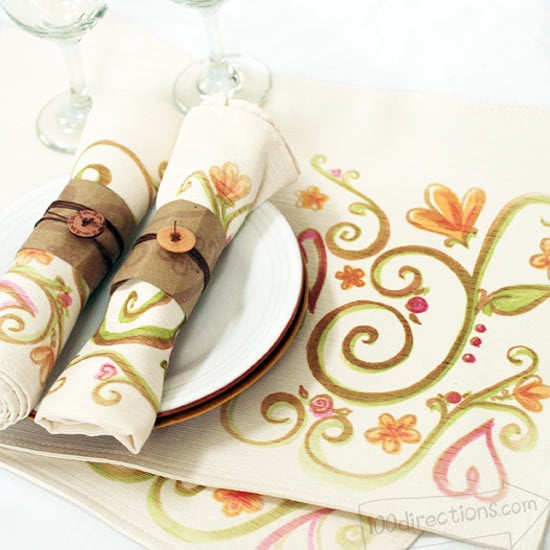
How it works: You paint your designs onto paper and then transfer the image to the fabric using an iron. The fabric stays soft yet the color transfers nicely. The beauty of this technique is that you don't have to risk messing up, painting directly on your project. You can draw out your design on the paper and then trace over with the paint. I absolutely LOVE this product. I don't regularly get the opportunity to paint as much as I'd like… the ease and versatility of Ink Effects makes me want to paint all the time, the possibilities are almost limitless. Plus, when you transfer your art to the fabric, much of the brush strokes transfer too – so neat!
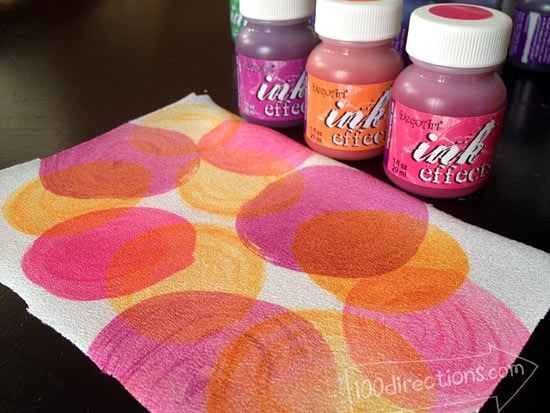
I tested out the product before I made my place setting project (below). I wanted to see how it worked and test out the colors…learn what techniques would work best. For my test I just made some simple colored circles and some scrap polyester. The coolest thing I learned, I made a couple circles but was able to transfer the color from each a few times. So I ended up with a pattern of circles with very few painted pieces of art.
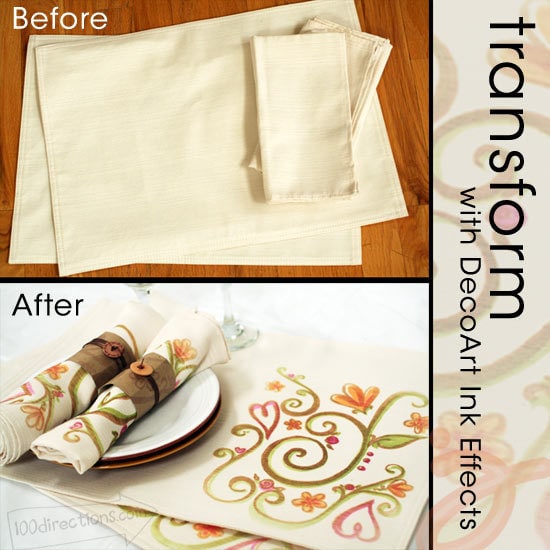
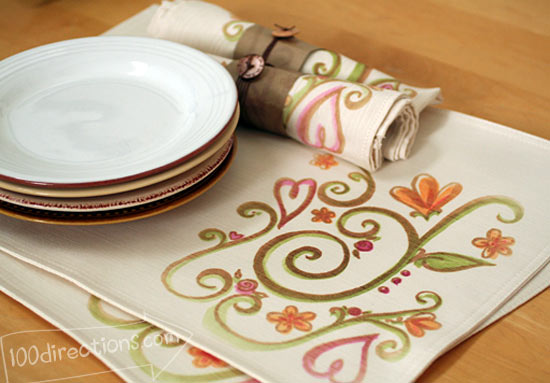
To show you how DecoArt Ink Effects works, I created a custom napkin and placemat setting. You can get more elaborate with your painting and design if you'd like or go really simple… just like any other painting, what you create is up to you. The ink itself does transfer a bit transparent, so keep that in mind when creating your art.
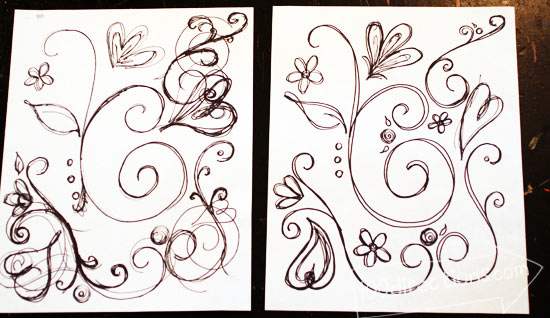
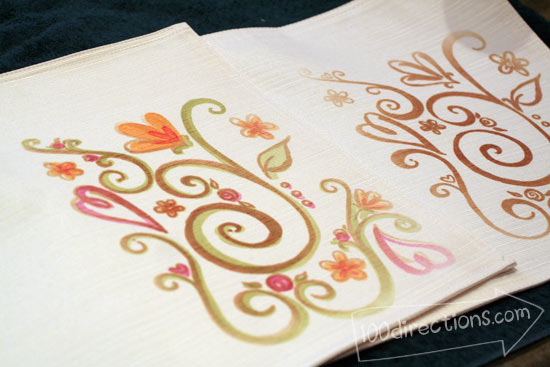
For this project I purchased plain cream colored napkins and placemats at Walmart for roughly $6 total. I'm not positive what the fabric is, but it's a polyester blend, the ink took really well. You can paint your entire design on to one sheet of paper, however I wanted to see how layers of painting would work, so I created two separate piece of art and over lapped them onto the fabric. Here's how I made it…
STEP 1
My art idea sketching
STEP 2
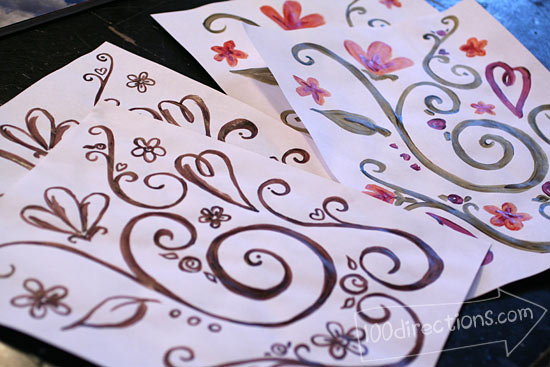
Transforming the sketches to painted designs
STEP 3
Painted designs transferred and overlapped on fabric placemats
Make your own custom napkin and placemat place settings
Materials you need
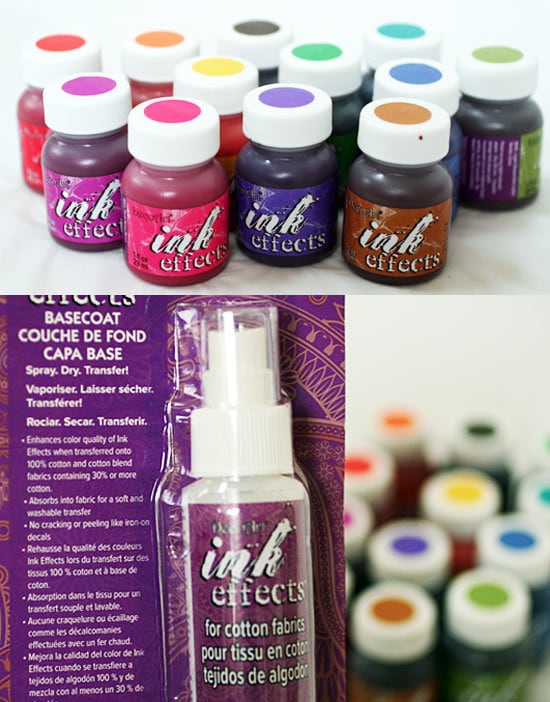
- DecoArt Ink Effects – whatever colors you like. I used brown, Violet, Light Green, Red, and Orange.
- Paper
- Fabric napkin and placemat
- Iron
- Towel (Optional)
- Paint brushes
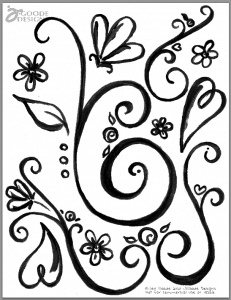
- Artwork to paint – you can use a pretty art pattern that I created for this project.
- If you're using a cotton fabric, you need the base coat product as well
Directions
- Paint your artwork on the paper. If you are using the art pattern, then either place the pattern under your blank paper and use to trace with the paint, or paint directly on the pattern. I created 4 pieces of art. 2 pieces were the same pattern painted just in brown. The other 2 pieces of painted art were the same pattern painted in colors. I created 4 pieces because the color transfer fades as you use the art on the fabric and I knew I wanted 2 placemats and 2 napkins, so I used 1 brown and 1 colors art piece for each place setting.
- Let dry for at least 30 minutes.
- If you need to add a second coat for more paint coverage, make sure to let the art dry for 30 minutes after the final paint coat.
- Transfer the art to the fabric. Place your fabric on top of the towel (unless you are using an ironing board – I ironed on my craft table). If you have a very thin fabric, you might want to protect your board with a towel as well.
- Starting with the brown art first, place artwork, paint side facing the fabric and add a second piece of paper on top of the art work.
- Iron on high for 30 seconds. I like to move the iron around to get an even heating, so I actually ironed for more than 30 seconds. You can kind of see the paint soak through to the blank paper top sheet as it heats and sets into the fabric.
- Repeat steps 5 and 6 using the colored art work.
Tip: I found the ink transfers easier if I ironed the fabric before placing the art to transfer, so the fabric was a little warm to start off.
Note: Make sure to test out this product and technique on scrap fabric before creating your final art and fabric pieces.
Bonus project: I also made napkin ring holders using cardboard and the same pattern I used on the fabric. I'll share a tutorial step-by-step later.
DecoArt Ink Effects should be available in Joann Fabric stores soon, I don't have an exact release date yet, but when I hear, I'll update this post.
Download the free design pattern I used in this project.
Follow DecoArt for more great product and project ideas:
More DecoArt Ink Effects Project Ideas:



These are beautiful Jen, love the design! I need to post my project. I used 100% cotton and did have some fading so am hoping to try it again on poly blends 🙂
Those turned out beautifully. They are so playful, yet elegant too!
Your artwork is beautiful. What a great way to transfer it to fabric!
Thank you so much Steph!
Those are lovely!! I love your design. 🙂
These are absolutely lovely. I love how the texture in the fabric adds to the overall design.
Looks amazing!!!! I used mostly deco-art products for Monkey Toes, when I used to paint them and I loved them!
I’ve played with Ink Effects alot and I had never thought of over lapping patterns but I love the effect!
Beautiful – the colors, the design, all of it!
Oh these are so beautiful! I wouldn’t be able to wipe my face with one of these gorgeous napkins! I just love your whimsical doodles and the way you have blended the different colors of Ink Effects. What a lovely project!
Amy*
This turned out so cute – I just love it!