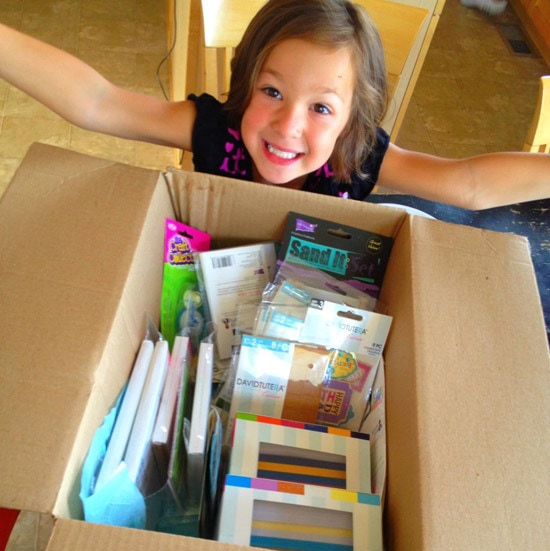
The kids and I recently had a fun card making day and lucky for us I had just received a big box of David Tutera's new card making supplies. We love to make our own cards! I usually don't even buy cards at the store because I can never find one that says what I really mean… so we dove into this box of goodies and got all crafty together. (Read below to find out how you can enter to win your own box-o-goodies!)
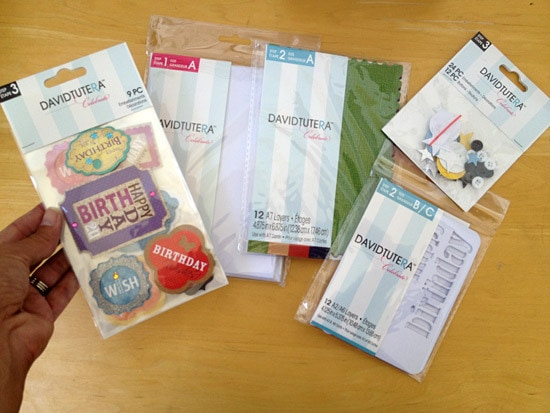
David's 1-2-3 system makes the task of coordinating craft pieces so much easier, so you and your kids can enjoy this project together. You first choose a card base from the 1 category, these will be blank, undecorated cards. Then you select a layer from the 2 category. You can cut these or apply them to the card as is. You can even apply multiple layers if you'd like. Then you finish off the card with your fun add-ons from category 3. We even played with completely blank, white cards and painted them using water colors, glitter and crayons.
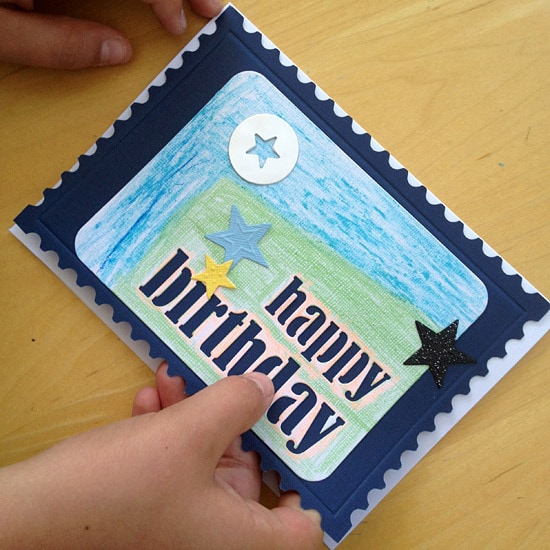
We started out with making a birthday card for a friend…
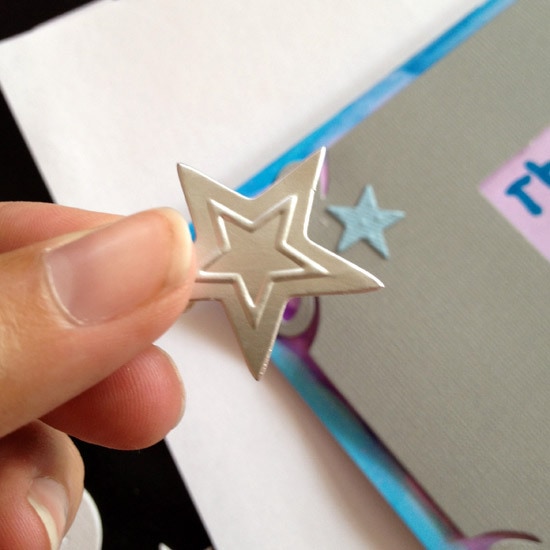
We started with a plain white card, added a dark blue reverse-scalloped layer and a white “Happy Birthday” die cut layer that my son colored. Then we added some stars. Voila!
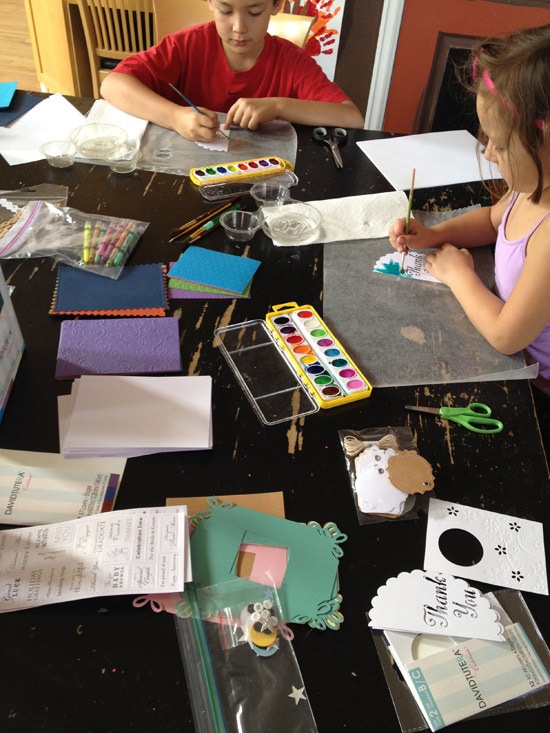
Then we moved on to making piles of Thank You cards. Recently both my kids participated in a fundraiser for their school called a Move-a-Thon. Friends and family donated money and the kids exercised for an hour at school. So, we wanted to make hand made cards to say thank you. We love to paint and color so we added this to every card we made. Here's what we came up with…
We got artsy with a ton of plain white cards and paper along with our markers and watercolors.
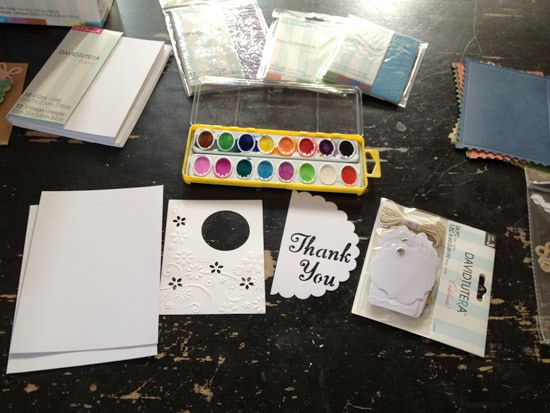
Then we got to work…
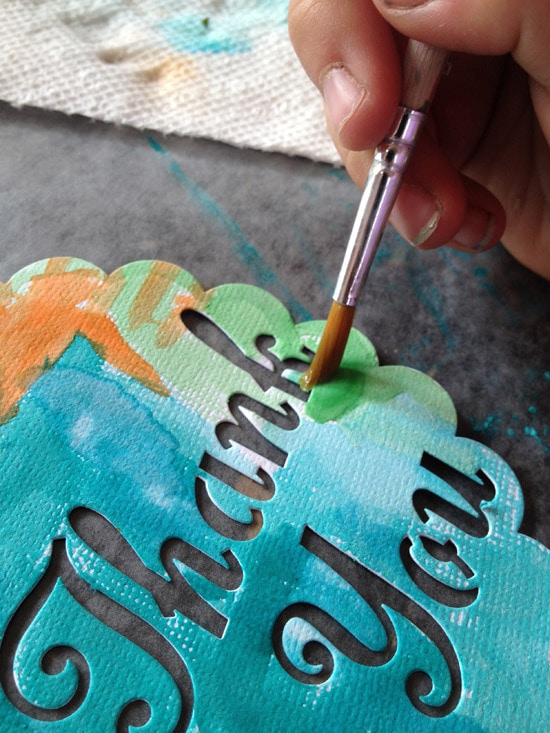
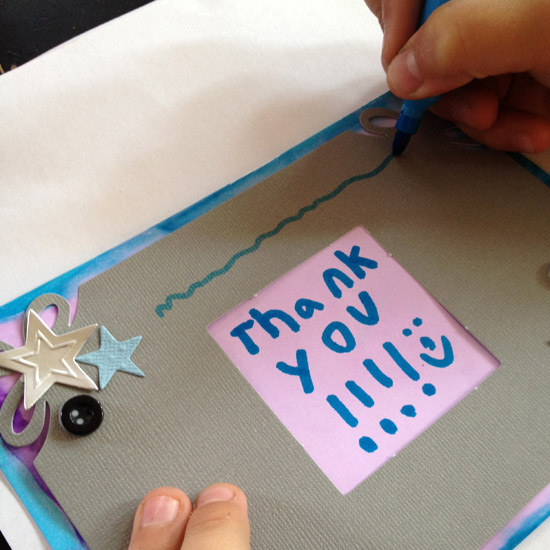
The result was a pile of fantastic Thank You cards completely made by my kids. They had a ton of fun without getting frustrated or tired of the creative challenge. We even had time to make a couple more birthday cards!
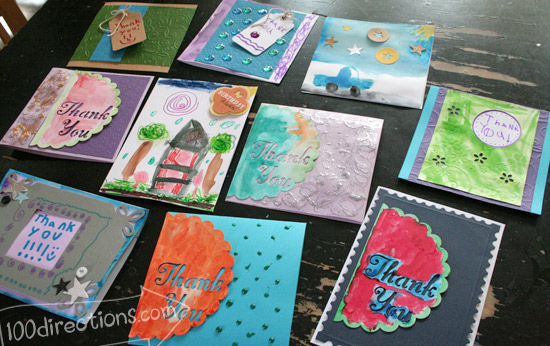
Each card is completely unique and we didn't spend days making them.
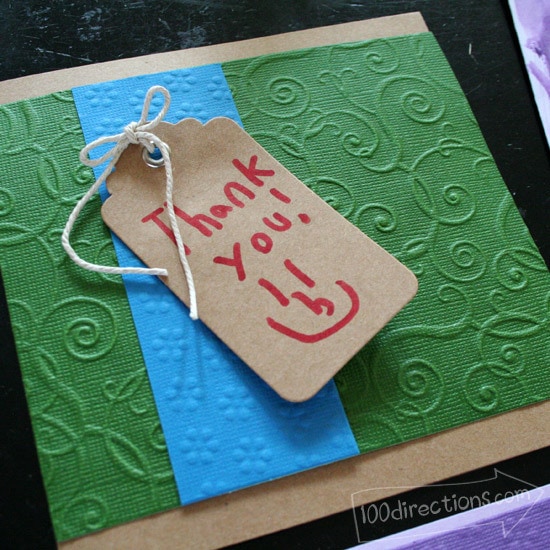
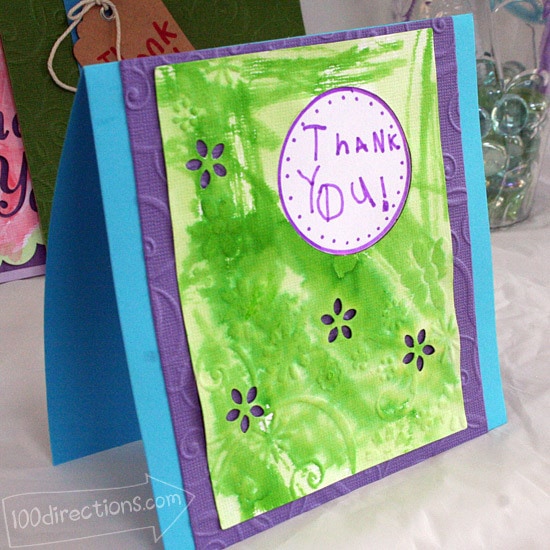
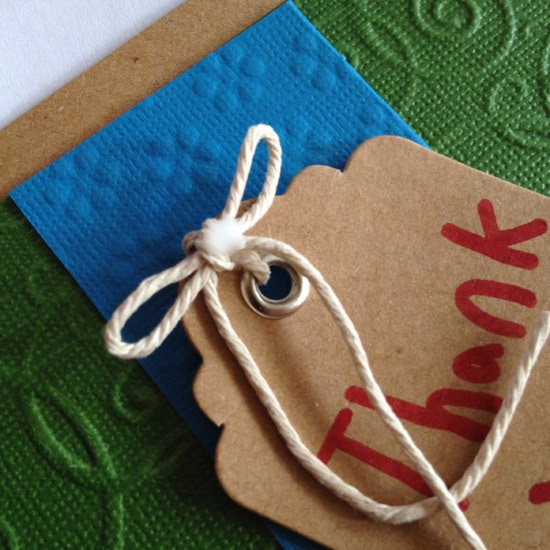
This green Thank You card just needed a little paper cutting and some glue along with a red marker to write “thank you” to create. It took no time at all and my son was so proud of his fantastic creation!
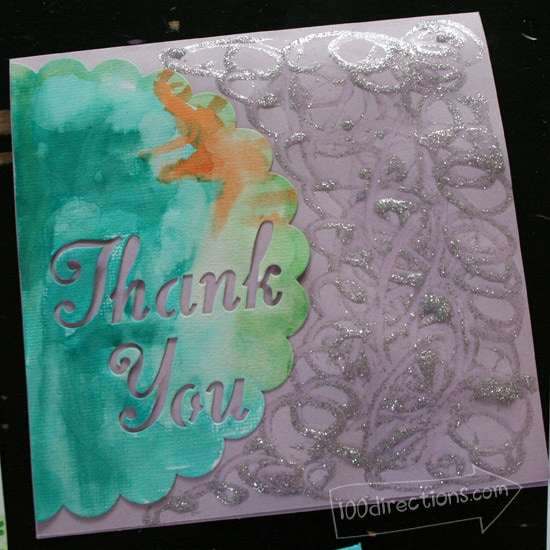
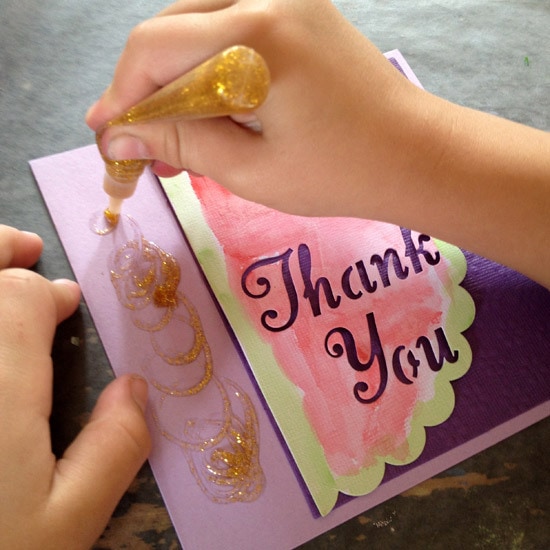
This card is only two layers from the David Tutera system. We started with a plain lavender card, added a white die cut layer, painted the white and added glitter to the lavender. That's it. I think it turned out so pretty!
Sometimes I think the creative process gets overshadowed by the technical process of being creative and that's why so many people don't feel creative. I think if we take out all the complicated “how to” details, more people would just in and make something fabulous. I love these products because they do just that. All you need is some glue and scissors and you can mek your own pretty handmade cards in no time at all!
When we were all finished, my daughter and I made a fun art project using these materials too. Check out the David Tutera 1-2-3 inspired preschool art project.
For more great David Tutera inspiration:
Facebook: https://www.facebook.com/DavidTuteraCelebrate
Twitter: https://twitter.com/TuteraCelebrate
YouTube: https://www.youtube.com/user/CoredinationsPaper/videos
You will soon by able to find these products at Jo-Ann Stores
BONUS: Enter to Win!
David Tutera’s Celebrate cardmaking line AND a personally signed book from David!
20 additional winners will receive a $50 Celebrate prize pack.


so awesome how they added their own artistic touch to the cards! I love how it still looks polished but totally kid made!