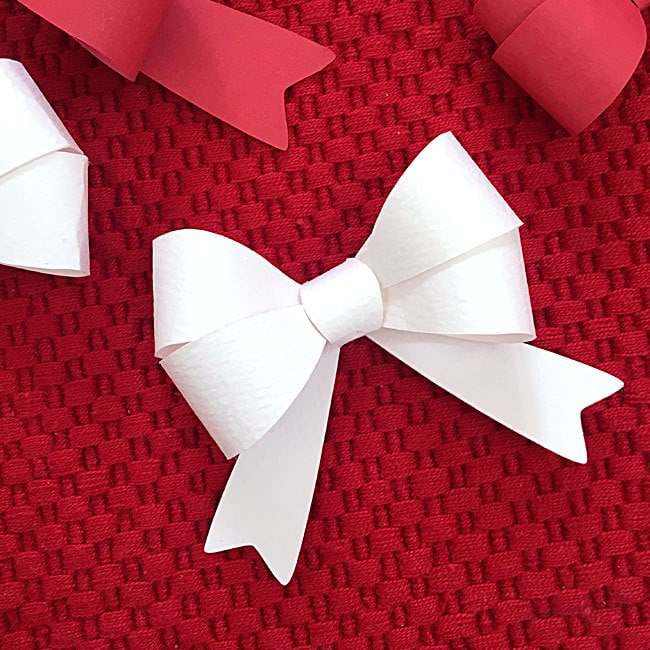
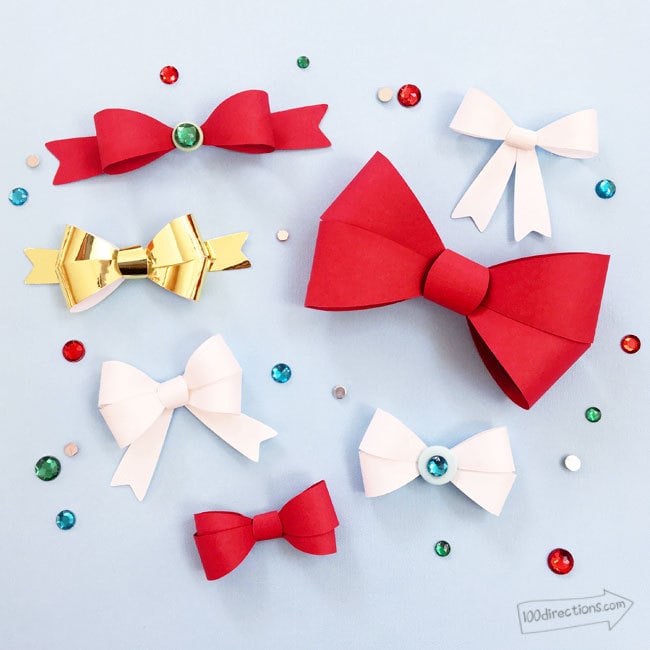
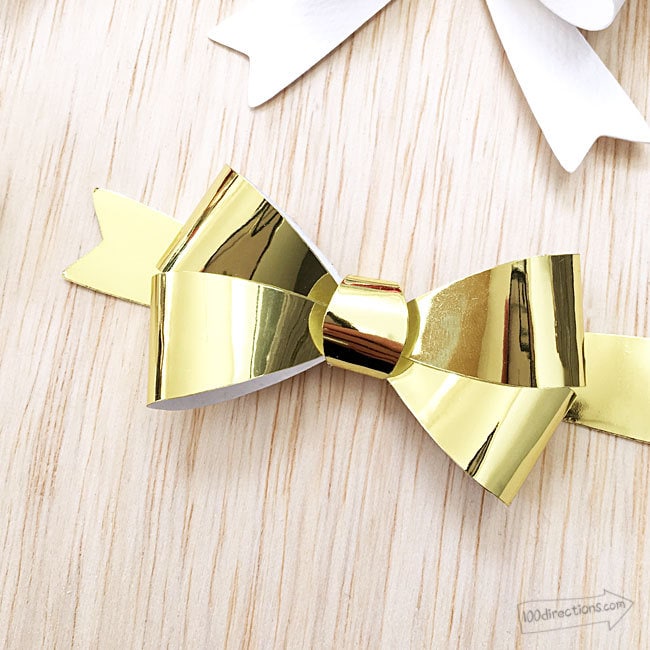
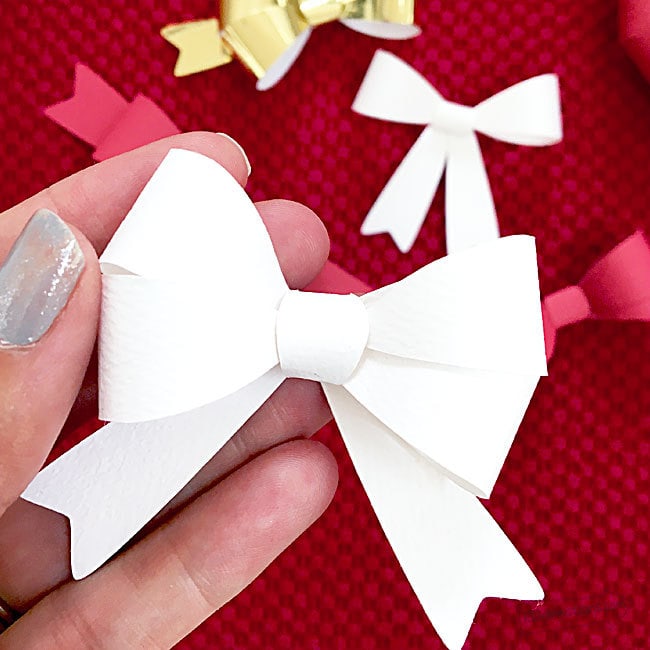
Add a cute little paper bow for a finishing touch to all your gifts. You can make your own paper bows with your Cricut in mere minutes. This is a Cricut project you'll use again and again! Change out the size and paper type or even a printed pattern to make your own custom mini gift bows. I even made one using adhesive foil and cardstock.
Cute Little Paper Bow
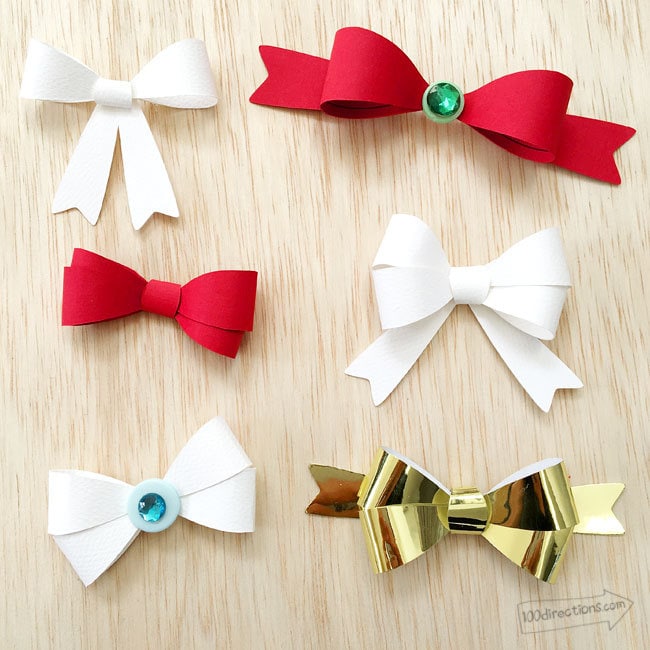
Make your own adorable little paper bows! This bow design can be used to create 3 different bow styles. Mix and match patterns, colors and layout and you’ll have yourself a whole pile of pretty paper bows to decorate all your gifts.
Materials
- Cricut Machine
- Cricut Design Space
- Gift Bow cut design by Jen Goode
- 12″ x 12″ Standard Grip Cricut mat
- Cardstock
- Glue
Instructions
- Follow onscreen instructions to cut bow pieces.
- Start with the two longest cut shapes (they are the outer right and left pieces on the canvas). Gently bend each side of the paper so both outer circles meet at the center circle. Glue in place. This is a simple one-loop bow.
- Add a second bow loop. Glue the center circle of the second cut shape to the back of the first finished bow loop. Carefully bend the paper, overlapping the first bow and gluing the circles to the middle. You need to make to angle this second bow loop set so it overlaps along one edge of each loop, not directly on top of the first loop.
- Wrap the small centerpiece around the center circle of the bow and glue in place, overlapping the flaps in the back of the bow.
- Optionally: glue the two tail pieces to the back of the bow however you’d like. Either lay them out horizontally or hanging down. You can also leave the tails off.
Tip: I’ve included a draw line with the bow design that you can include to create some fun doodle accents to your paper bows.
