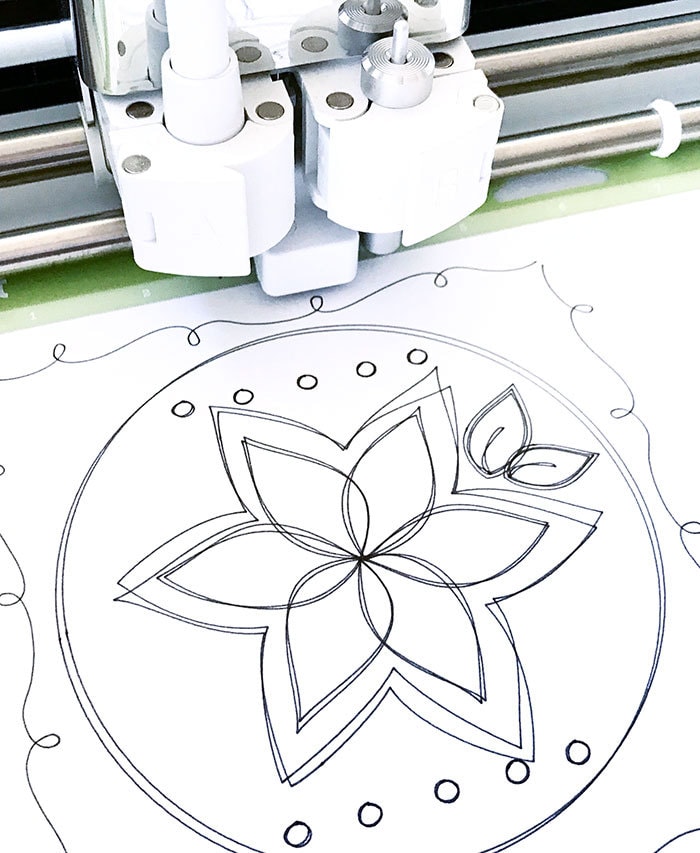
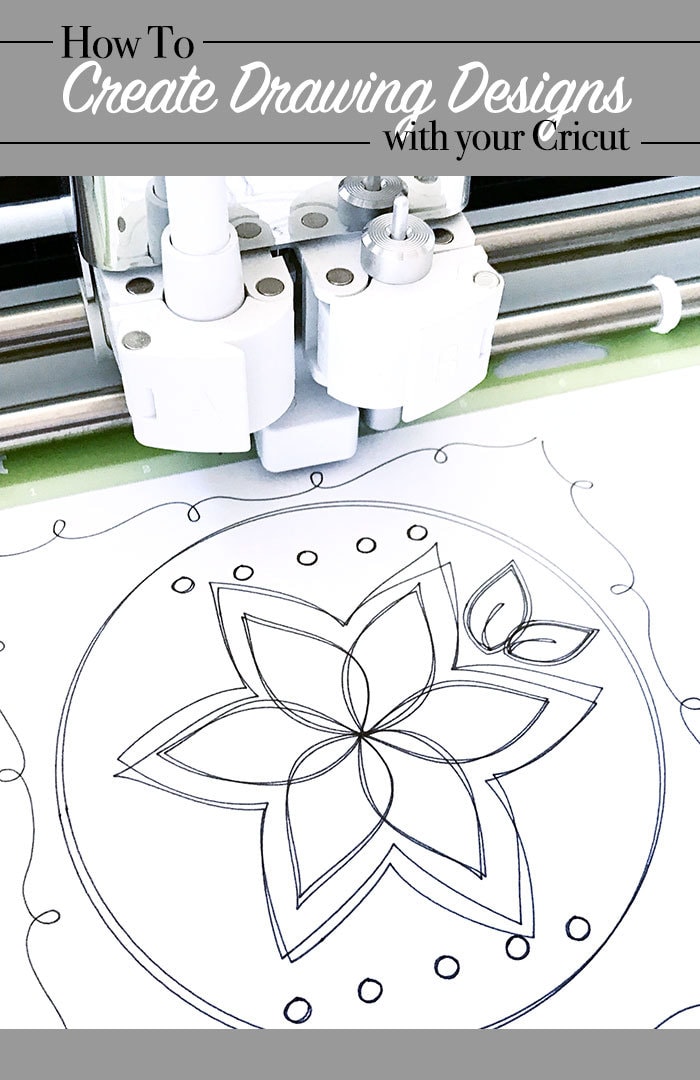
Learn how to convert a cut file to draw with your Cricut. You can draw and write with your Cricut by choosing designs that include draw/write lines. Or you can convert cut designs into drawing projects. You can combine the two as well.
This is lesson 4 in my drawing with your Cricut series. Learn how to use the pens with your Cricut machine to create a variety of accents, designs and full projects featuring line art and fonts drawn with the Cricut pens.
Converting a Cut File to Draw with Your Cricut Machine
In Cricut Design Space, you can customize design layers to cut, score, print or draw. You can not customize every single line in a design. Instead, you can customize each layer of a design. Today we’ll talk about how you can use designs you already have, to create fun drawn designs using your Cricut machine.
Today we are going to talk about:
- Setting an image layer to draw
- Layering Draw Designs
- Preview Your Drawing
Recommended: Drawing and Writing with Cricut Get Started Guide
If you are new to drawing with your Cricut Machine and unsure where to start.
Materials you need for this tutorial series
- Cricut machine – any version is fine
- Cricut Design Space – Cricut Access is optional
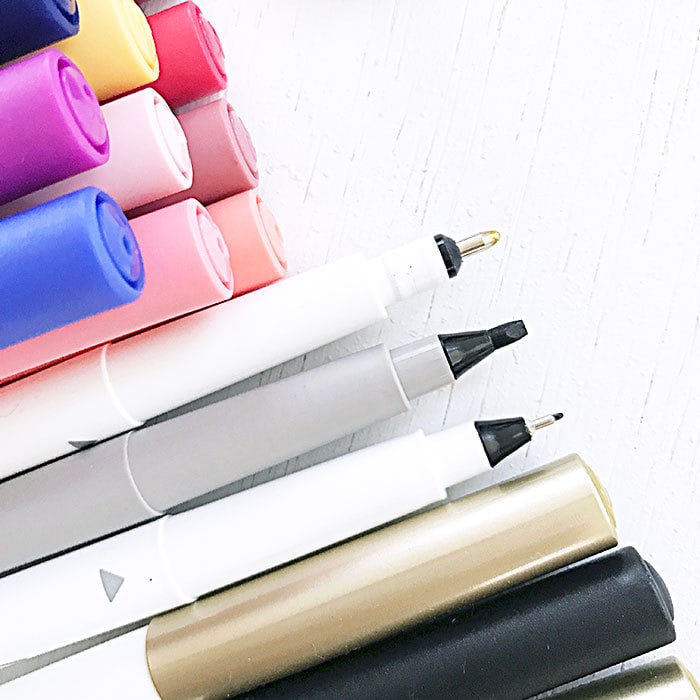
- Cricut Pens – the standard fine point black pen is a great place to start.
Setting an image layer to draw
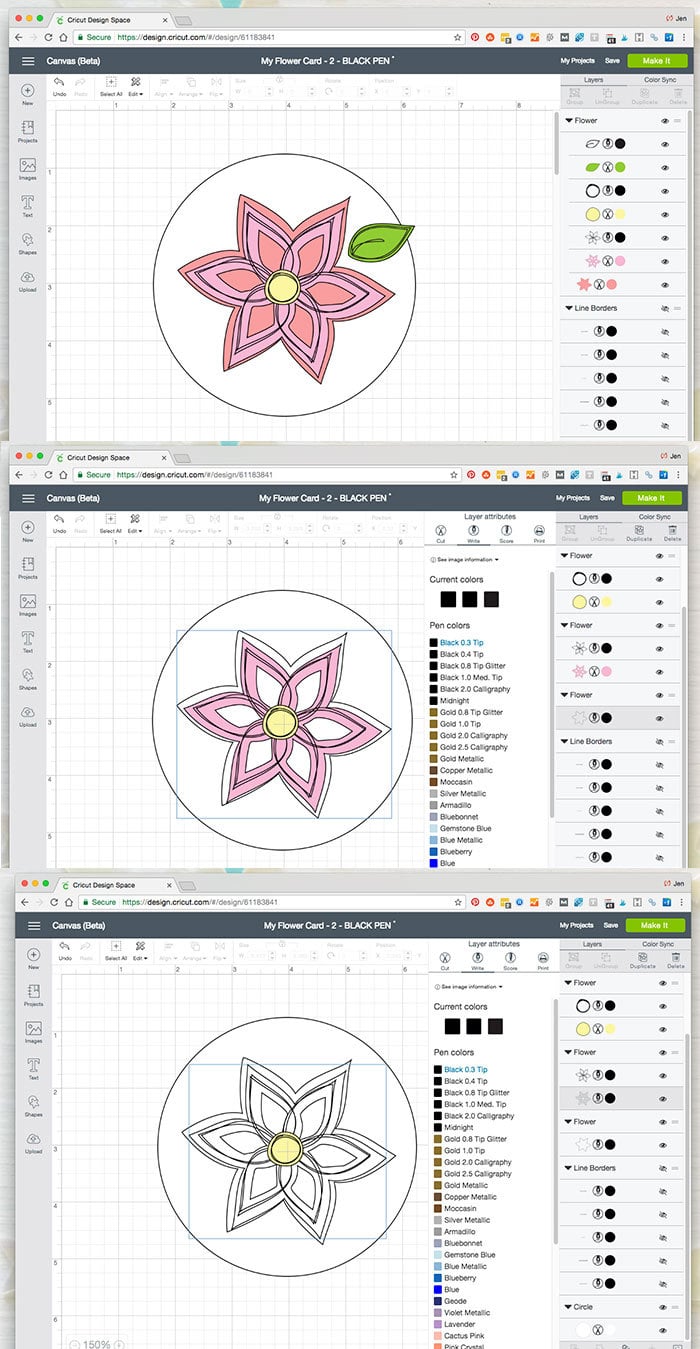
Images imported from the Design Space library and your own cartridges are pre-set with different functions. You can usually change these pre-set options for each layer in the design. You can then choose which layers you’d like to have cut or printed or drawn (or scored). Here’s how to set up your design to draw.
- Open or import the image you want to use on to your Design Space canvas.
- Select/click the layer of the image you want to set as drawing. If the layers are flattened (usually as a printed image), you must first unflatten the design. Some images can not be unflattened and are only to be used as printed designs, these designs can not be converted to drawn designs.
- Choose “writing” from the palette options that appear.
- Choose the pen color from this same options palette. It is important to pay attention to the pen colors you’ve chosen. Every new pen color selected will result in a pause in the drawing process and a prompt to change your pen.
- Attach drawing layers together how you’d like them to be drawn.
Layering Draw Designs
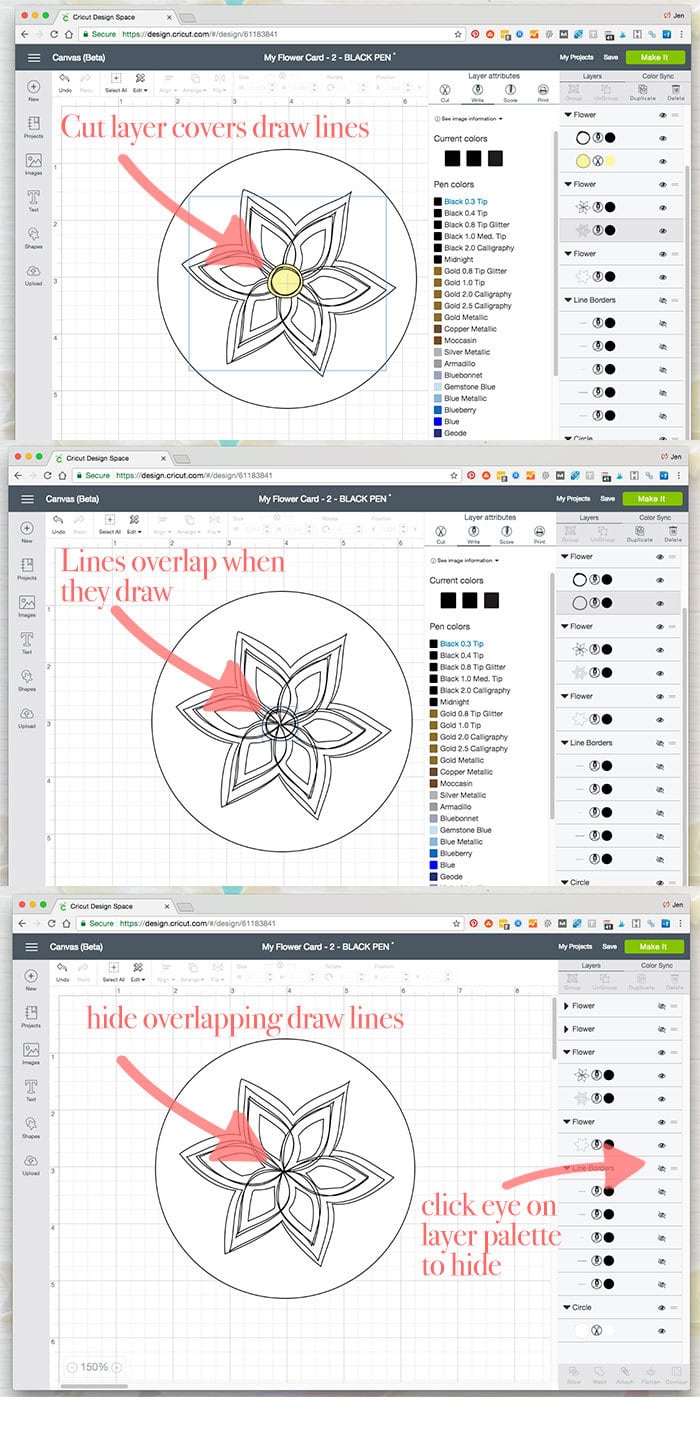
We’ll talk about design layout more later, but to get started, I wanted to give you a quick overview of how to set up a design to draw. When you first import an image into Design Space, there are usually different cut layers. In my own designs, I have included specific draw lines to coordinate with the individual cut designs.
Sometimes, if you set a design to draw only, some of the design’s lines will overlap each other and not look as nice as they would if they were cut and draw. So, to solve this, you will have to determine which draw lines you want to keep and possibly hide some of the design. See this example below.
Preview Your Drawing
You can preview what your design will look like before you cut or draw your final project. Take a look at your canvas layout and the virtual cutting mat layout to make sure the design looks as you envision.
What you see on screen will be pretty close to what you should end up with on paper.
I like to test my drawings on basic paper before using my good final paper. This allows me to make sure the pens I’ve picked will work well and the draw will turn out like I expect.
Make this project yourself. I’ve set up a Cricut Design Space Canvas so you can practice working with drawing layers and designs with your Cricut.
Keep drawing with your Cricut!
Learn more about Drawing and Writing with Cricut with my Get Started Guide.
Learn more tips and tricks and find other tutorials to help you draw and write with your Cricut machine. If you have a question about this design feature, send me a note!