I love it when we can turn art into something functional.We can make decor all day long, but what about making art for something we can use? I think clothing is the perfect canvas to show off your own personal style and create something you can use over and over. Today I'm joining a barrage of bloggers – somewhere around one hundred and TEN, yes, I said 110 – to share a fabulous collection of patriotic projects. You'll find a huge variety of ideas sure to fit just about anything you'll want to create to help celebrate with true American Pride.
I'm sharing some cute Star Art, you can print for your own use and a Patriotic Art Dress (using that same mentioned star art) made from a t-shirt. It's so much easier than you might think AND you can upcycle/recycle a t-shirt from one of the bigger kids (aka big brother) or even dad. Oh how I love using t-shirts to make new things!
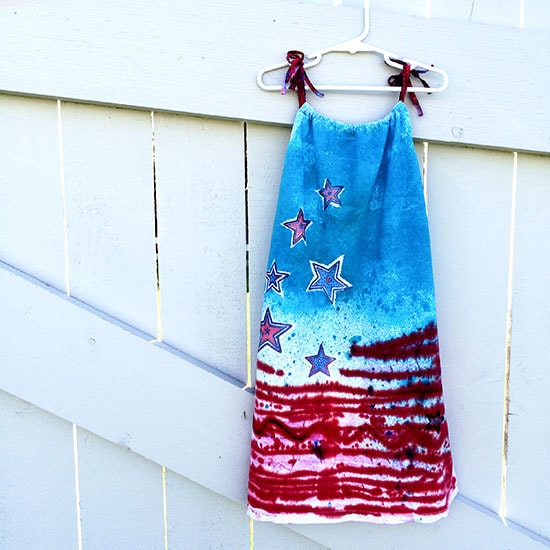
The beauty of this project is that it looks difficult, but really it's only a few easy steps. I'll show you how AND you can absolutely personalize it to make it all your own. I won't be showing you the step-by-step of actually sewing the dress… I'll save that for another day, when I'm ready to suck you into more than 3 easy steps. Although, there is a simple little sketch showing the sewing steps below. I created this white cotton dress from a men's XL t-shirt. (Thrift store find for $2, bonus!) You can make your own dress or replace with a skirt or t-shirt or whatever you'd like. 100% cotton is the key here.
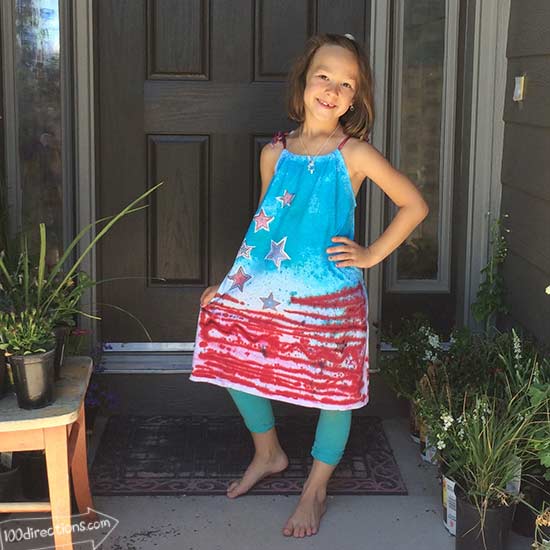
You can adapt the sizing of this project to make clothing for adult sizes too. I created this to fit child size medium.
Materials you'll need:
- White cotton dress
- Tulip Tie Dye in blue and Red
- Printable Stars by Jen Goode
- T-shirt transfers
- Spray bottle
- Iron
- Scissors
- Paper towel
- Plastic tablecloth or other protective surface cover
- Printer and cardstock
[wpdm_file id=76]
How to make your own Patriotic Art Dress
Prep: cover your work area with plastic, following directions on the Tie-dye to prepare dye. After mixing, pour the blue dye solution into a spray bottle. Be Aware: using a spray bottle, you might want to test our far the spray reach is. I used my spray outside to make sure I didn't spray something inside the house. Put plastic down on the drive way and go that route if you are really worried.
- Decide on your layout. Print out stars on regular cardstock and cut out. Arrange on the dress for placement of the art transfers. Leave the stars in place as you add color to the fabric.
- Create art with fabric dye. Spray the blue dye where you'd like it. Spray as evenly as possible, adding layers of color until you get the coverage you want. The cardstock cut out should all a white fabric to remain underneath. Do not over saturate the fabric. Using the dye kit bottle, carefully squirt red dye in a stripe type arrangement as shown. Again, be careful not to over saturate. Let sit for 5-10 minutes. Apply paper towel to fabric, do not press too hard. Flip fabric over so you can repeat the dye application on the back of the dress. BEFORE adding color to the back, add some paper towel inside the dress to help prevent the dye from soaking on to the front and “erasing” your stars. Follow dye instructions to set the color into the fabric.
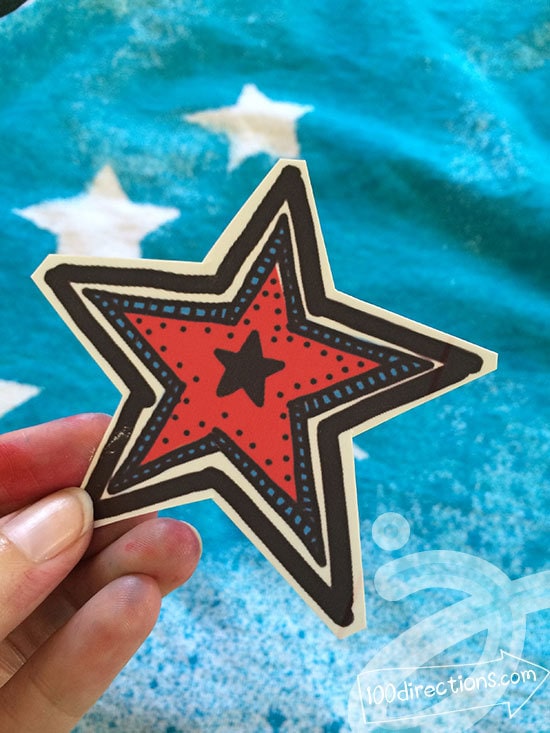
- Add iron-on star art. Once the dye color is set, print and cut out the star art I designed for you on to fabric transfer paper. Follow the paper instructions to apply stars to the dress.
That's it! I know, #2 could probably be broken into 10 steps all by itself, but I didn't want to scare you with a million steps.. it really is a fun project I know you will love!
Here's a visual break down of this entire project.
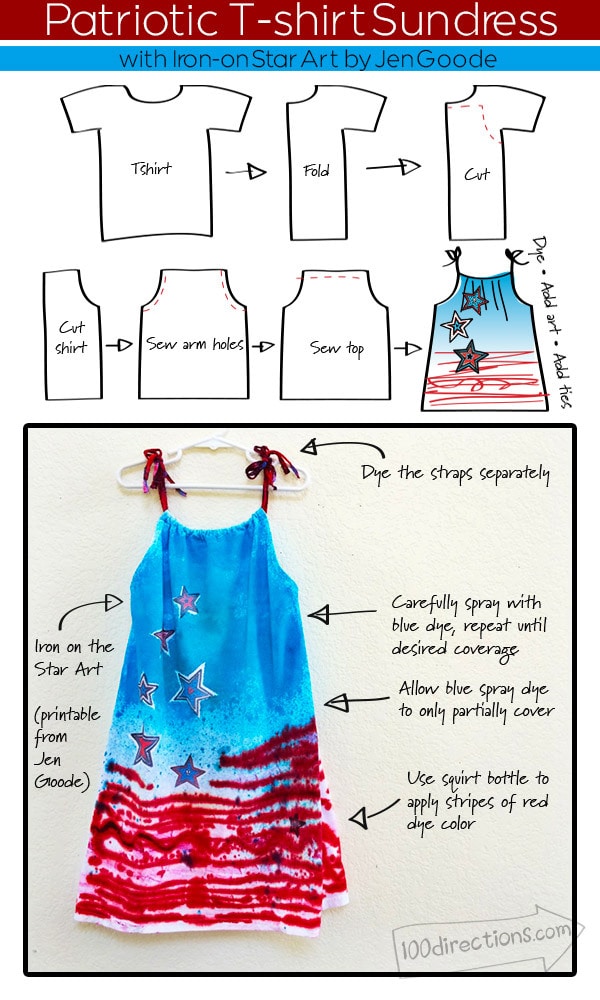
Now for the step-by-step visuals – make sure to read the instructions too… there's helpful tips sprinkled in there, but I hope the photos help you see what I'm talking about.
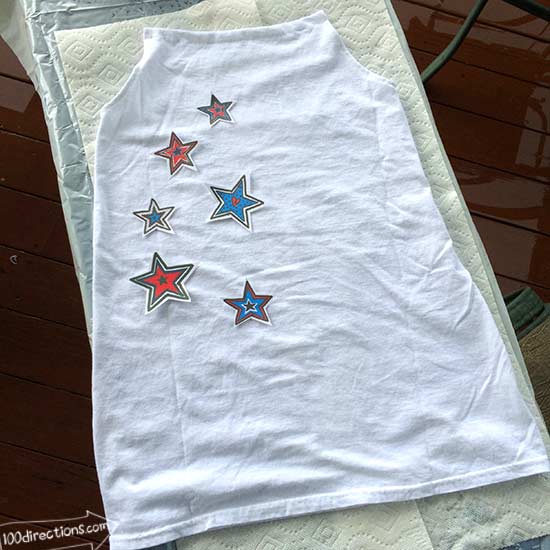
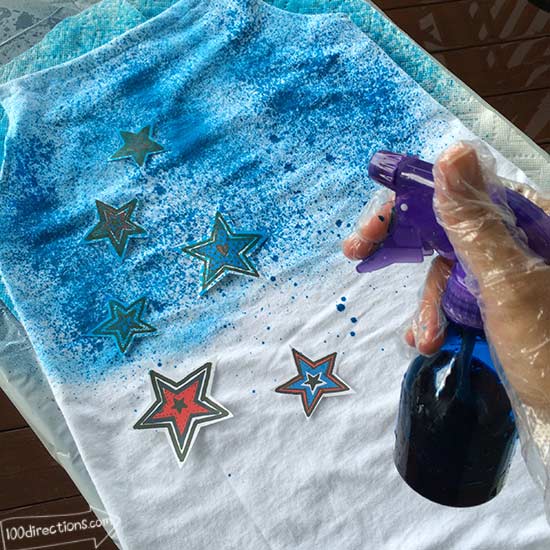
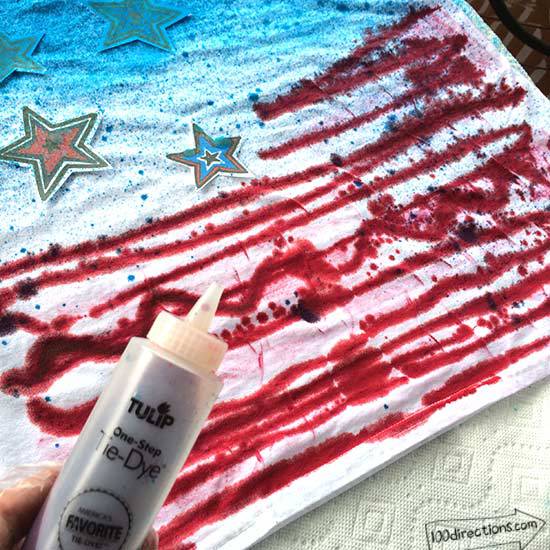
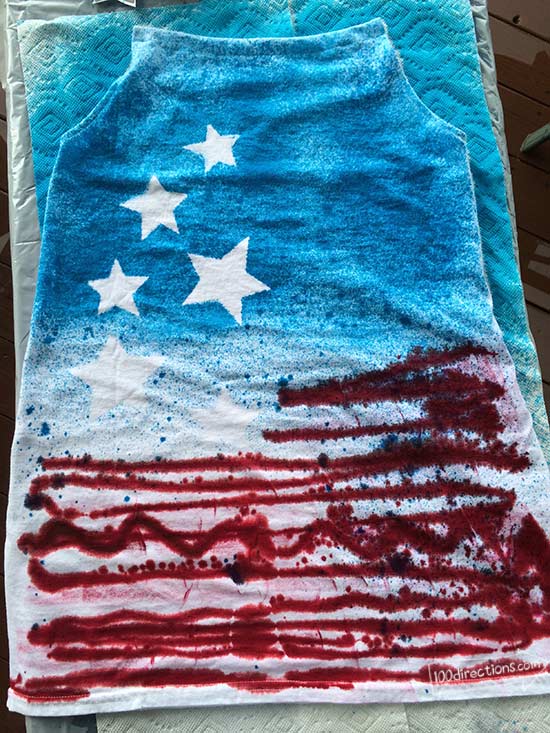
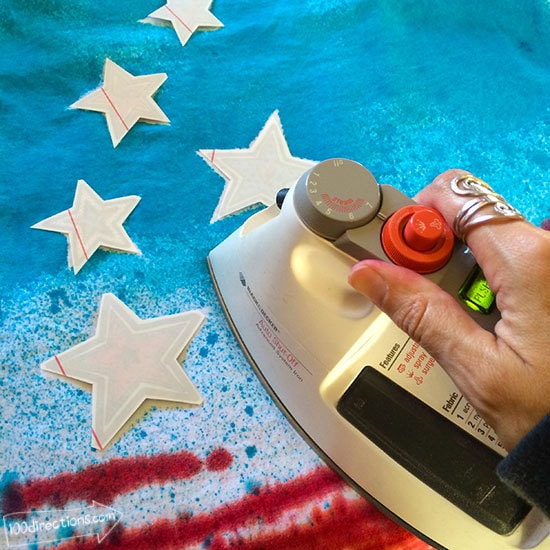
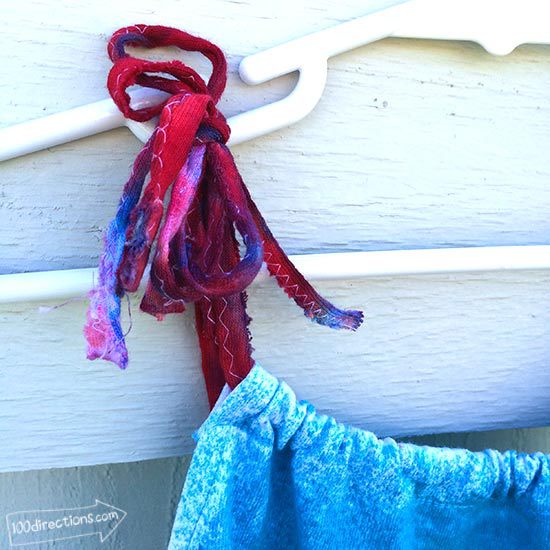
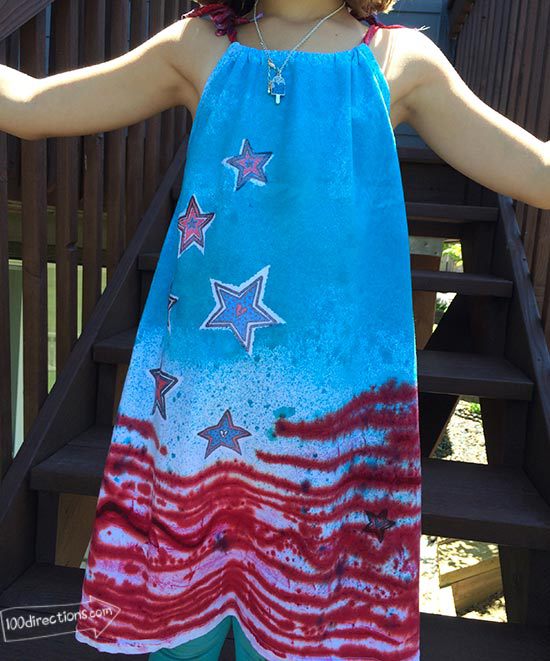
If you have never used fabric dye before, I can not tell you enough.. USE GLOVES and make sure to PROTECT YOUR WORK SURFACE. It's real dye, it will really stain things. But don't let that stop you. If you try it outside first, you'll be good. If you're super worried… in addition to setting up on the driveway or back porch, have a jug of water or the hose nearby in case you spill and want to wash away any spilled color. I over sprayed a little on the deck (don't tell my husband) but I had a water jug right next to me.. so like magic, there is no color that shouldn't be on the deck. Although I do thing it would be cool to dye the deck!
You can add your own design to this patriotic dress. If you want a simple sewing project to use, make a t-shirt skirt and then add your patriotic flair! The dress isn't that much more difficult, I just don't have photos to show you yet. The easiest way to go would be to make a t-shirt, as is, into patriotic art. You can use the printable star art I created to do a million different things. Use them in your decor, put them on cupcakes, make cards or invitations or even put them on your shoes! The printable is free for a limited time – YAY for YOU!
If you want to use the little art stars I've designed, don't forget to grab your free copy while it's free. Download link is above in the supply list.
Special thanks! I'm so excited to be able to share with this giant collection of Red, White and Blue projects. Look at all the awesome patriotic DIY goodness below… And Thanks to Abbey from The Cards We Drew for Organizing the whole thing.. she is a real Rock Star! Also, that fabulous event logo (above) was designed by Kiki, love it!
Now go look at all the other fantastic projects… there are so many awesome ideas, you're going to want to show off your American Pride all summer long!
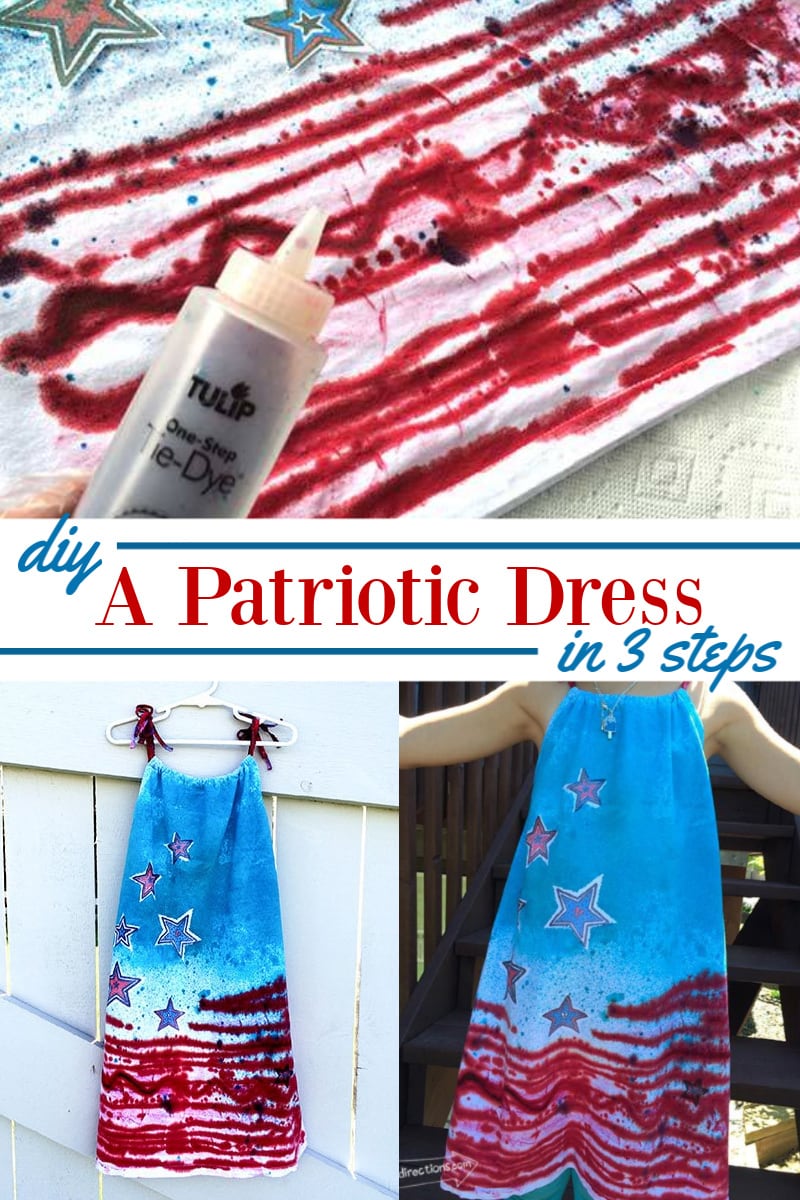



That turned out just so cute!!
Thank you so much! I should make a doll version to share with you 😀
We included your adorable dress in our round up of projects to make with Red, White & Blue fabric! (http://skirtfixation.com/2014/06/red-white-and-blue-roundup/)
Thank you so much Audrey!
CUTE!!!
Thank you!
This is so fun, I love it! I like the TULIP tie die in a bottle, too;)
Thanks bunches!