Today I'm sharing an idea to help show off these cool new stencils created by my friend Amy Anderson from Mod Podge Rocks. She's come out with a number of different stencil designs and I chose to play with the old style keys. Combine the designs with Mod Podge, glitter and a little illustration of your own, and voila! a unique piece of art is born! I turned mine into a keychain, with a bit of a worn and weathered look. Take a peek…
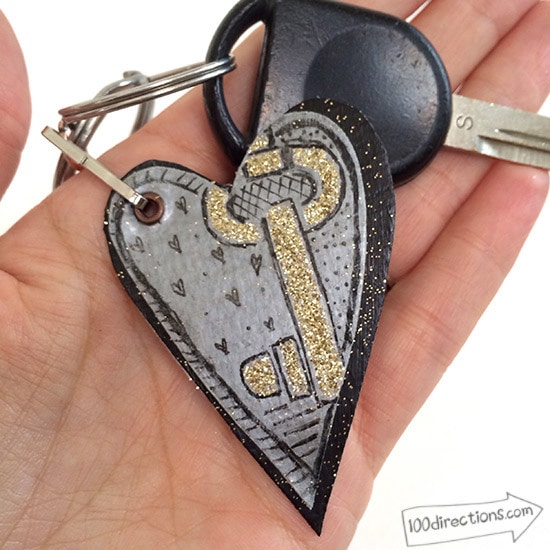
I love the swirls and the ornate look of these stencils, there's a ton of fun things you can do with them. The stencils themselves are sticky on one side so you can easily create pretty art on non-smooth surfaces. You can use them with Mod Podge, paint, stamping ink… play with them, I'm positive you'll be creating master pieces in minutes!
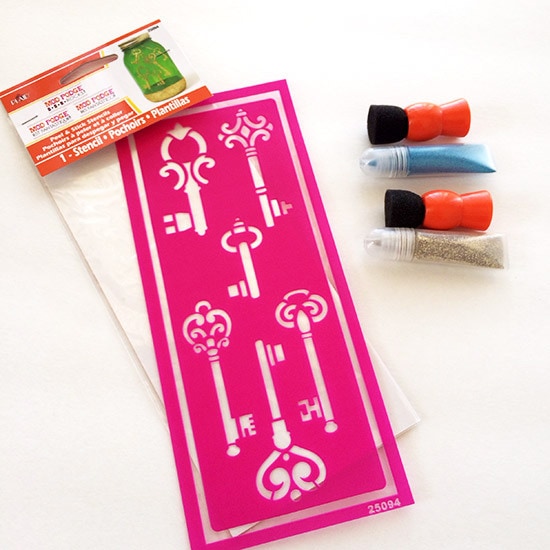
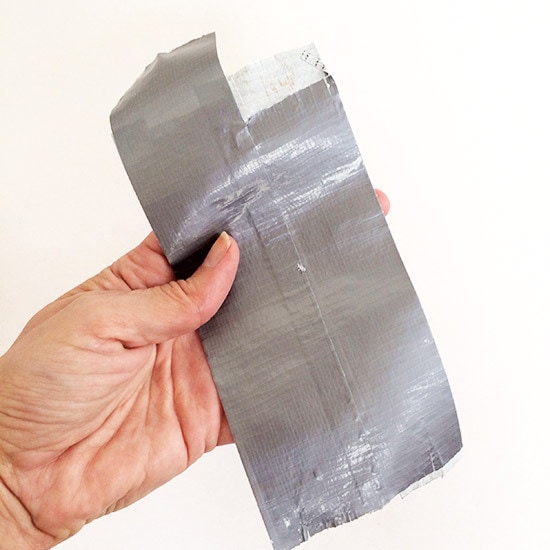
Now for this project I was thinking it would be cool if I made a leather keychain, but I don't have scraps of leather just sitting around the house. I do, however, have rolls of Duck Brand duct tape. Layer up that tape and you have a leather-like material that is more durable than paper or cardboard.
How to Make a Key to My Heart Keychain
Materials you need:
- Mod Podge Rocks Peek and Stick Key stencils by Amy Anderson for Plaid
- Mod Podge
- Podgeable Fine gold glitter
- Duck Brand Duct Tape in Black and standard Gray/Silver
- Fine point permanent black marker (I used a .05 Micron)
- Spouncer
- Big paint brush
- Scissors
- Keychain accessories
Steps to make this cool keychain
- Create the main material by layering duct tape on to itself. Make sure to layer on both sides so you don't have a sticky side remaining. Cut whatever shape you like. One of my pieces I cut using my new Cricut Explore. The heart I cut by hand.
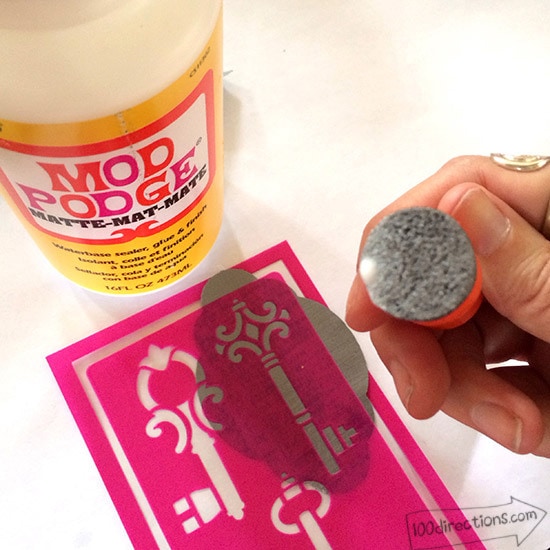
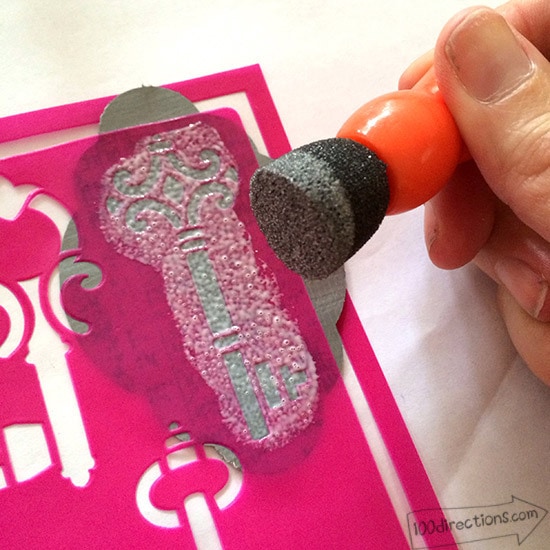
- Apply the stencil to your surface, make sure all edges are flush against the material to be stenciled.
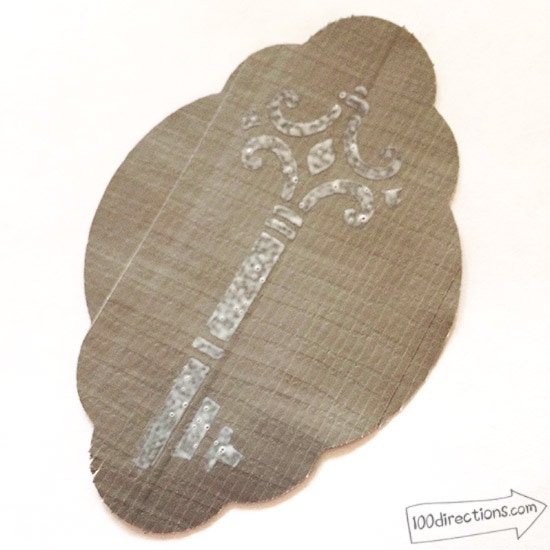
- Using the spouncer, gently apply Mod Podge to the exposed areas of the stencil. Don't apply too much, but make sure you do cover all areas. Carefully remove the stencil before the Mod Podge dries.
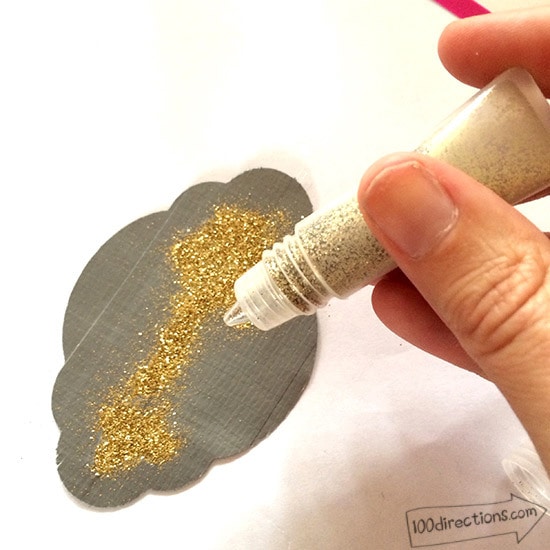
- Gently add glitter to the wet stenciled design. Allow to dry.
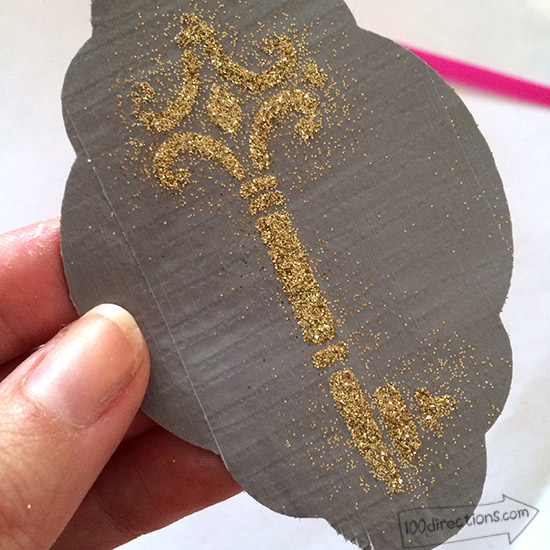
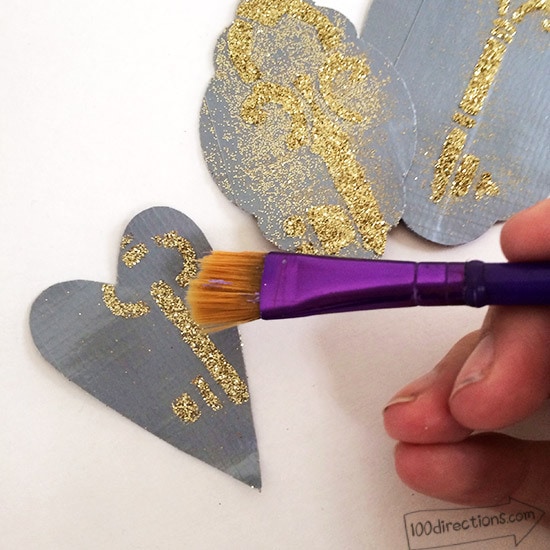
- Using a paint brush, carefully brush away excess glitter.
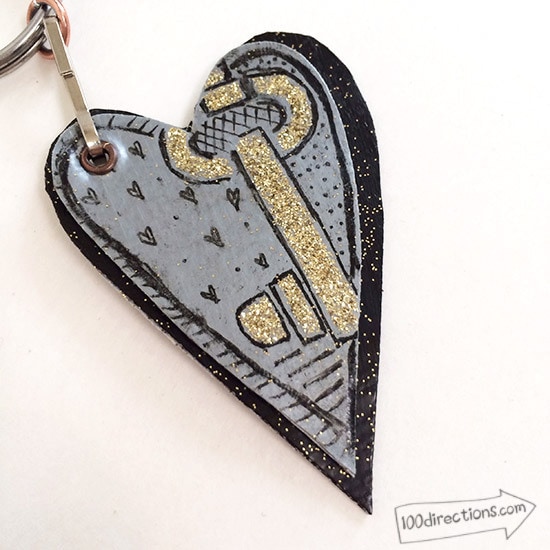
- Using your pen, add whatever doodles or hand drawn art you'd like.
- Carefully apply a layer of Mod Podge on top of the entire piece… glitter, drawings and all. Allow to dry. This will help protect your art from rubbing off with use.
Extra: To create the keychain, I created a second layer of decorated duct tape, slightly larger than the first layer. Then I used a crop-a-dile to punch a hole in the duct tape shapes. I then added an eyelet with the crop-a-dile and a keychain hook.
Tip: You can skip #6 if you'd rather leave the key stenciled art all on it's own. I think this looks really nice too. But you know me… I have to add doodles on everything!
Other ideas? You can find tons of fun Mod Podge project ideas over on Amy's site, Mod Podge Rocks
Have you used stencils before? Tell me about it!


Jen, this is SO CUTE! Thank you! I never would have guessed duct tape . . . you are brilliant!