Whenever we take pictures, we try to find creative ways to display them. For all the outdoor fans and garden lovers, creating a nature craft would be fun theme for a photo project. This mini frame is a great DIY gift the kids can make any time of year.
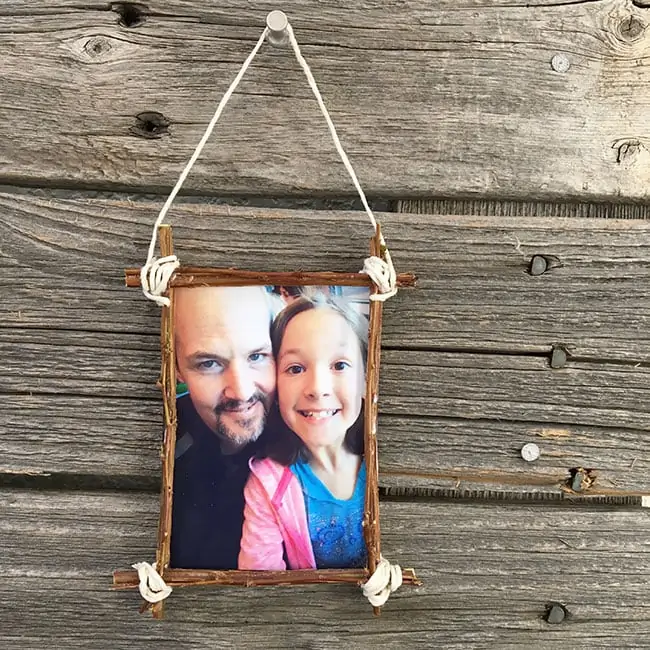
Make a Mini Twig Picture Frame
Make this mini twig frame in just a few steps, each one is unique. Grab some garden clippers and snip off a few twigs and create a mini photo frame. Personalize the look by layering twigs together or changing the twine type or color you use.
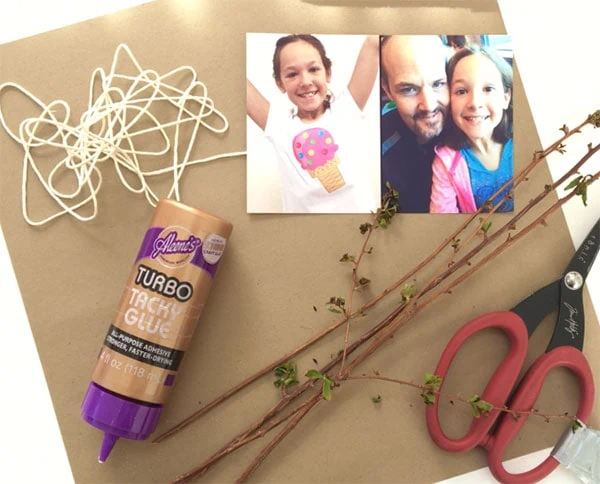
Supplies You Need:
- Printer
- Printed photos
- Small twigs
- Scissors
- Glue (Aleene’s Tacky glue works GREAT!)
- Twine
Instructions
- Trim photo to size.
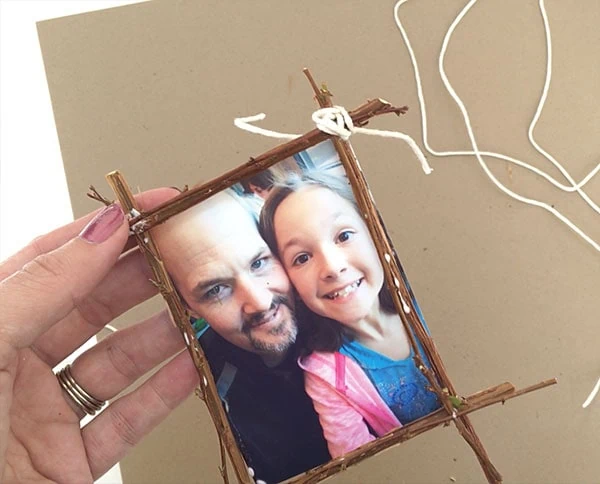
- Cut twigs, coordinating with your photo. Make sure to leave about 1 inch at each end so you have room to add the twine.
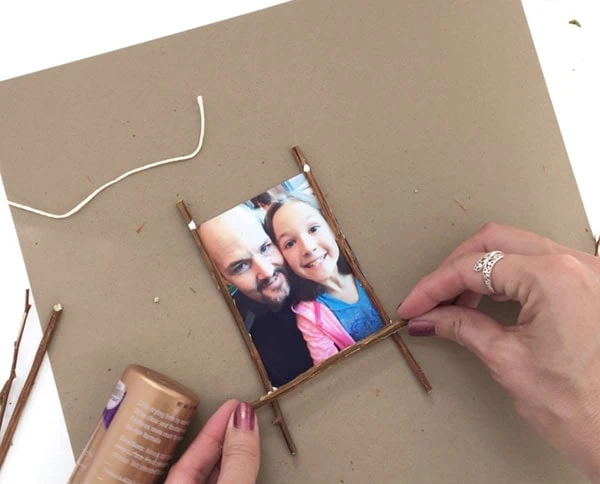
- Add glue to twigs and place where you’d like them directly on the photo.
- Optionally add additional, smaller twigs.
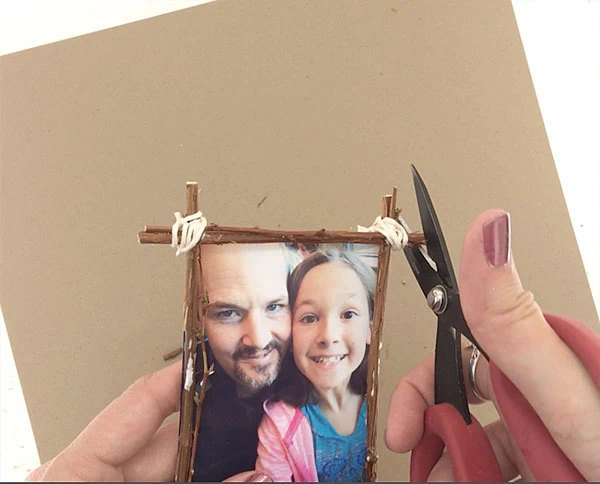
- Wrap twine around the corners of the twigs. This step works best is glue has dried completely
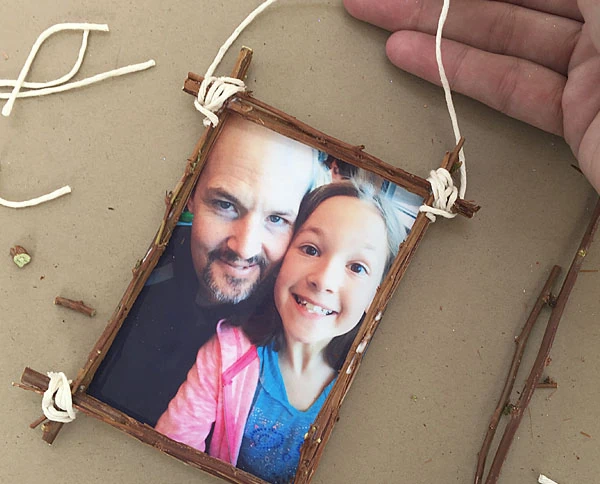
- Trim the twigs down a bit.
- Add a piece of twine to allow for hanging of your picture frame. I tied the twine to each of the top corners to add the hanging string.
You might also like: Printable I Love You Dad Tie card
Tip: to print out smaller photos and not waste photo paper, use a collage app to combine two photos on one page.
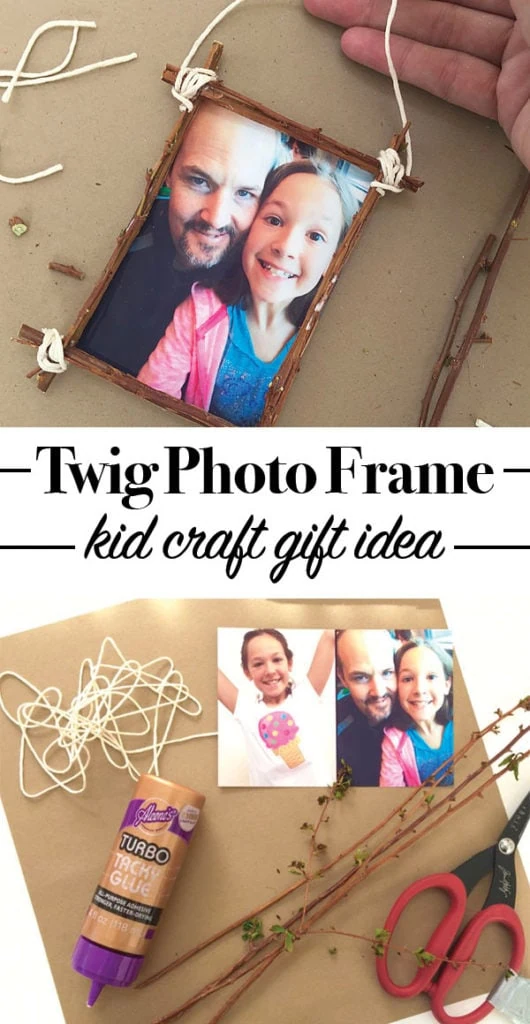
You can make these frames in all different sizes, square or rectangle. We’re making a few to give to Dad for Father’s day. The kids love making handmade gifts and I think this is one he’ll love that he doesn’t need to fill with coffee or wear to work.
Happy Creating!
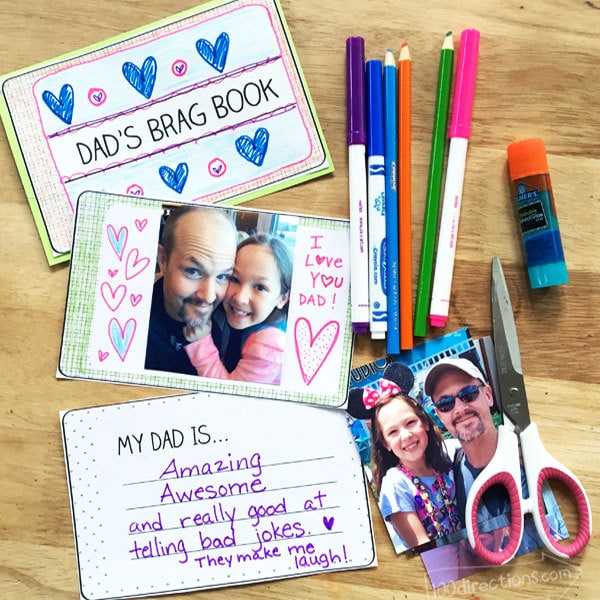
If you like this gift idea, you might also like the printable Dad Brag Book.
