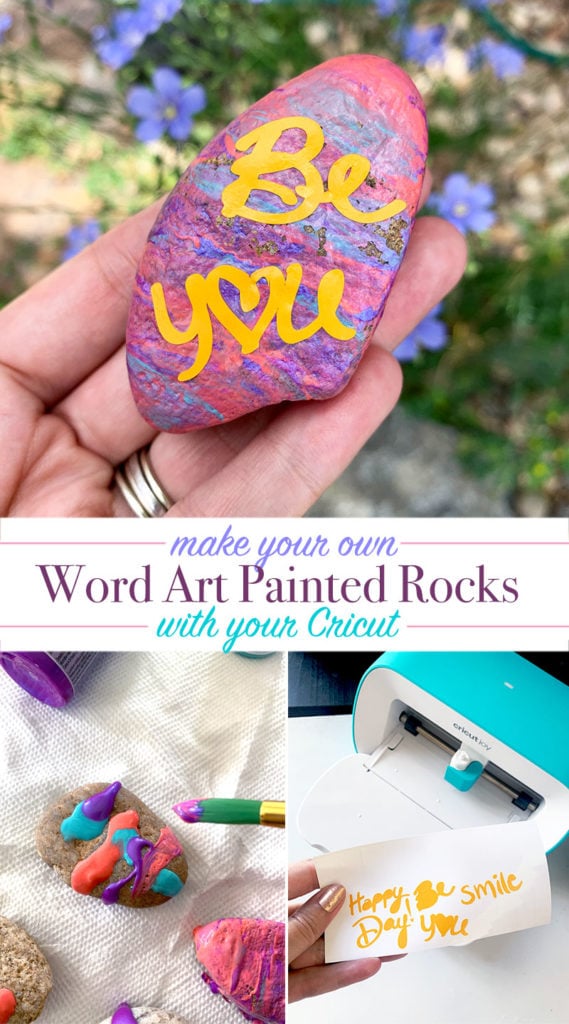
Make fun rock art with vinyl word art you can cut out yourself. I'll show you how I used my Cricut to easily cut out a vinyl word art design and decorate some painted rocks. This Cricut project is perfect for family or group gatherings. Everyone can paint and decorate their own rocks however they'd like. Then, go on a walk and leave your art rocks for other's to find!
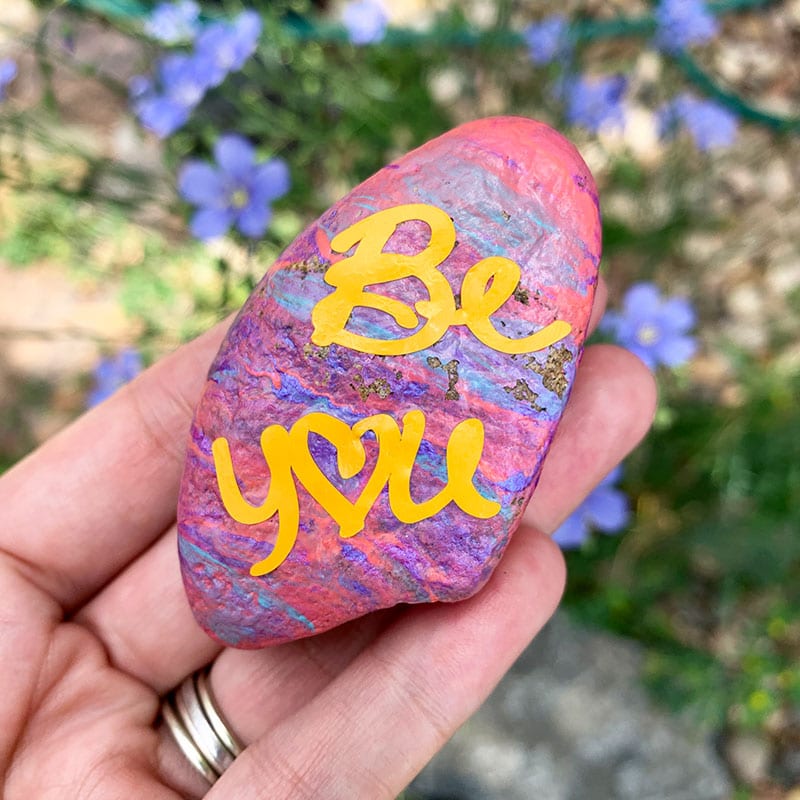
How to Make Word Art Painted Rocks in Minutes
T make my own decorated word art rocks, I used permanent vinyl and my Cricut Joy. You can use any word art and any Cricut machine you like.
Materials
- Cricut machine and Cricut Design Space account
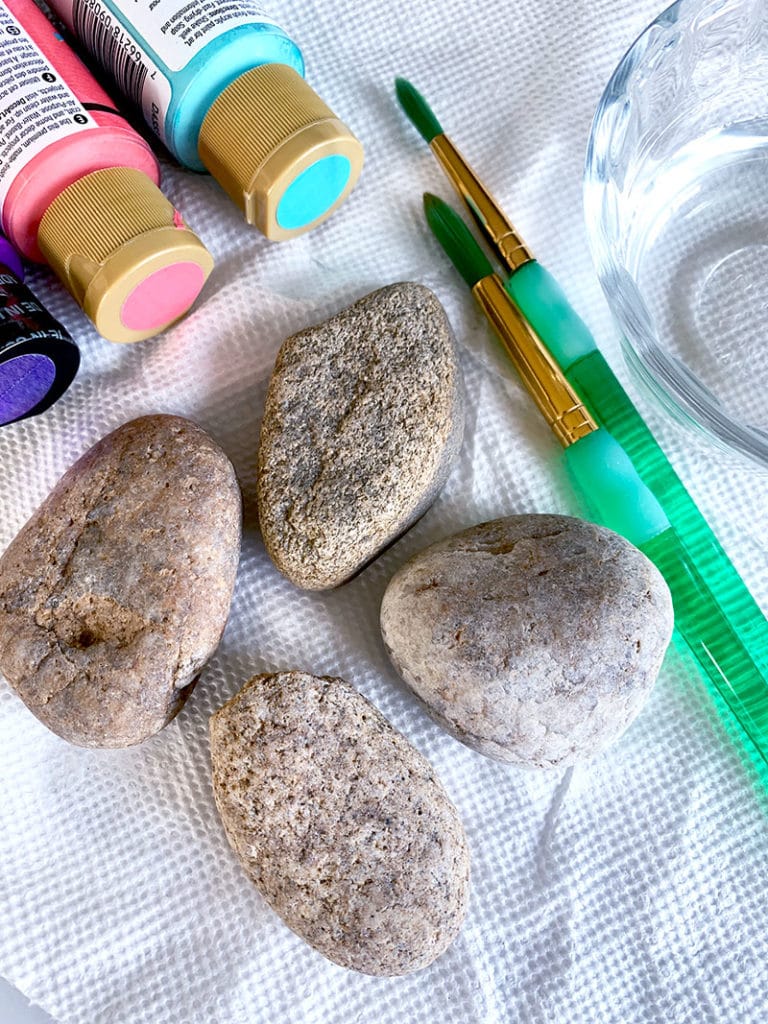
- Rocks – washed and dried
- Paint and paint brushes
- Sealer – I used Mod Podge
- Permanent Vinyl
Instructions
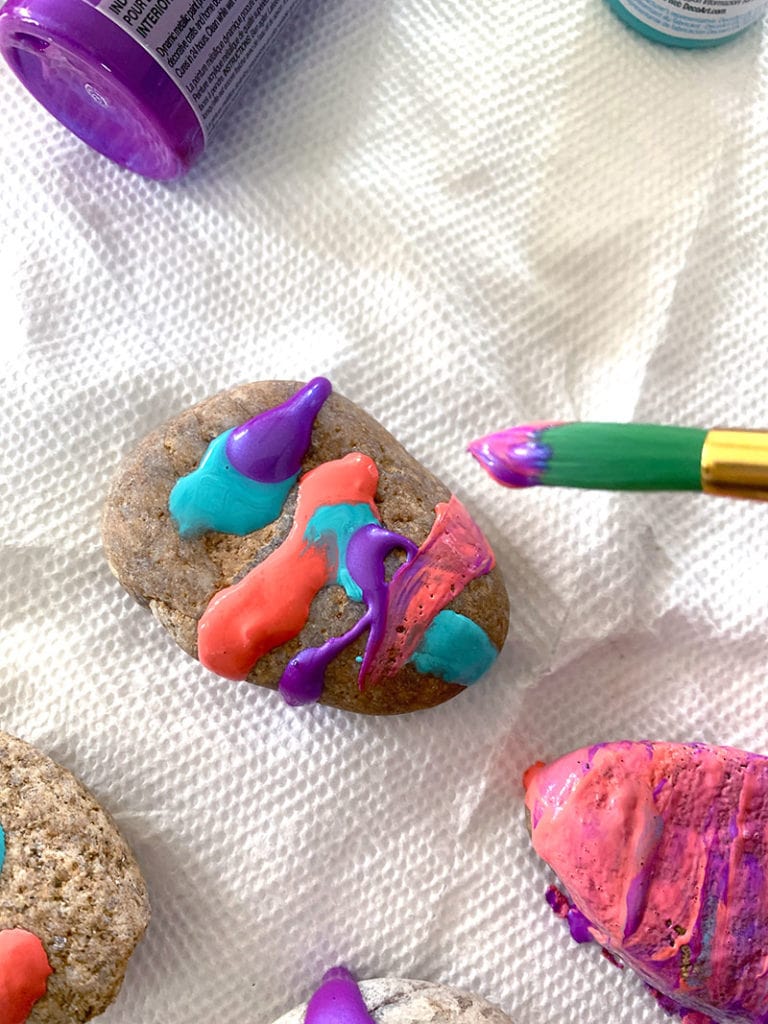
- Paint your rocks however you'd like and allow to dry. I recommend either using a gloss paint or seal your painted rock before apply the vinyl to help the Vinyl adhere to the surface easier.
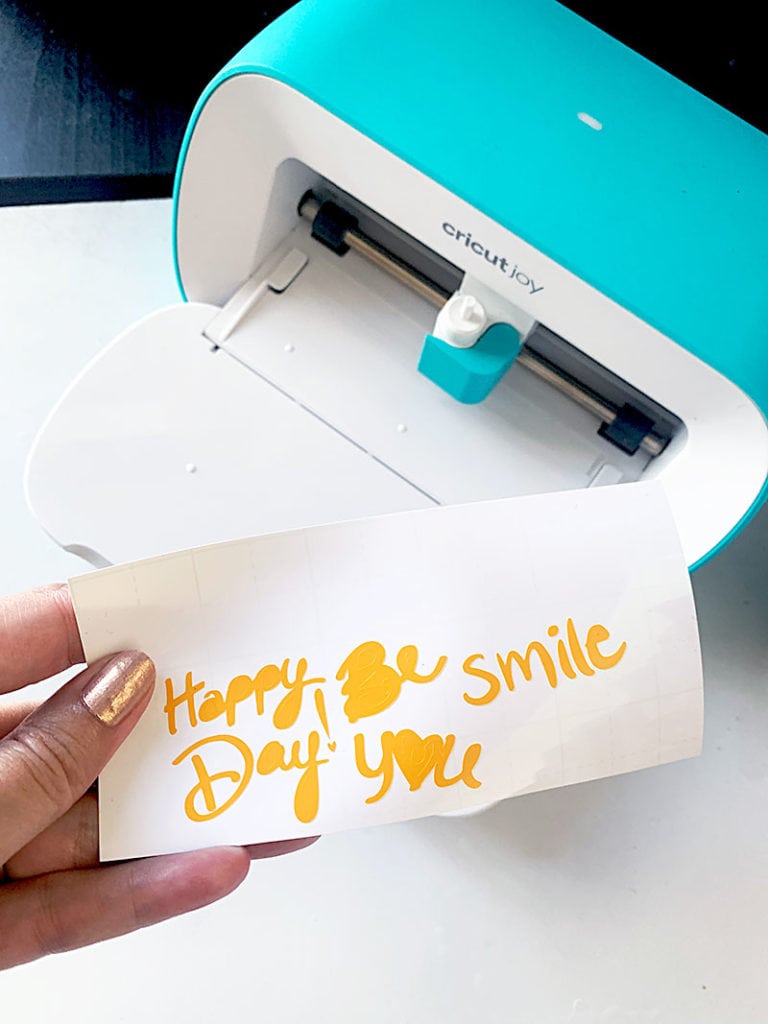
- Cut out your vinyl word art using your Cricut machine and Cricut Design Space. I used word art from one of my design sets available through the Cricut Library. Any font will work, or even an uploaded SVG design.
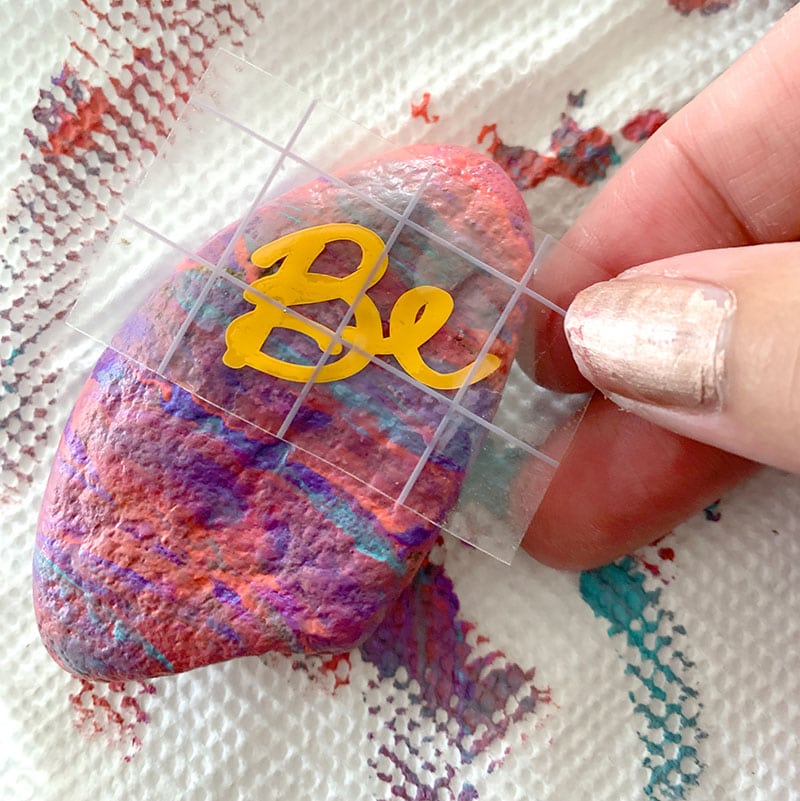
- After you've applied your vinyl design, seal it.
Notes about applying vinyl. I always fight with transfer tape, so for me, transfer tape is not always the easiest way to go. However, if you are good at using transfer tape, I recommend the light grip because sometimes the vinyl doesn't want to stick to the painted rock right away. I like to use vinyl designs that will pull off the backing easily like a sticker… so if transfer tape isn't your thing either, try my sticker technique.
This entire week, I’m sharing Family Fun activities you can make with your Cricut. I’m co-hosting the week’s events along with The Country Chic Cottage, 30 Minute Crafts and Mad in Crafts. A whole bunch of our crafty blogging friends will be joining in with their own ideas all week long, so check back each day for more ideas.
