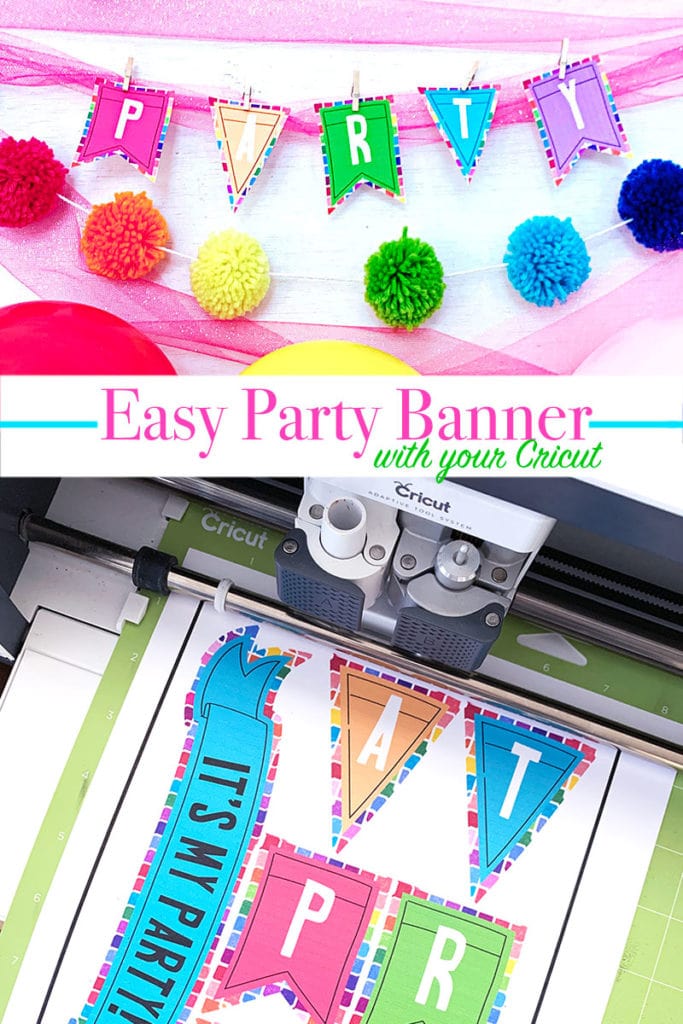
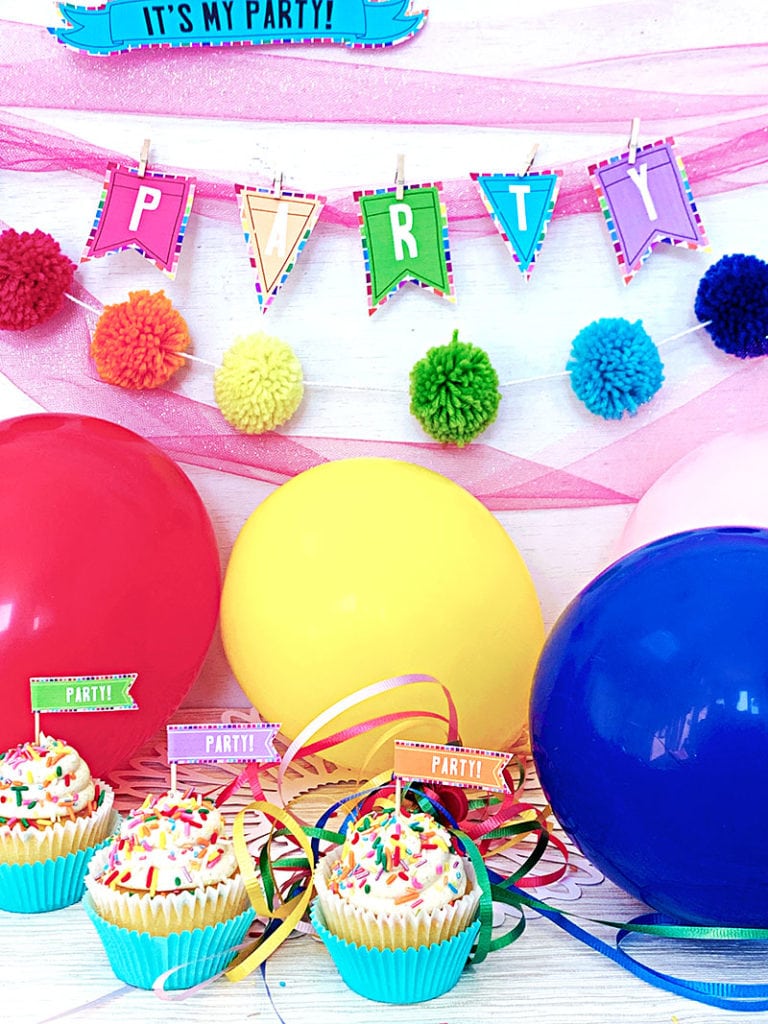
Make a party banner in minutes with your Cricut. This quick DIY project will have you decorating like a pro, personalizing all the things. Pick your own colors, patterns and text to create a banner that is uniquely your own. This is a Cricut Project that is perfect for any celebrating occasion.
How to Make A Party Banner with Your Cricut
Add a bit of color and lots of party attitude with a party banner you make yourself. This DIY Cricut project is easy to customize and even easer to assemble.
Materials
- Cricut machine
- Cricut Design Space
- Party Accessories SVG file by Jen Goode
- Color printer
- Cardstock
- Glue
- Twine

Learn how to make a birthday button with this party accessories SVG file too!
Instructions
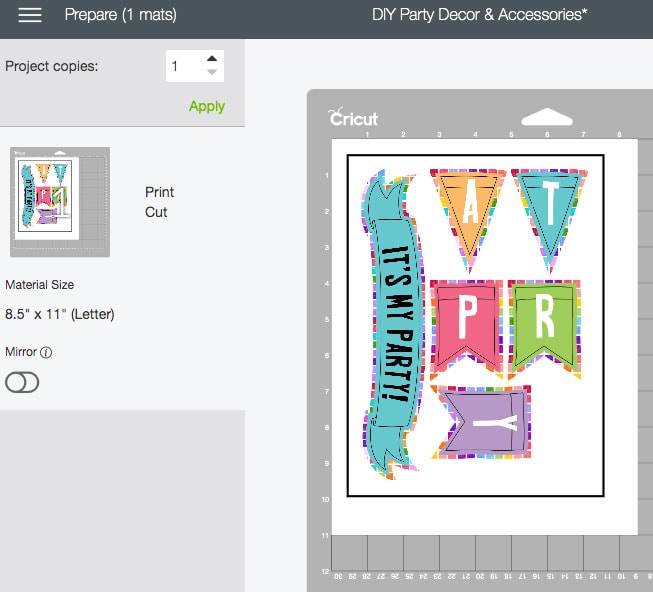
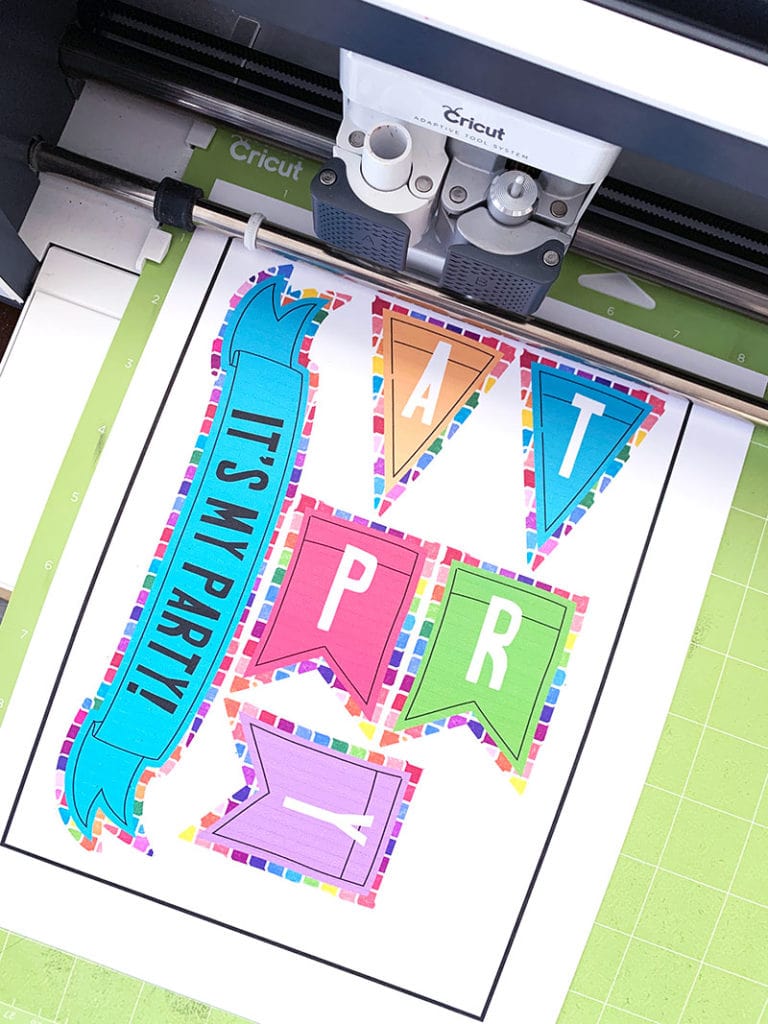
- Upload the party accessory file in Cricut Design Space. Ungroup and find the party banner pieces. Duplicate the pieces until you have enough for the word/s you want to make.
- Add your own text, colors and patterns to each layer
- To allow the draw line to print, make sure you set it to “draw” and pick the color.
- Flatten each banner piece and then send your project to the mat.
- Follow on-screen instructions to print and cut the banner pieces.
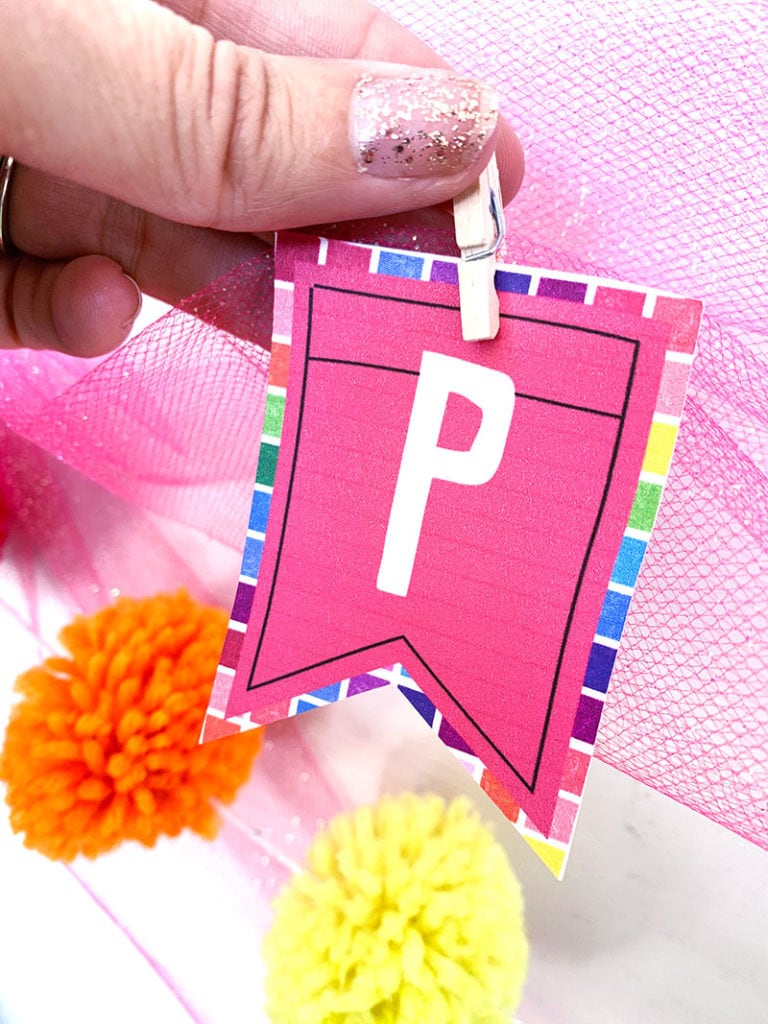
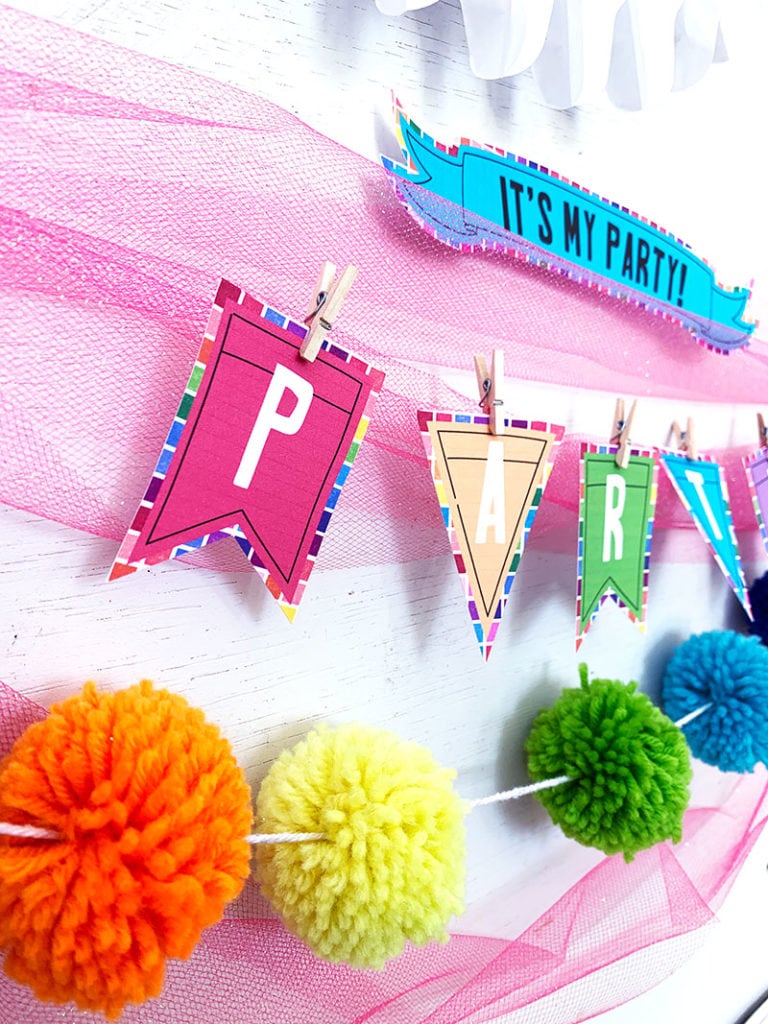
- To assemble, simply glue or tape the banner pieces to twine and hang where you'd like.
- Alternatively, you can simply clip each banner piece to a ribbon or twine instead of using glue or tape.
Today I've partnered with some of my favorite crafters to share some fun party project ideas you can make with your Cricut. The Country Chic Cottage, 30 Minute Crafts and Mad in Crafts are all co-hosting this week long event with me! Check out the project ideas below for more Cricut Party ideas and inspiration!
