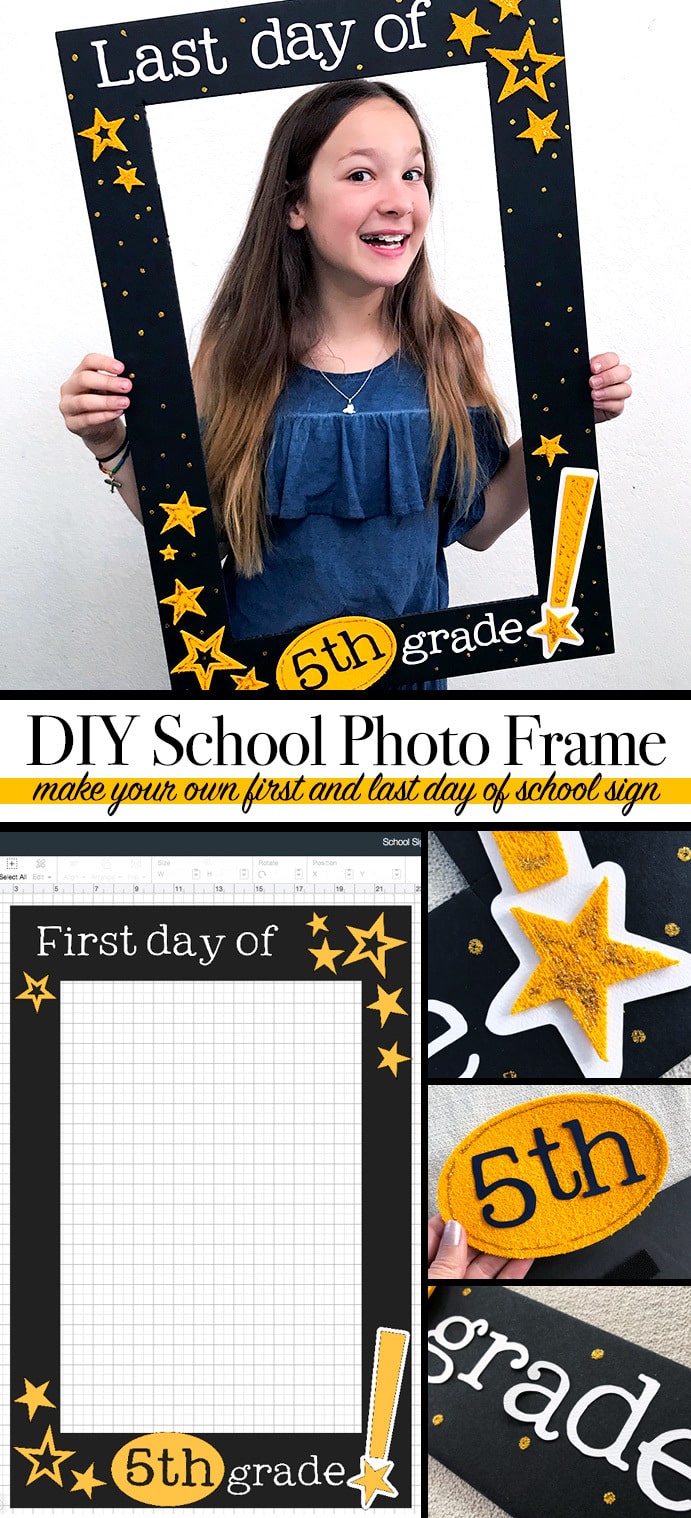
Create a photo memories for the first and last days of school. Make your own First day of school sign that doubles as a last day of school sign too. With my youngest nearing the end of elementary school, we're looking for all kinds of ways to turn these moments into keepsakes. So, I've created a fun Last day of school photo frame prop, decorated with cutouts I made with my Cricut. I'll show you how you can make this school craft in minutes too.
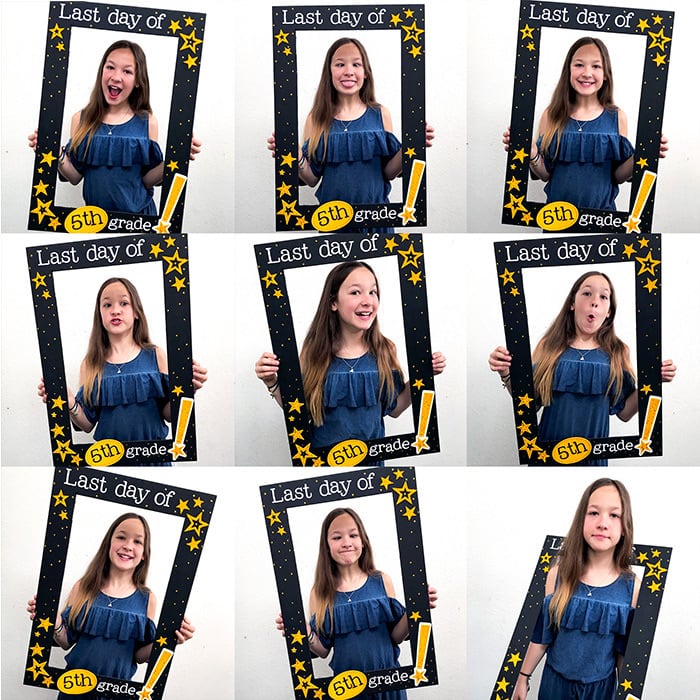
Make Your Own First and Last Day of School Sign
This quick and easy Cricut project is just what you need to capture those school milestones year after year. I'm using foam core so our photo frame can be used for multiple years. You can create a First Day of School sign on one side and then flip it over and make a Last Day of School sign on the other side. Make the grade level removable and you have a sign that is versatile and sturdy enough to use again and again.
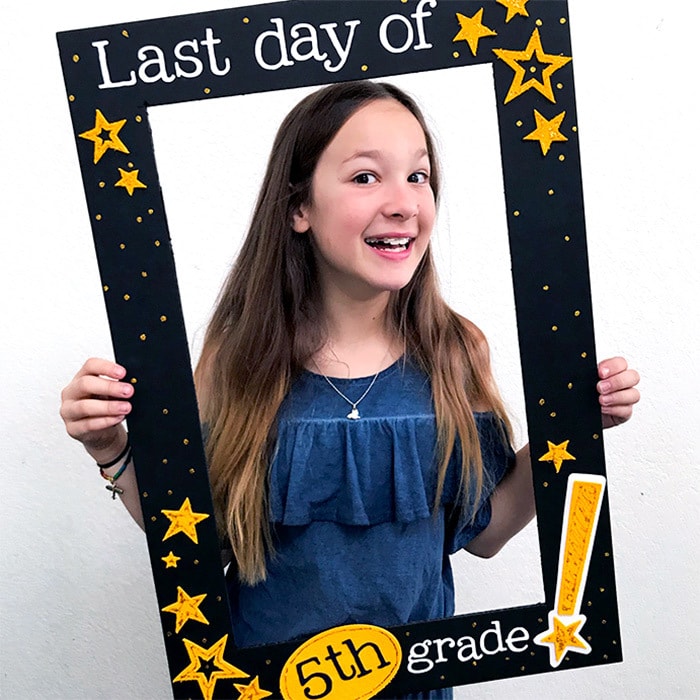
Personalizing a DIY Photo frame prop
I made our sign in black, gold and white because those are our high school colors. You could make your sign the colors of the schools for each grade or pick your favorite colors – you choose.
How to make your own school sign frame with Cricut
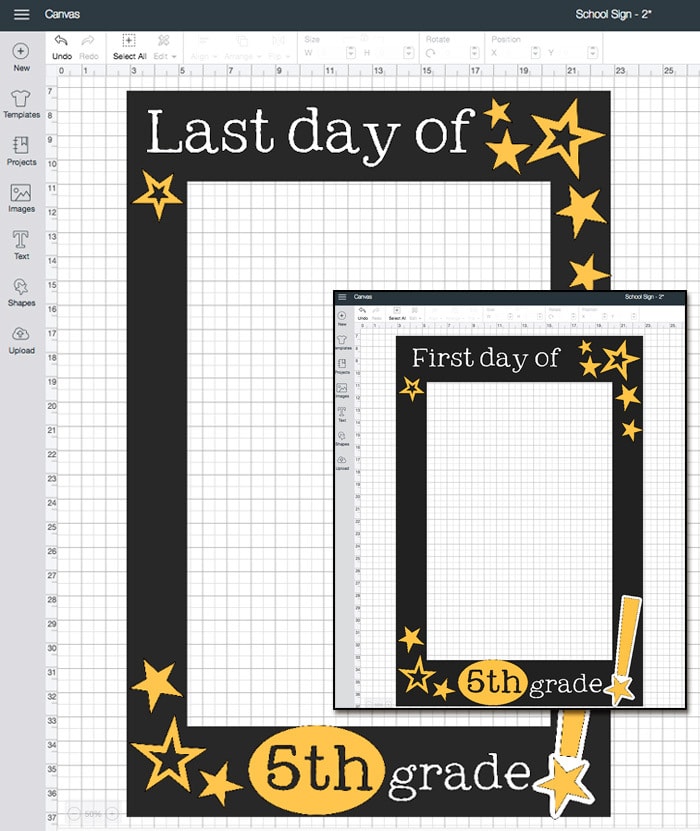
The key to this project is the personalizing you can do in Cricut Design Space. Lay out the words you want to use and the Cricut will cut out all the art you need. Hint: if you don't want to make a giant frame, you can layout the sign and just print your project!
Materials
- Cricut machine and Cricut Design Space
- School Sign project canvas in Cricut Design Space
- Black foamboard (feel free to use a different color)
- White Cardstock (use vinyl if you'd like)
- Bus yellow “plush” Craft Foam
- Glitter glue
- Craft Glue
- Craft knife

Instructions
I used cardstock to create all my words. For a quicker application, use vinyl and transfer tape and make sure to attach the letters together so that everything cuts in the layout you want to place it. I used cardstock to save on materials and just hand-placed each letter.
- Go to the school sign project canvas I've set up for you in Cricut Design Space. Adjust the sizing if needed. I included a “frame” style image in the project layout, make sure to hide this layer before sending your project to the virtual mat.
- Follow the on-screen instructions to cut out all the layers.
- Cut out the center of your foam board using a craft knife.
- Place the cut pieces on your foam board however you'd like. Adhere in place as necessary.
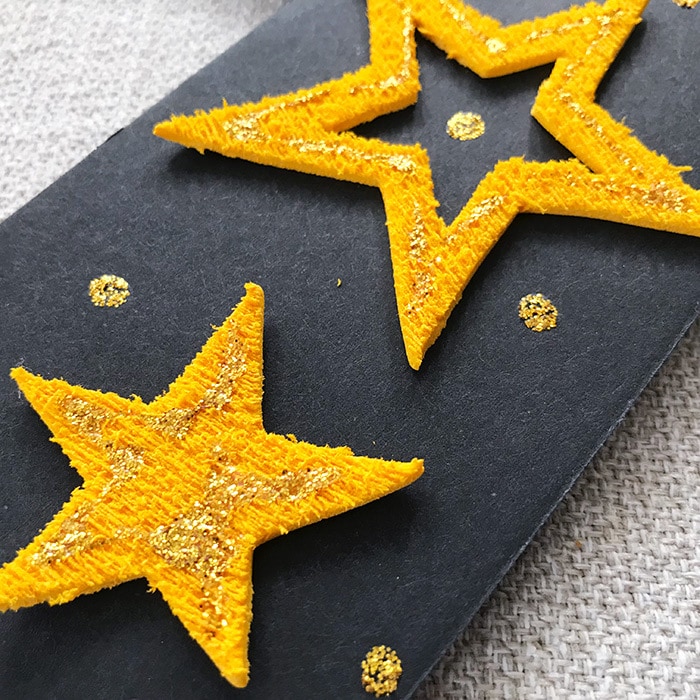
- Add accents of sparkle using glitter glue and allow to dry.
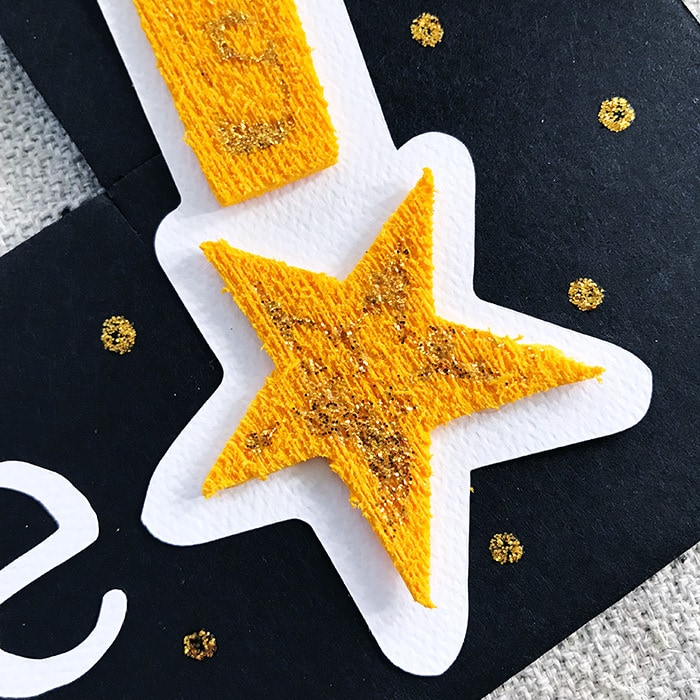

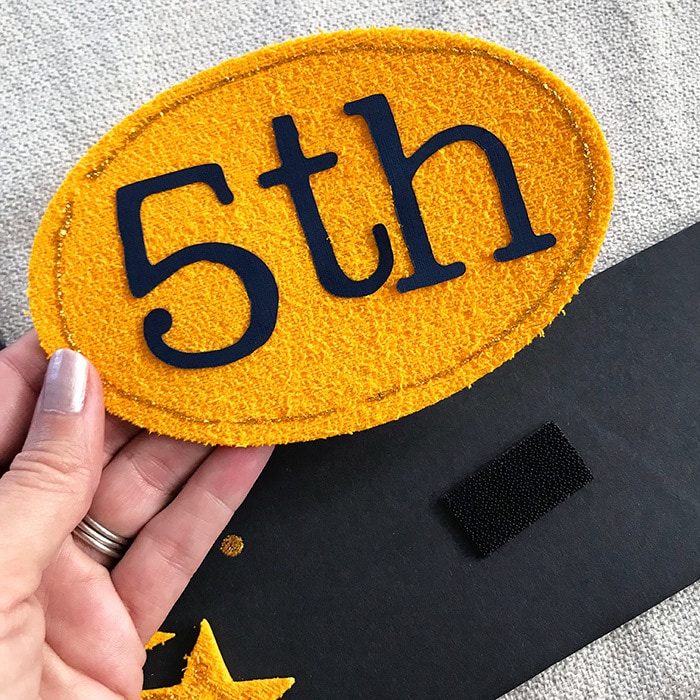
Note: the grade label for my photo frame is removable so I can use the sign multiple times for multiple grades. I used 3M Command Strip velcro style strips to adhere the label to the board. Then it's easy to remove and replace later.
More School Craft Ideas to make with your Cricut
This past week I've been sharing fun end of school craft ideas you can make with your Cricut. Here's the fun list I created this week:
- Class Year Nail Art
- Teacher Appreciation Flower Card
- Prom Proposal Word Art Decor
- Thank You Card with Gift Card Pocket
Check my other school craft ideas too.
Also, I've partnered with other creative bloggers to share quick and easy Cricut projects YOU can create too. Check out the Ideas everyone has shared!



Is this design available in Cricut? If so, I am having trouble finding it to use.
This sign has been set up as a project canvas in Cricut Design Space.. the design by itself isn’t available. However, all the pieces and parts to create the sign as available. Here’s the link: https://www.100directions.com/schoolphotoframe