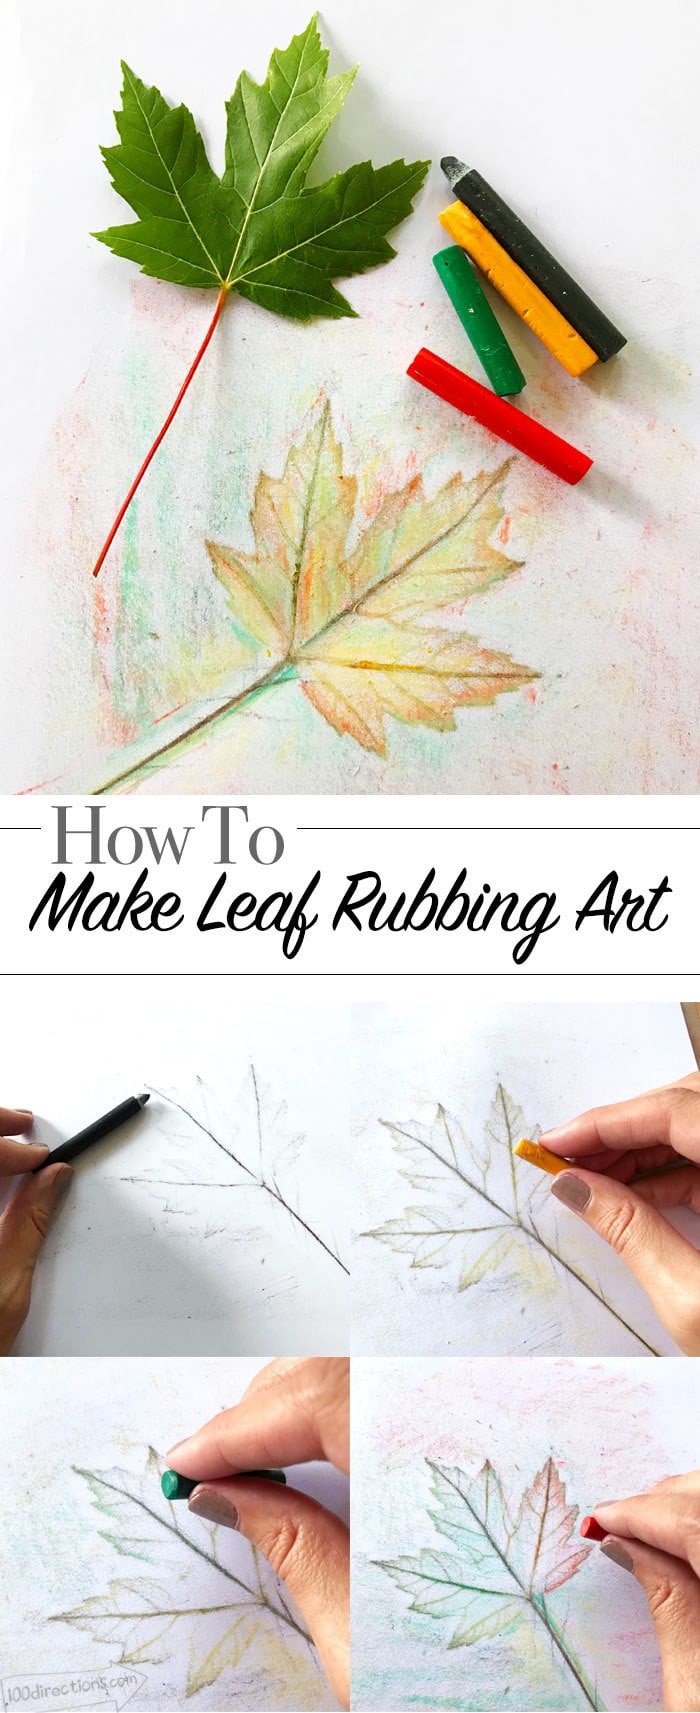
Make all kinds of fall decor, accents and cards with pretty fall leaf rubbing art. Here you can learn how to make leaf rubbing art. If you love the look of leaf rubbings but don't want to make your own, I have a few printables for you too.
Leaf rubbing art is traditionally a kid art project, but I think the look is prefect for all kinds of fall crafts. You can create leaf-rubbing art to relax and enjoy blending colors or you can create the art to use in a number of other projects.
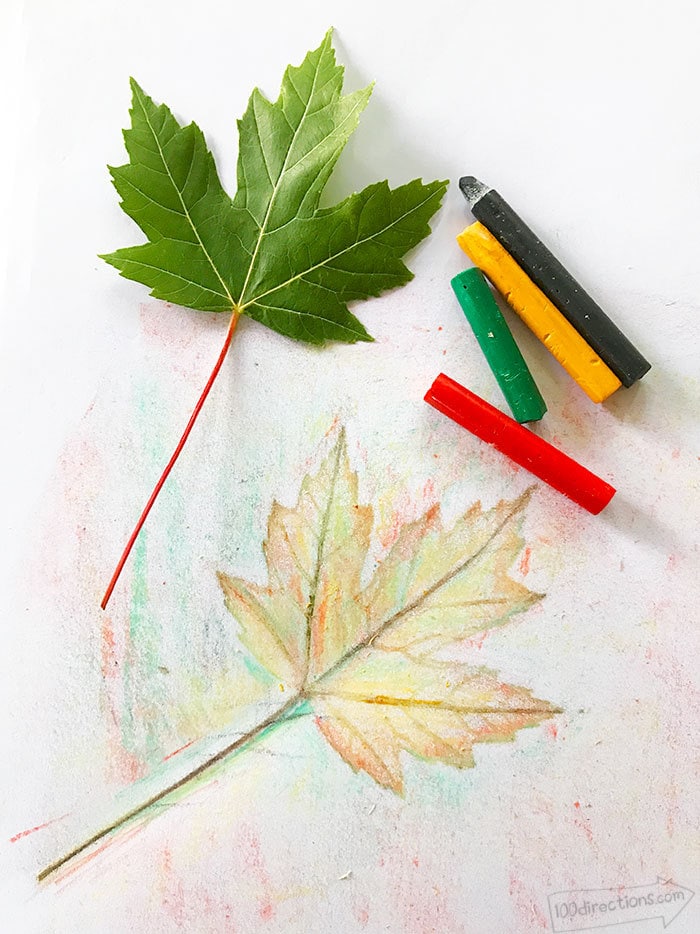
How to Make Leaf Rubbing Art and Leaf Art Printable
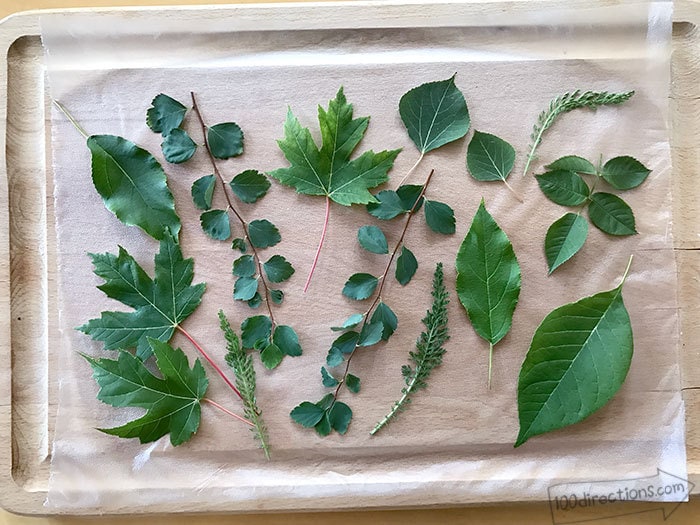
Make leaf rubbing art with all kinds of leaves. My yard if full of different trees and shrubs so I usually grab some leaves from each. You can also use the leaves from different plants and flowers. Experiment, try it out and make up your own pretty leaf art combinations!
Materials
- Fresh cut leaves
- Crayons – remove the paper wrapping
- Paper
- Press n Seal plastic wrap
Note about leaves: Fresh cut leaves usually have the best stems and veins and are flexible. Dry or drying leaves can be brittle and break when you try to make leaf rubbing art.
Instructions
Note: I use Press n Seal plastic wrap because it has a slightly sticky side so your leaves will stay in place while you create the leaf rubbing art. You can make the leaf art without the plastic wrap, just be aware the leaves or paper might move around slightly as you're rubbing color on to the paper.
Watch the video… Take a look at this video to see how I created the leaf rubbing art. It's really pretty simple once you know how. My secret to success is the press-and-seal plastic wrap. It's slightly sticking on both sides, so you can lay the leaves on it and they will stay put under the paper a little easier than without.
Step-by-step How to make a leaf rubbing
- Lay out a piece of plastic wrap about the same size as your paper with the sticky side facing up.
- Place the leaves on the plastic and gently press into place.
- Place a piece of paper on top of the leaves.
- Gently rub the crayon on to the paper, creating an impression of the leaf below. I like to start gently and gradually add more pressure.
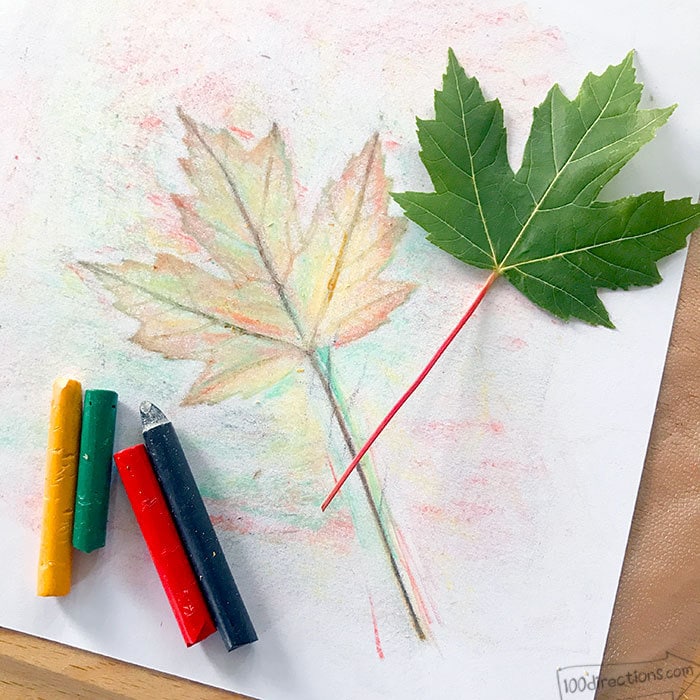
- Add additional layers of color and pressure however you'd like. Color the paper to create the leaf design with pretty color blends. No two leaf rubbings will be the same!
- I like to layer the colors a few times to get a nice blend of different colors on each leaf.
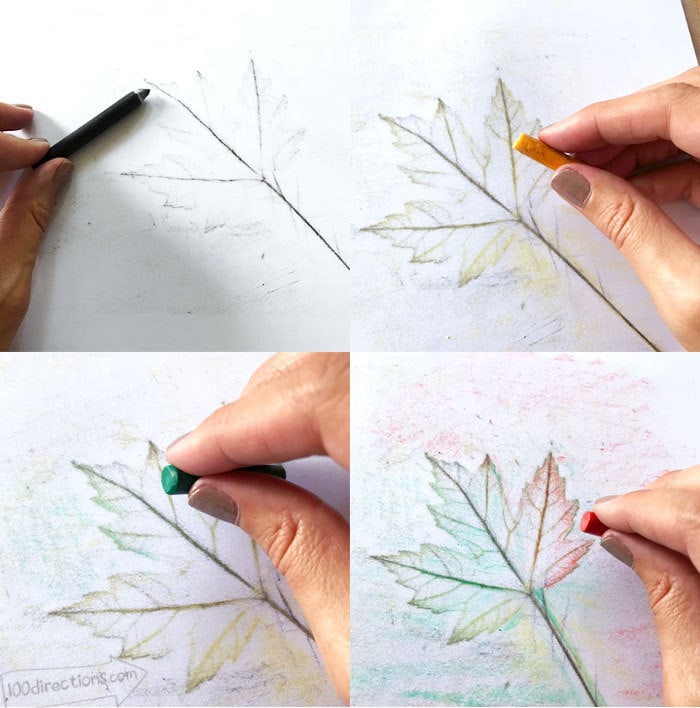
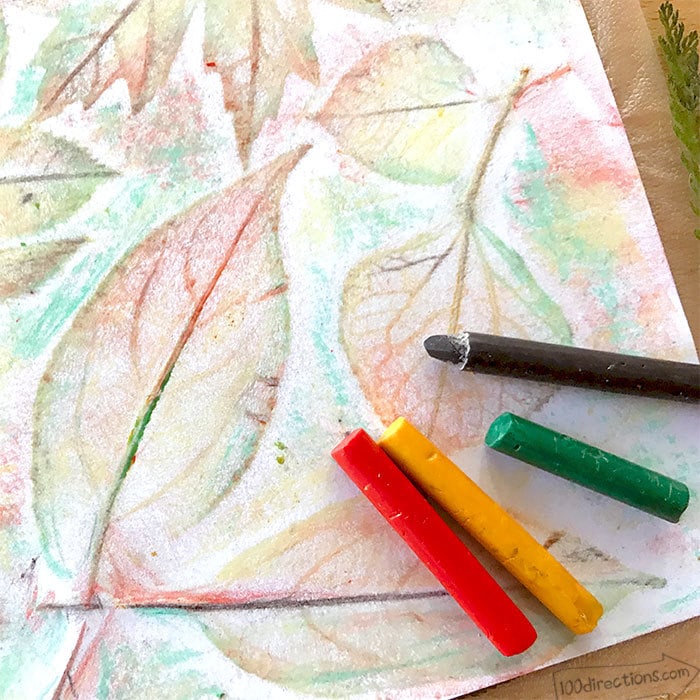
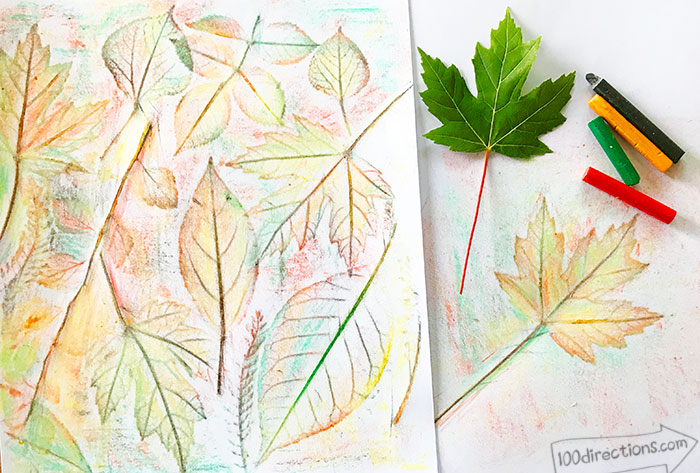
Different leaves and combinations of leaves will create entirely different designs. I've found the stems with tiny leaves are the most difficult to create rubbed art. Play with different shapes and sizes to see what you can come up with.

Make Fall Leaf Art gift tags with your leaf rubbing art!
Today I'm also sharing how to make fall leaf gift tags using this pretty fall leaf art. Check out the tutorial at The Country Chic Cottage.
More Fall craft project ideas
More things to make with your fall leaf rubbing art:
- Napkin rings
- Place tags or name tags
- Fall cards
- Gift wrap and decor wraps
- Party accents
- Picture frames or mats
- Wall art
- Iron on decor art (think napkins, tote bags and other fabric pieces)
I hope you have a ton of fun making your own leaf rubbing art. I'd love to hear how it turns out and what you create with it!
