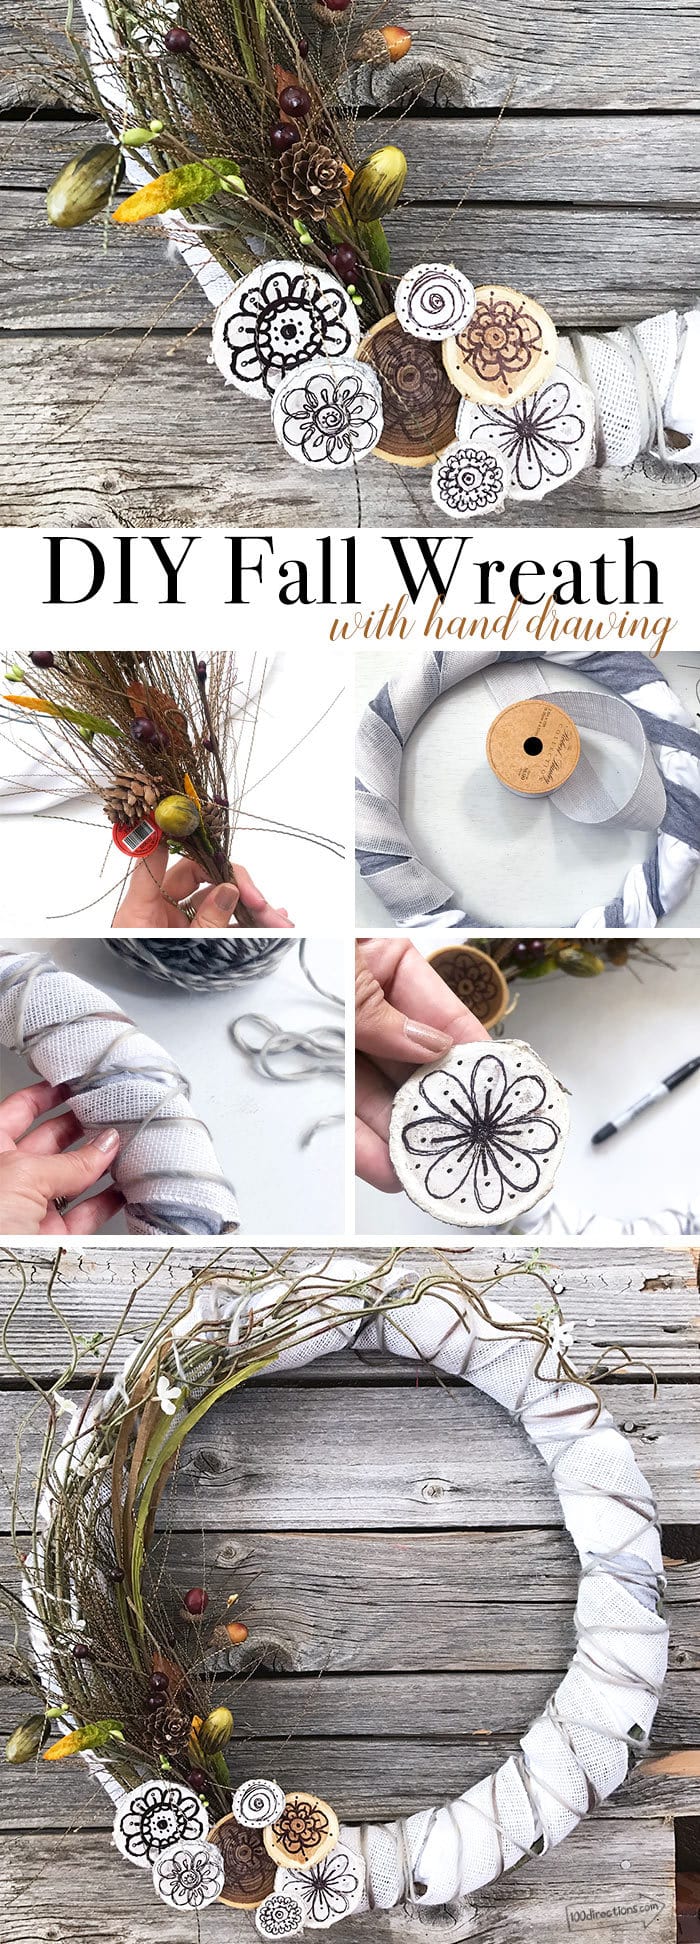
I'm always looking for a reason to draw on something. So of course there's drawing on my own DIY wreath. I've partnered with Hobby Lobby today to show you how you can make your own DIY Fall Wreath with Hand Drawing. Even if you don't think you're an amazing illustrator, you can make this fall project idea and add your own fun art accents… I'll show you how!
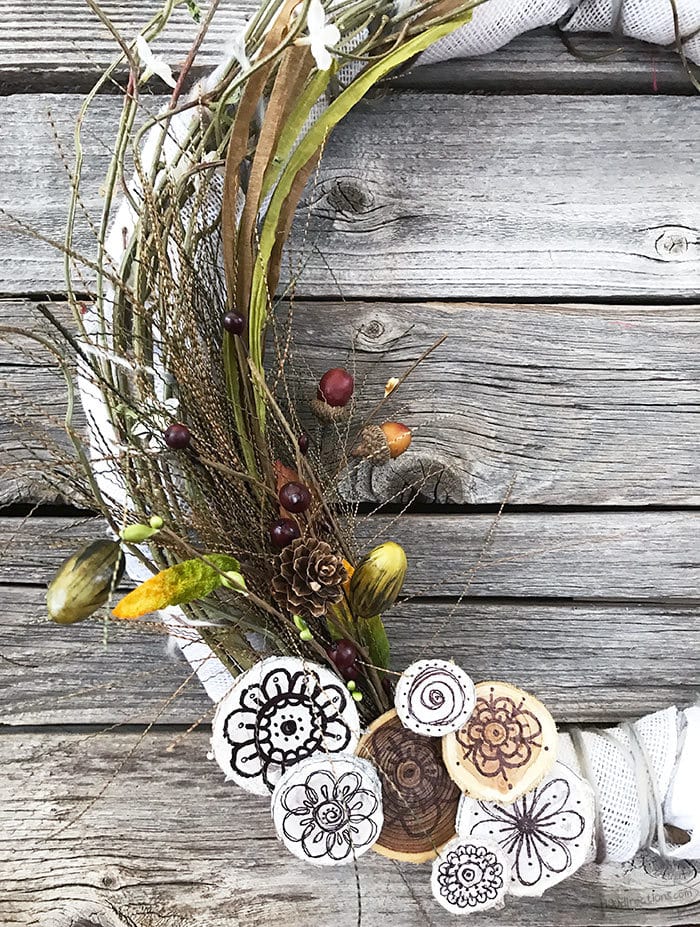
I'm always looking for a reason to draw on something. So of course there's drawing on my own DIY wreath. I've partnered with Hobby Lobby today to show you how you can make your own DIY Fall Wreath with Hand Drawing. Even if you don't think you're an amazing illustrator, you can make this wreath and add your own fun art accents, I'll show you how!
DIY Fall Wreath with Hand Drawing
My front door is a dark brown, so these light, modern colors are a perfect combo to feature with the brown background. The materials I'm using are easily customized for your own favorite decor colors, so get creative and personalize your wreath! Start with your favorite decor colors and add a slash of fun fall with a pretty floral stem.
Materials
- Wire wreath frame
- 2 extra large t-shirts (1 gray and 1 white)
- White woven trim
- Multi-colored yarn
- Floral accents
- Wood slices
- Black Sharpie marker
- Glue – I used hot glue
- Mod Podge – optional
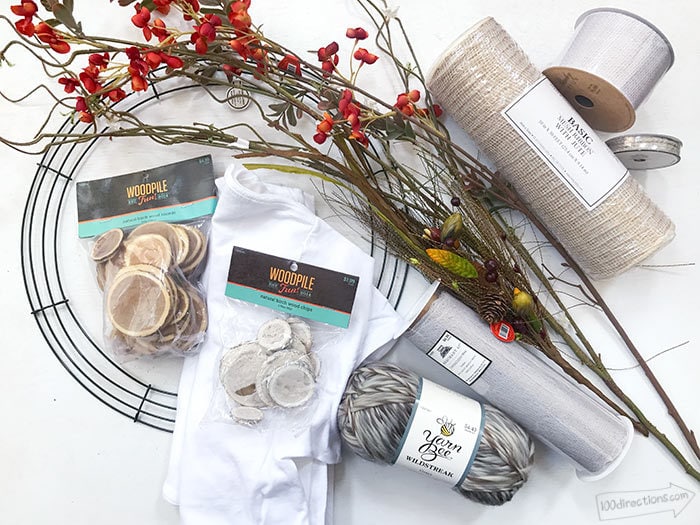
Supplies I used to make my DIY fall wreath
I picked up a variety of supplies to use when making my wreath. I wasn't exactly sure what I wanted to use, but I knew I wanted to layer a bunch of different textures. Here's some of the supplies I bought at Hobby Lobby. From this photo, I used the wire wreath, wood slices, white trim, yarn, t-shirts and some of the floral stems. I didn't use the pretty orange flower stems or the large trim, but I think I have enough to make a second wreath!
Instructions
- You don't need any fancy tools or supplies to assemble this wreath. Everything is wrapped into place and you can adjust the spacing and layers as you go.
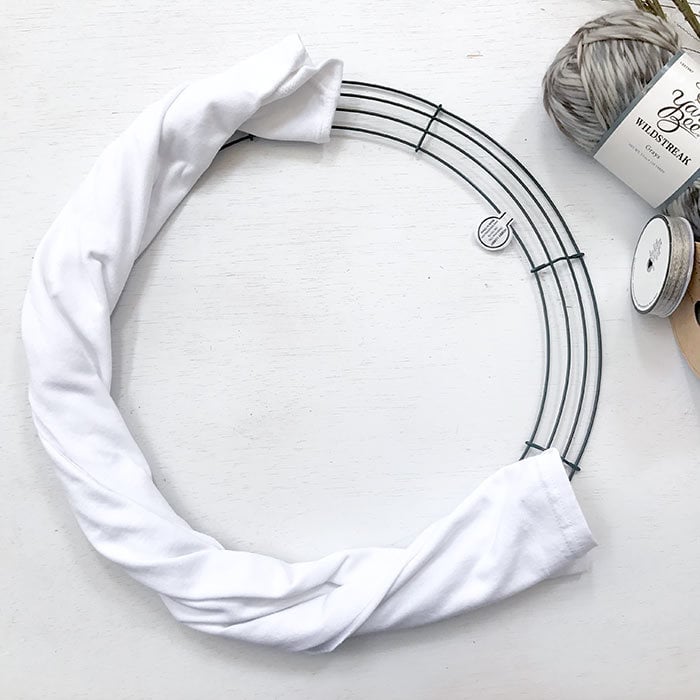
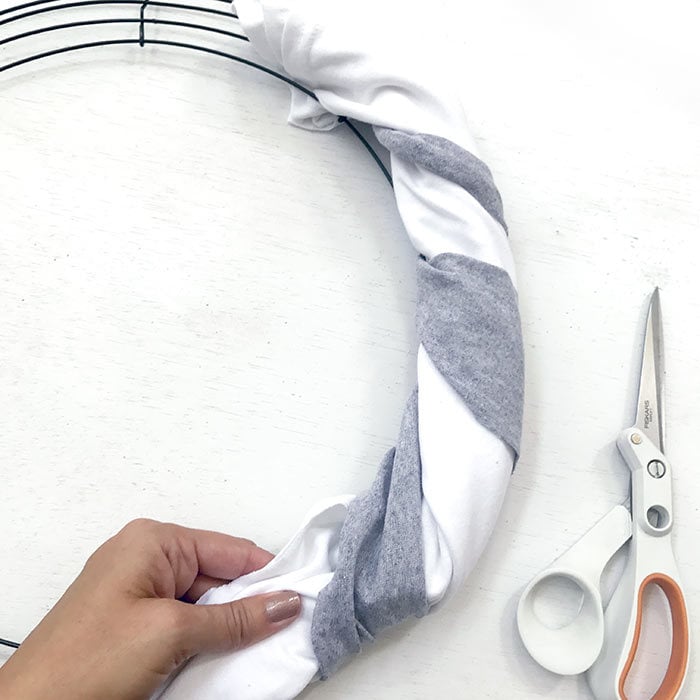
- Cut the white t-shirt in half, right down the middle of the shirt. Cut off the sleeves. Twist each of the halves into a tube and lay in place on the wreath frame.
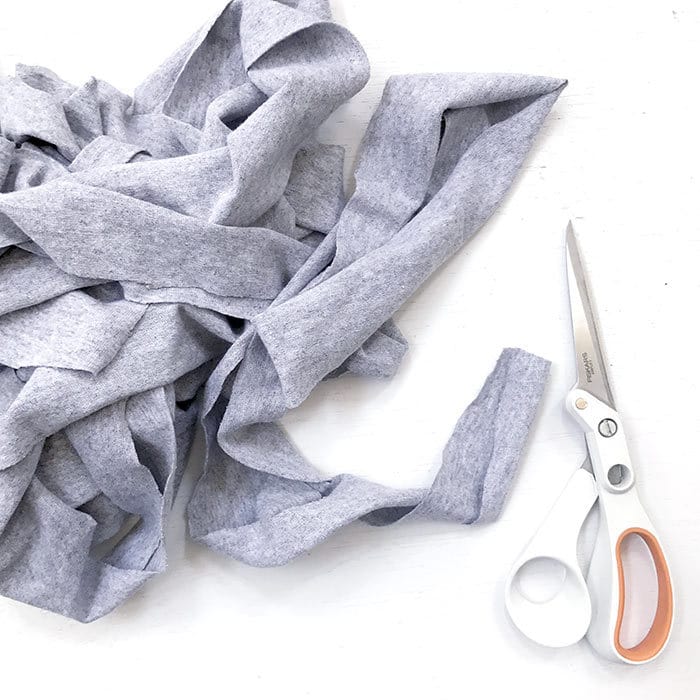
- Cut the gray t-shirt into a long strip of “t-shirt ribbon”. To do this, cut about 3″ into the bottom of the shirt and then continue to cut the shirt along the bottom edge, creating a spiral type cut all the way up the shirt until you get to the sleeves.
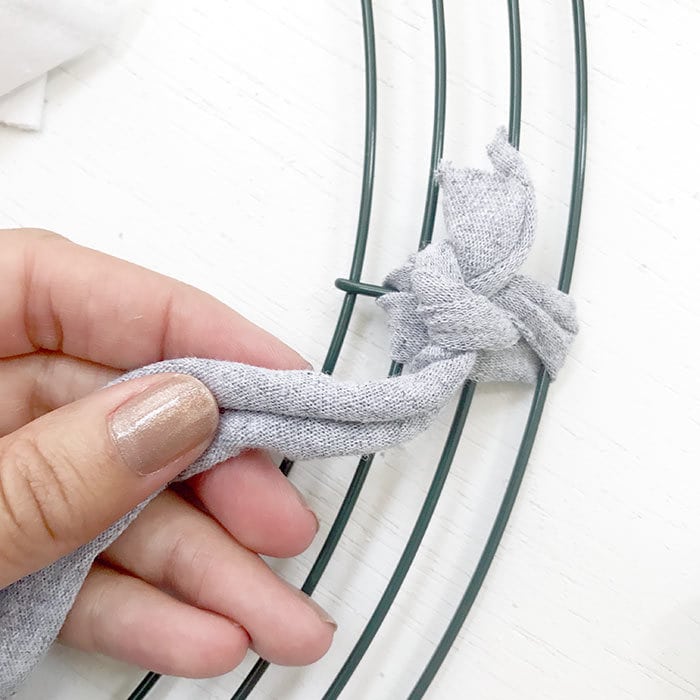
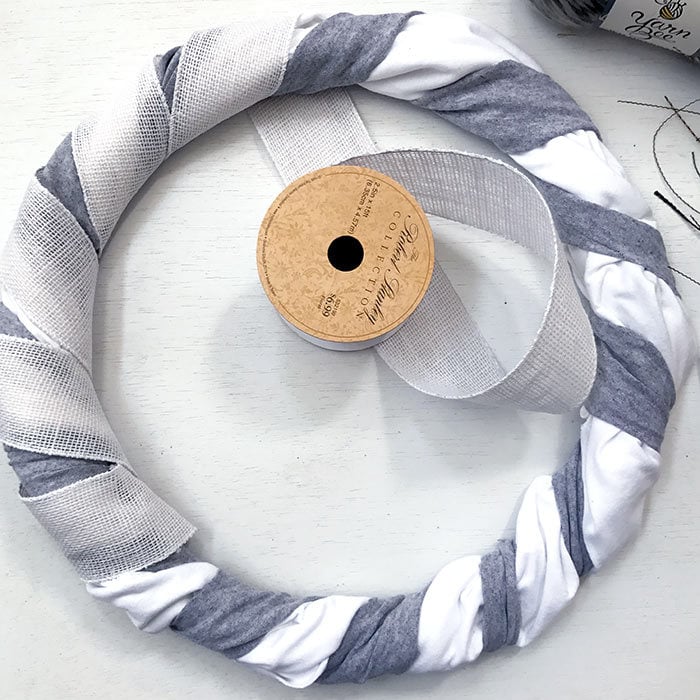
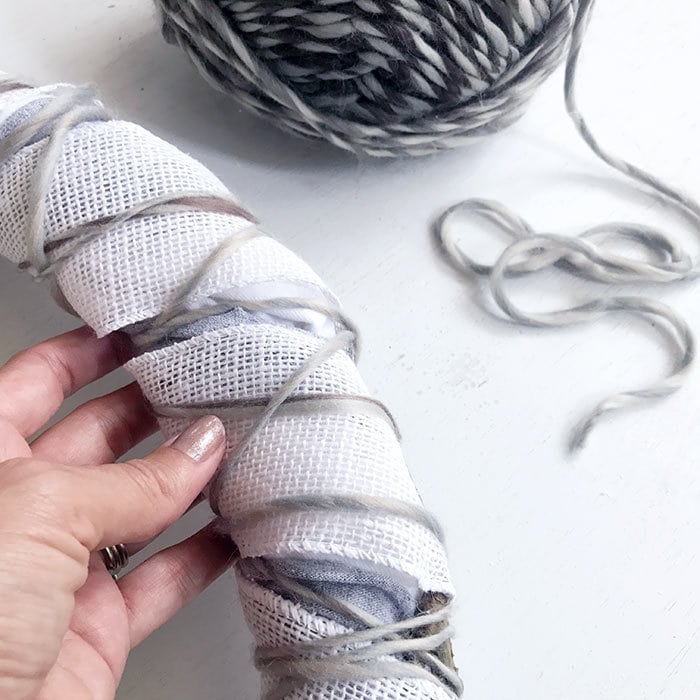
- Tie one end of the fabric to the wreath frame and then wrap the fabric around the wreath, holding the white t-shirt fabric in place.
- Continue to wrap the wreath with additional layers of trim and then yarn.
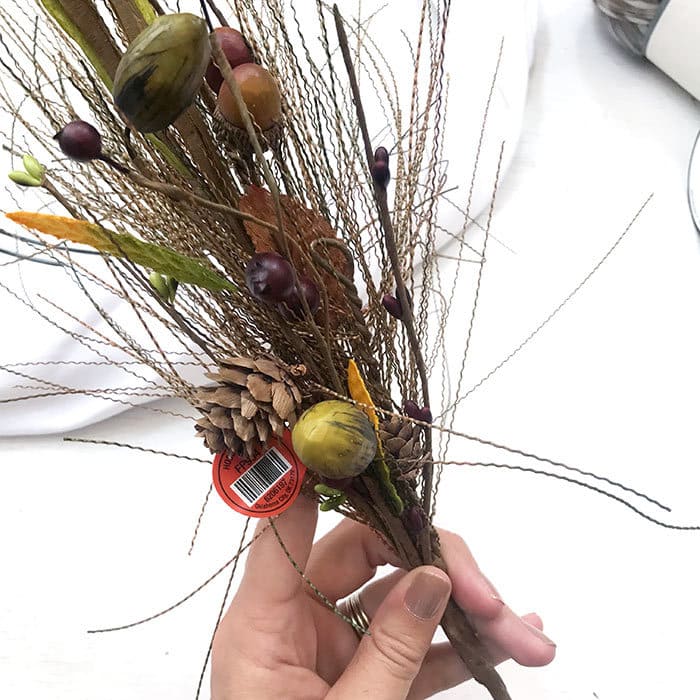
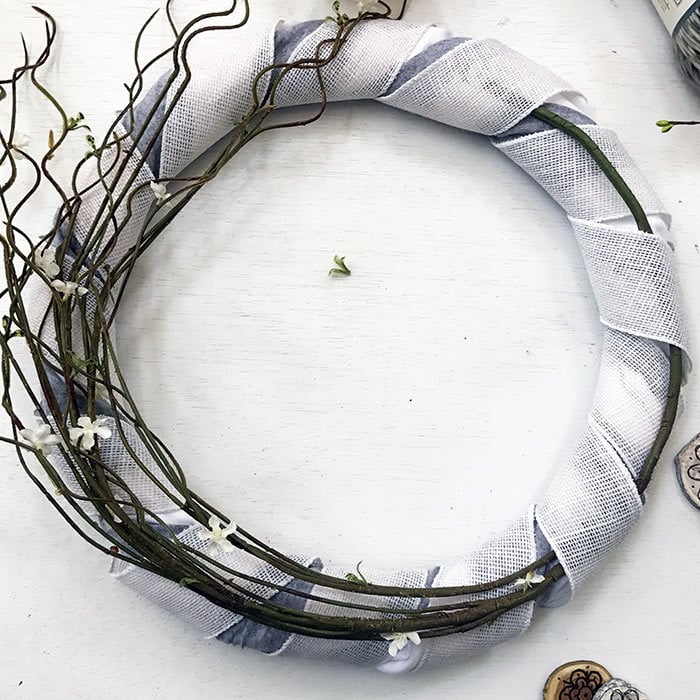
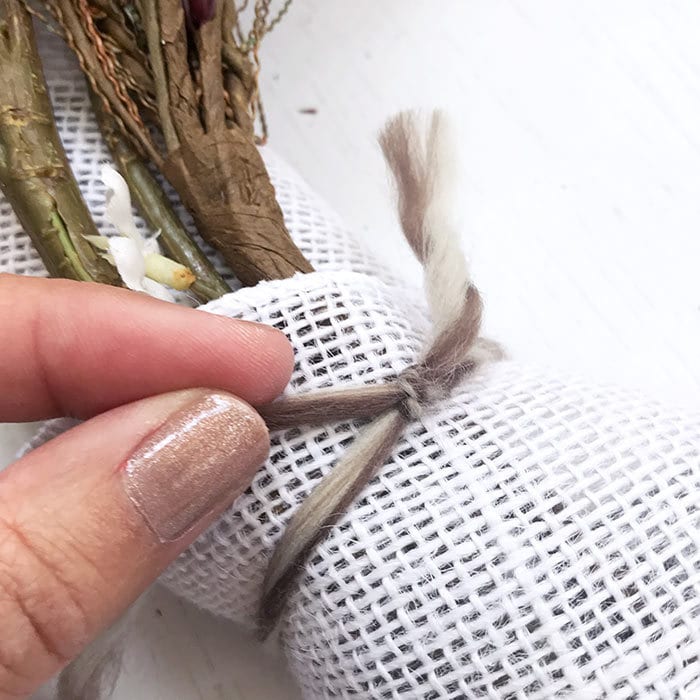
- Add floral accents, weaving the stems between the layers of fabric and trim. Add more yarn wrapping to hold the floral stems in place on the wreath.
- Apply a layer of Mod Podge to the wood slices and allow to dry. This will allow your pen to move easier across the surface of the wood.
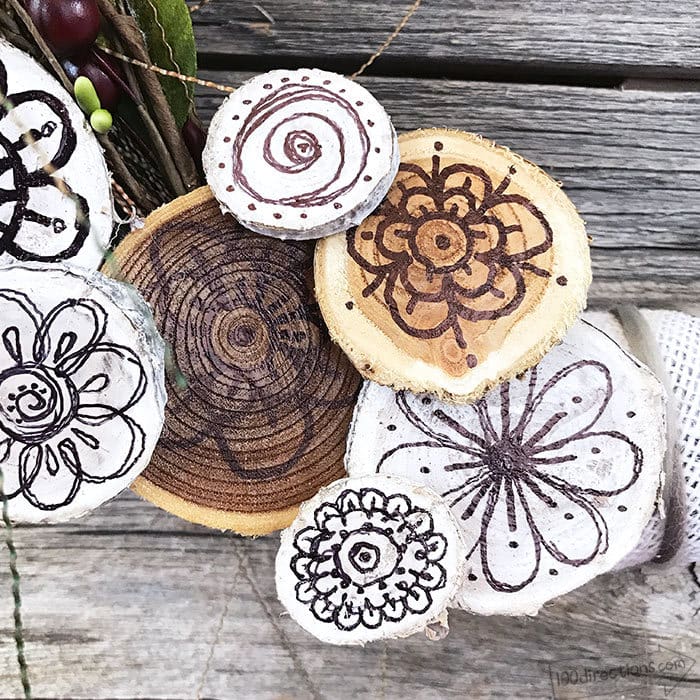
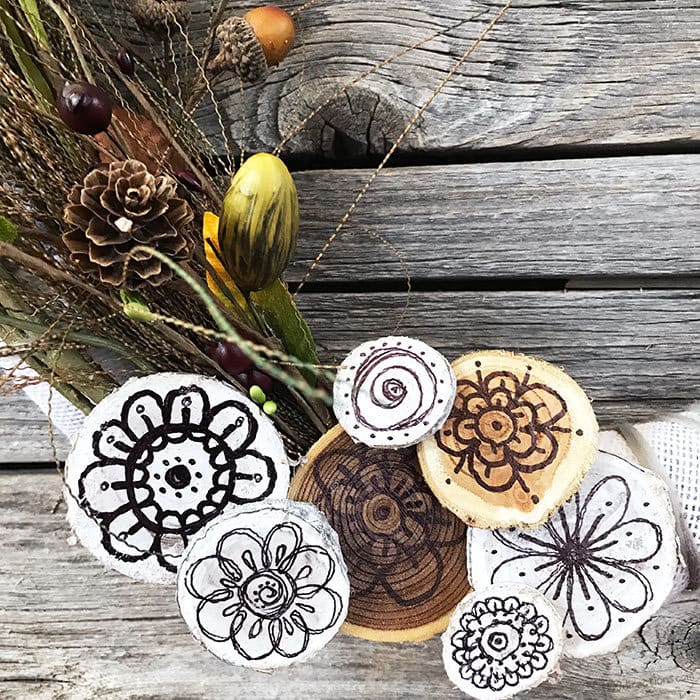
- Using a black permanent marker, draw whatever designs you'd like on one side of each wood slice. I used white-washed slices and natural wood slices, a total of 7 wood slices.
- Glue the decorated wood slices to the base of the florals on your wreath.
Hand Drawing Art
You don't have to draw you own art for your wreath. I love to draw on all the things, so of course I doodled on the wood slices. If you prefer, you can decoupage or paint or add other art as accents. I'll show you how to add these art pieces and you can personalize them however you'd like.
I love t-shirt crafts, so instead of fabric, I chose to upcycle some t-shirts. The best part, Hobby Lobby has great t-shirts for really great prices. The average price is about $3.99 a shirt! Just cut the shirts into the pieces you need and you're set.
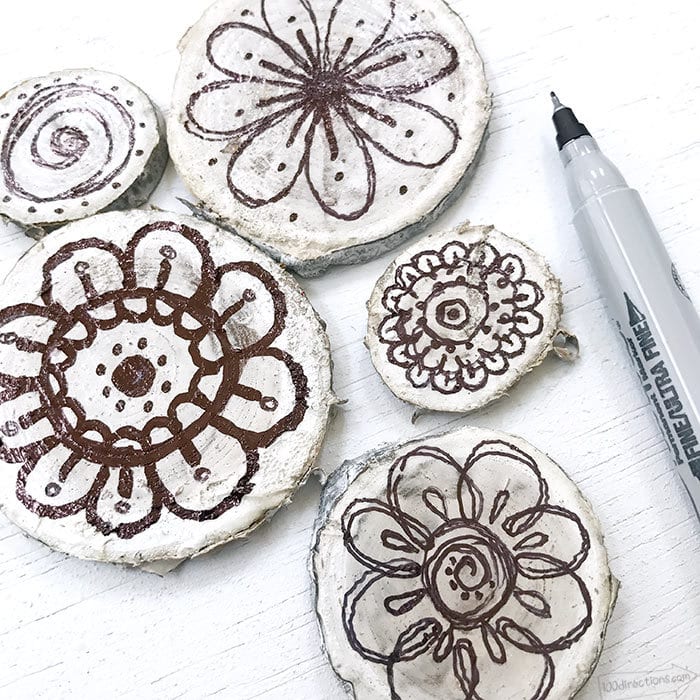
Making hand drawing art wood slices for the DIY Fall Wreath
I added a layer of Mod Podge to the top of my wood slices and let it dry before drawing. Sometimes wood slices like to soak up the pen ink, making the designs smear and bleed. The texture of the wood can be difficult to draw on too. You don't have to apply the Mod Podge, but I recommend it, if you have time.
These wood slices come in a package, already white-washed from Hobby Lobby. They look to be a pretty birchwood with a rustic white-wash, perfect for natural decor projects!
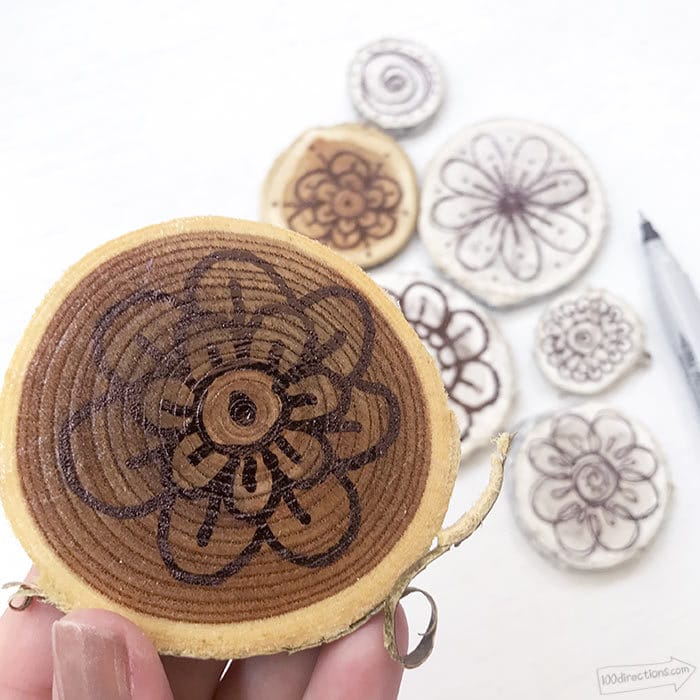
I also picked up some natural wood slices. They are a little more difficult to draw on because they are darker and don't have the nice contrast with the ink. But if you seal them, they are pretty easy to use.
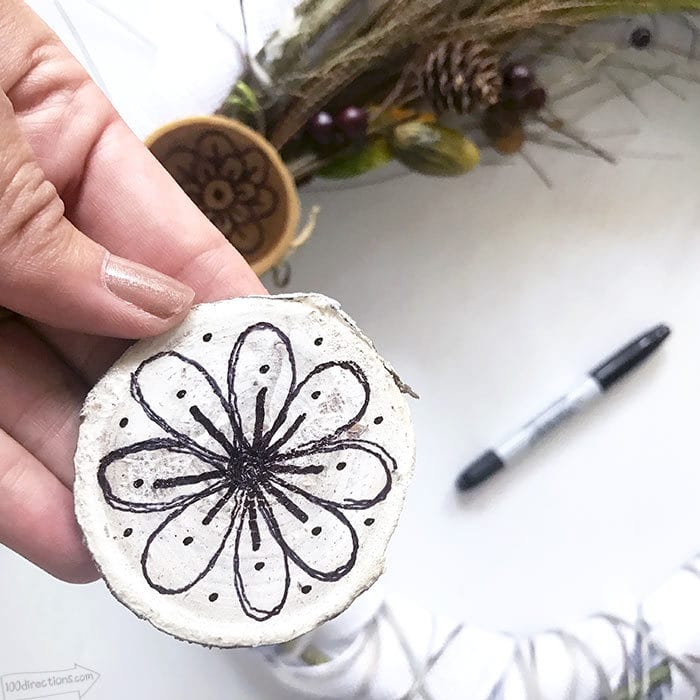
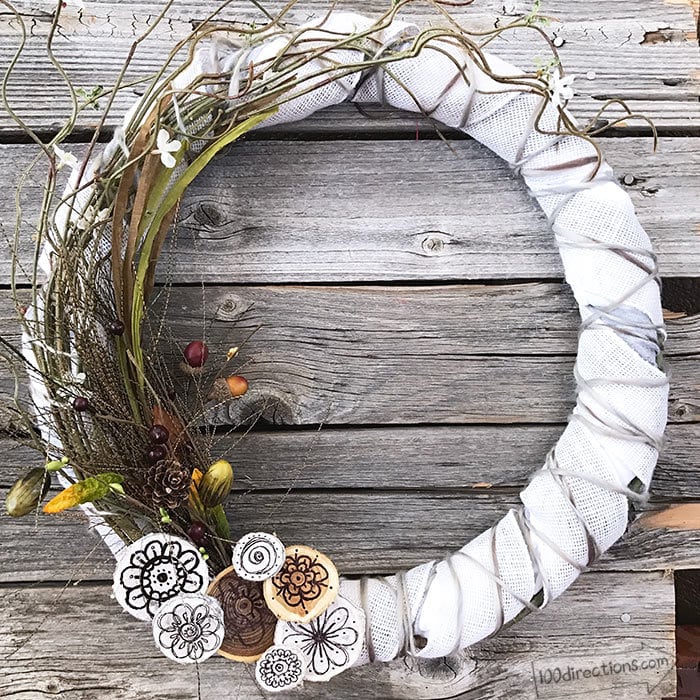
That's it! Make your own, personalize with your favorite fall accents, add your own art… have fun with it!
