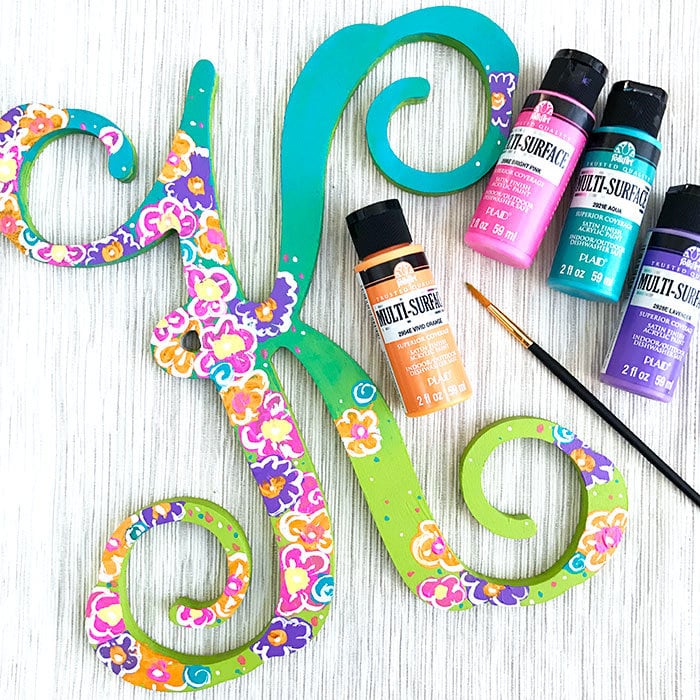
Decorate a wood letter with paint to create your own Floral Painted Wooden Monogram. You can quickly create pretty painted art using your favorite craft paint colors. Even if you don't think you can draw, you can create these pretty little flower designs in no time, I'll show you how! This easy decor craft project is perfect for creating your own decor or giving as a pretty gift to someone special. Idea: Get a different letter for every child in the family and make a collage of painted monograms as your feature decor… created by the whole family!
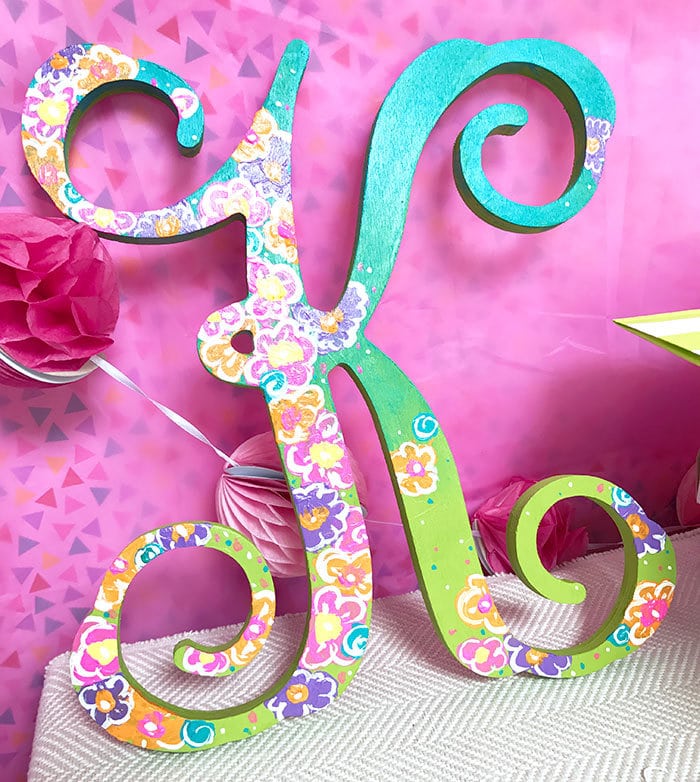
I've partnered with Plaid Crafts to showcase this easy to make craft project. You can get all the supplies you need for this project at your local Walmart or Walmart online in the craft department.
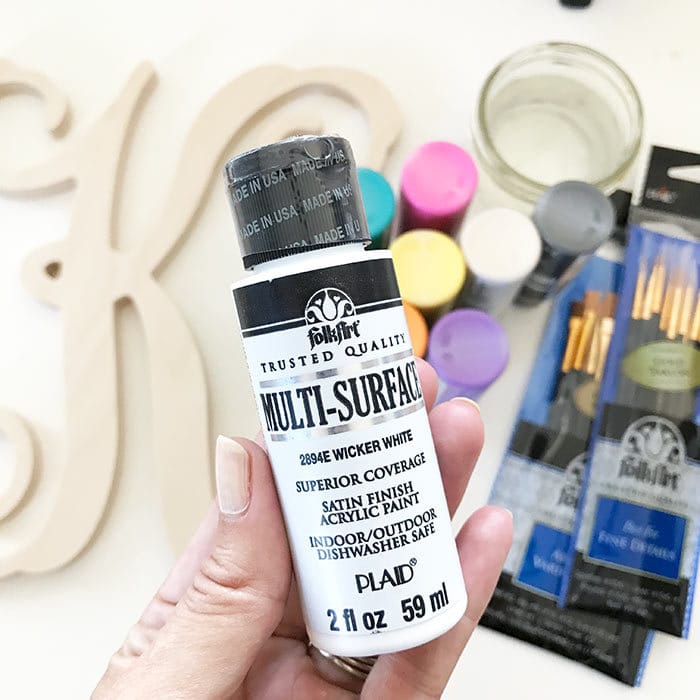
Floral Painted Wooden Monogram Letters
You can paint a single letter or create an entire word. Painted wood letters are versatile and each to use, just grab a brush and paint and go!
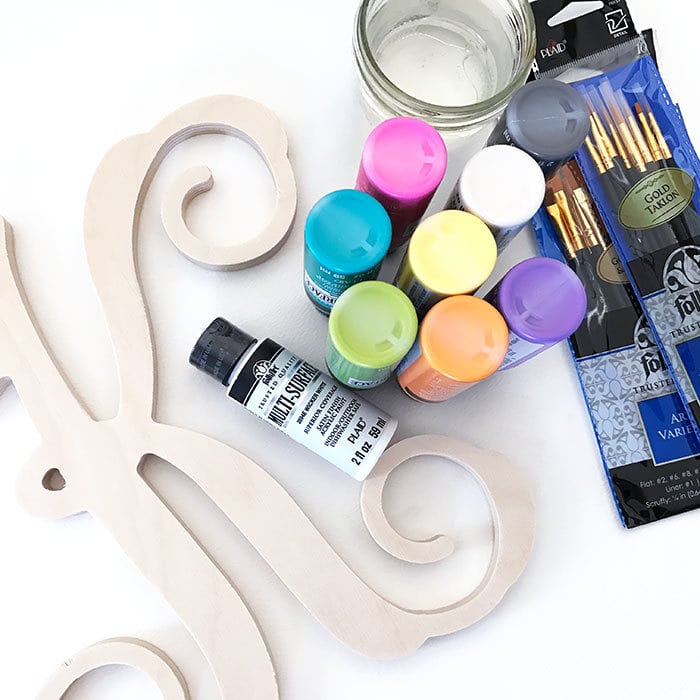
Materials you need
- Large Wooden Monogram Letter of your choice check out the letters available at Walmart
- Multi-surface acrylic craft paints
- Paint brushes – I purchased a multi-size pack
- Paper towel
Instructions
I created an ombre style color blend for the background color of my letter. You could simple start with a single color and add your flowers if you'd like.
Take a look at this quick video to get more of an idea how we created this pretty Monogram Letter decor.
To create an ombre blend:
- Cover work space before starting.
- Paint the entire letter with a single color and allow to dry.
- Apply a light coat of water to the letter using the paint brush.
- Apply a second color to 1/3 of the letter, starting at the top of the letter and working your way towards the middle. The water should blend with the paint and create a bit of a translucent layer of color.
- Take a paper towel, tissue or paper napkin and carefully blend the wet color towards the middle, allow the color to blend.
- Allow to dry before painting flowers.
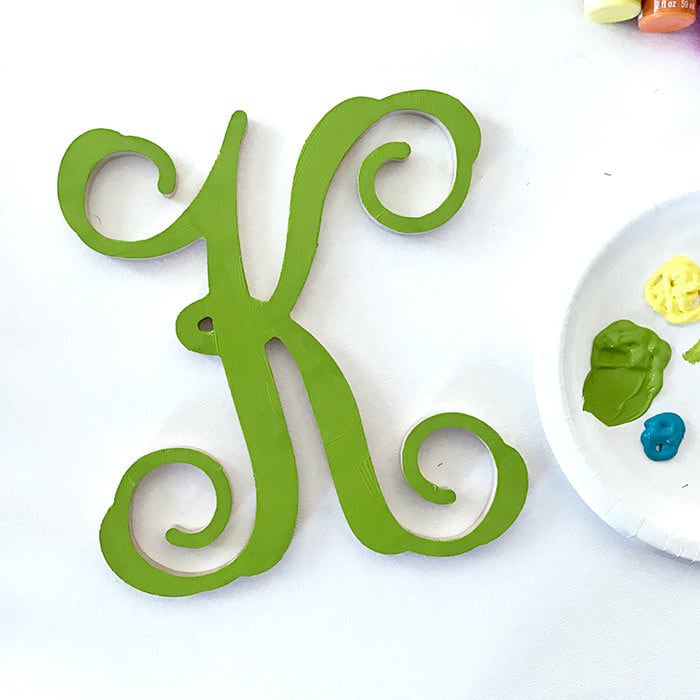
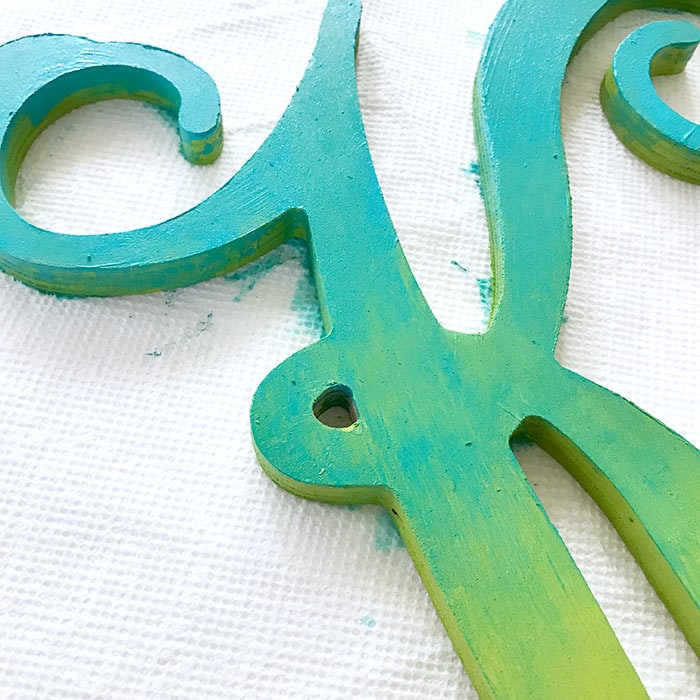
To create simple painted flowers
I did not paint the flowers over the entire letter. Instead I allowed some of the background to show through to create an interesting design on the letter.
Using a medium detail paintbrush…
- Start with a single color, apply circles and basic flower type shapes to the letter. Rinse your brush and repeat for each flower color you'd like to use. Allow to dry.
- Apply a single contrasting or complimentary color to the center of the flower shapes. I used yellow on pink and orange on purple. Allow to dry.
- Using a very thin/small paint brush paint white lines around the different flower shapes. Add accents as you'd like such as simple lines or center circles to create basic details for each flower.
- You can also add small color dots throughout the letter to fill in some of the open “white space” however you'd like.
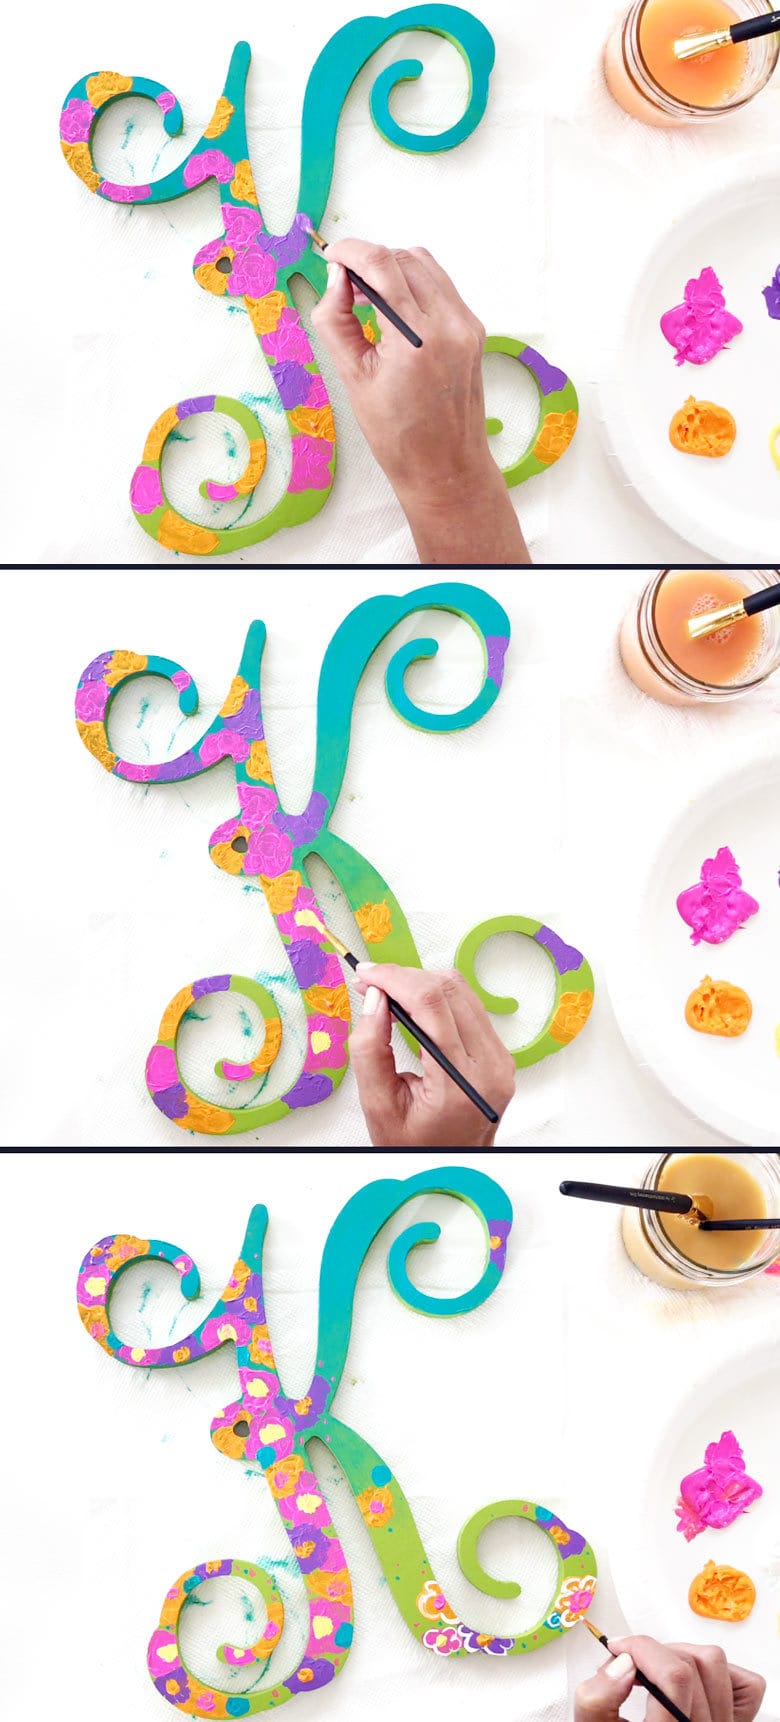
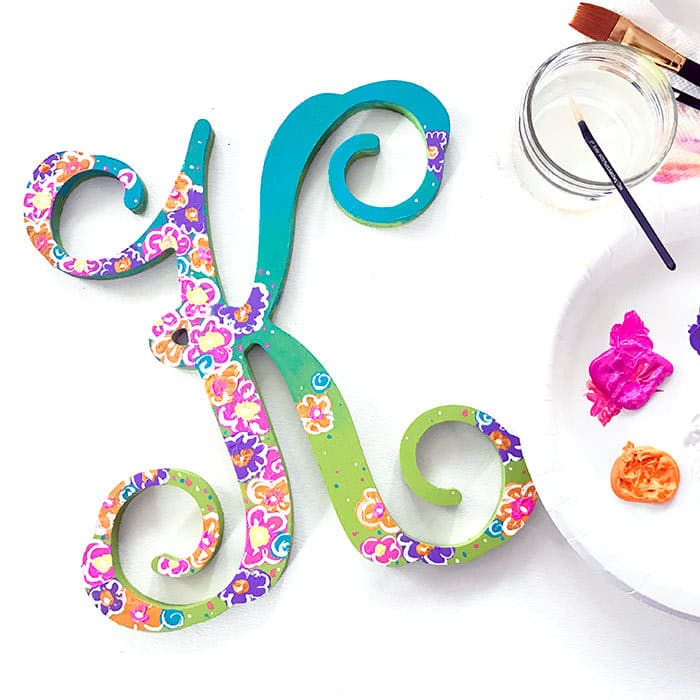
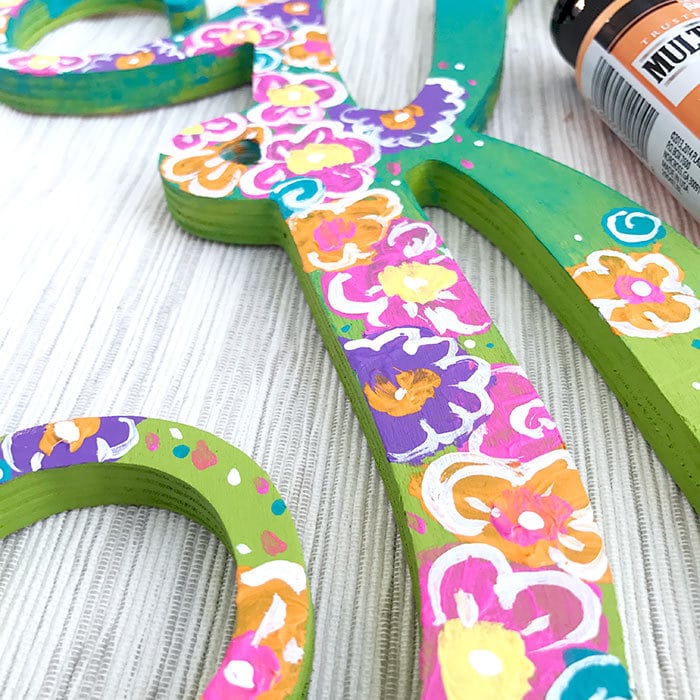
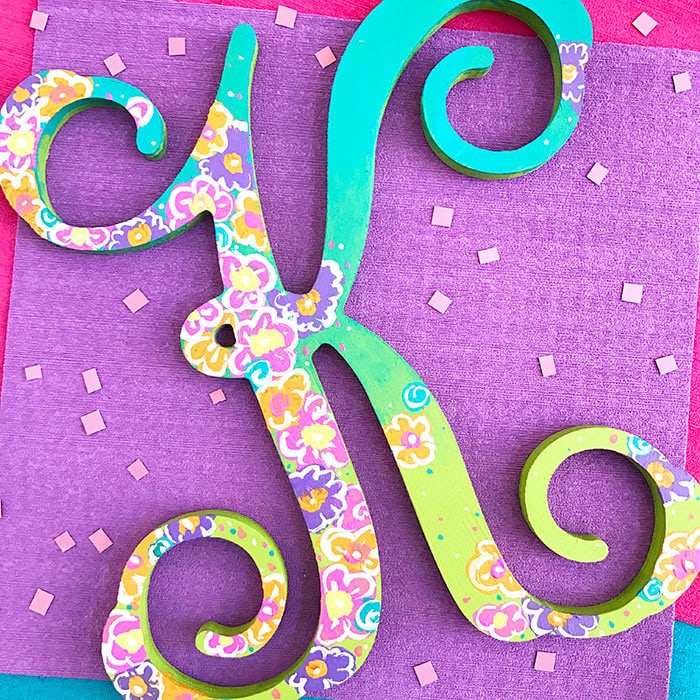
Have fun with this painting project! You can get as detailed or keep it as simple as you'd like. Add just a few colors, or paint the rainbow… it's up to you! I can't wait to see what you create, stop back by and tell me all about the project you created.


Hi is this paint for outdoors also most of my letters are doorhangers
If you seal the project, it should do well outdoors. You can also use a multi-purpose outdoor paint if you prefer.