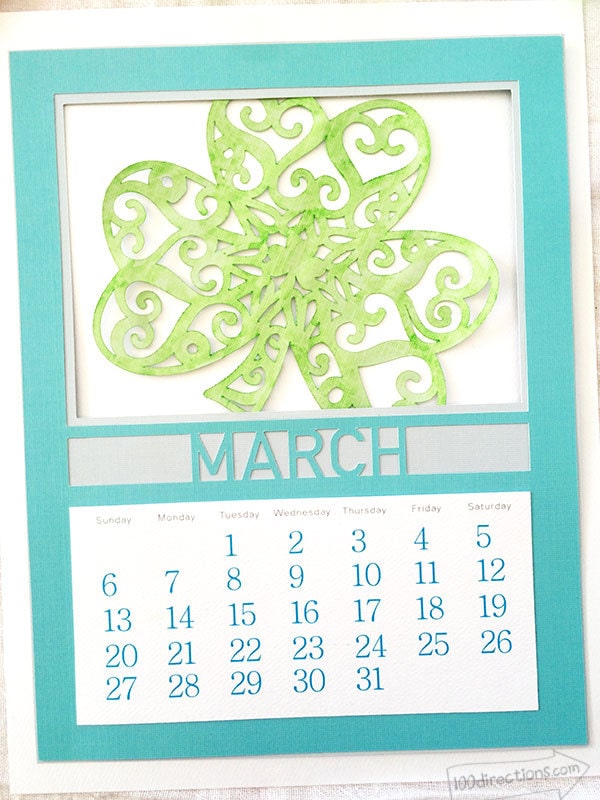
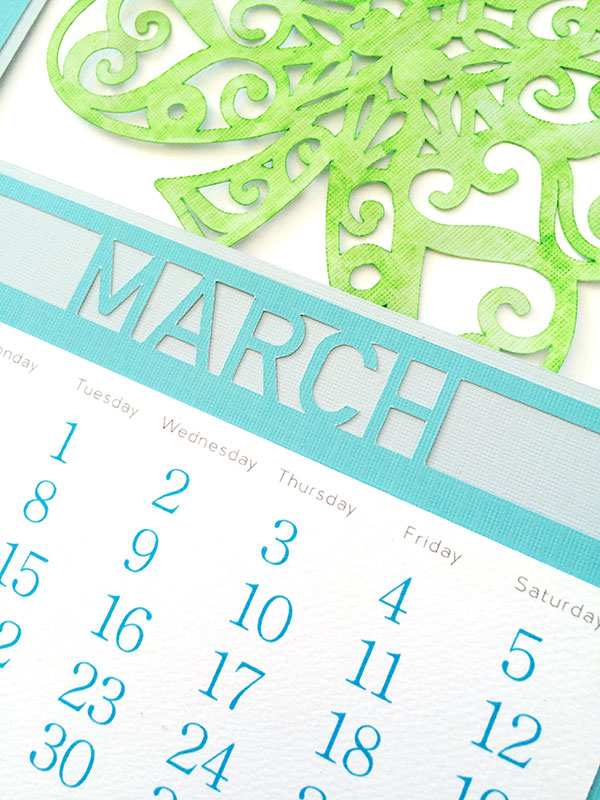
Get ready to make this DIY March DIY Calendar with your Cricut. You can customize the art window with whatever kind of image you'd like. You can also personalize the calendar by choosing your own favorite cardstock colors. Download the free SVG file and then upload to your Cricut Design Space account. This is a quick and easy Cricut project you can make today and enjoy all month long!

March DIY Calendar with your Cricut
This files has multiple layers. When you upload it, every layer is listed in Design Space as a cut layer. You need to set up the file to create properly, here is how I did it. For more detailed information, check out the January DIY calendar instructions.
Materials
- Cricut Explore™
- Cricut Design Space™ software
- Printer
- DIY March Calendar SVG file by Jen Goode (see below)
- DIY March Calendar numbers – Cricut Design Space canvas
- 12″ x 12″ StandardGrip Cricut® mat
- Cardstock – your choices of colors
- Adhesive
- Pre-print photo or artwork of your choice – 5″x7″
Instructions
- Set the Days of the week layer and the white background behind it as print.
- The boxes that make up the month, set as draw/write. This layer will not print as is.
- If you'd like to add in printed numbers for the days, add in your own text layer and create the individual numbers.
- Cut the Month cut out layer and the background layer from different colored cardstock. Add in your own pretty picture in the frame and there you have it!
- You can make your own pretty shamrock with your Cricut if you'd like. The design is also available in Cricut Design Space. Search for image #MC4777D

You can download your free file here:
I hope you have fun making this March Calendar with your Cricut. Click here to check out more calendar projects.


