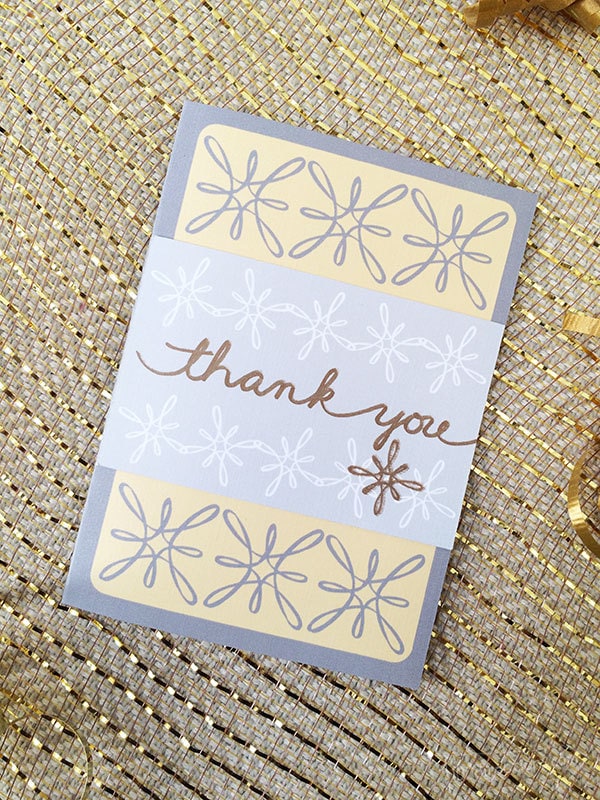
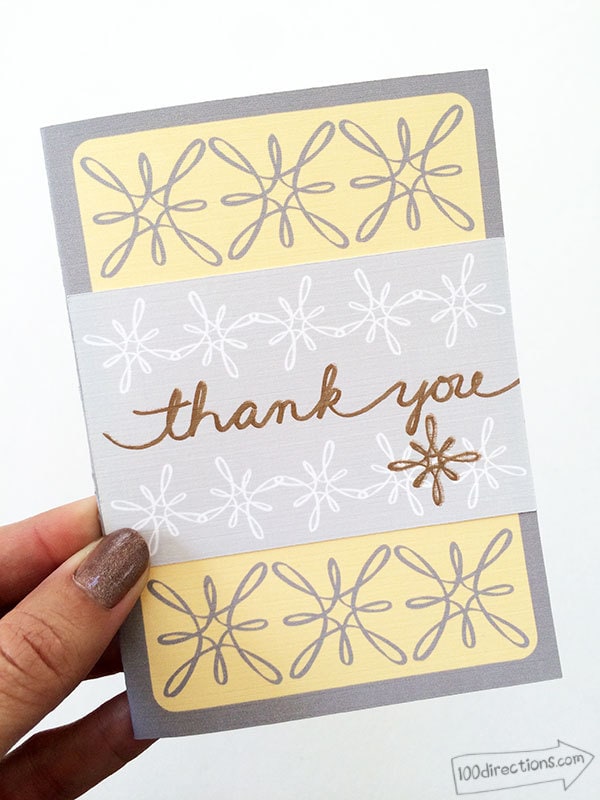
Thank YOU! I am sure I don't say thank you enough. So as I was brainstorming project ideas, I thought a pretty little DIY Thank You card you can make with your Cricut would be perfect. So here you go, this is a really simple card that you can customize to create your own personalized look. I've create a Cricut Design Space canvas you can use to get started.

DIY Thank You Card
All of the components in this Cricut project are available through the Cricut Design Space library. You might own some of them already! You can customize the look by rearranging the swirl designs or changing them to cut instead of print. The finished look is up to you!
I've set up this project to print and then cut as two separate pieces you then glue together. However, for a much more complex and intricate design, all the pieces can be un-flattened and cut however you like.
Materials
- Cricut Explore™
- Cricut Design Space™ software
- Printer
- Thank You Card – Cricut Design Space canvas
- 12″ x 12″ StandardGrip Cricut® mat
- Cardstock in white and
- Adhesive

Some things to play with:
When you customize this Cricut project, you can unflatten the entire piece and then change the colors to print whatever color you like!
The written “Thank You” is part of a longer line of hand written text. This limits the size the piece can print at. The way around this is change the printed area to a cut area and remove the little snowflake designs… or cut them.
There are so many fun ideas you can create from the individual pieces in this DIY Thank you card, I'd love to see what you come up with!


