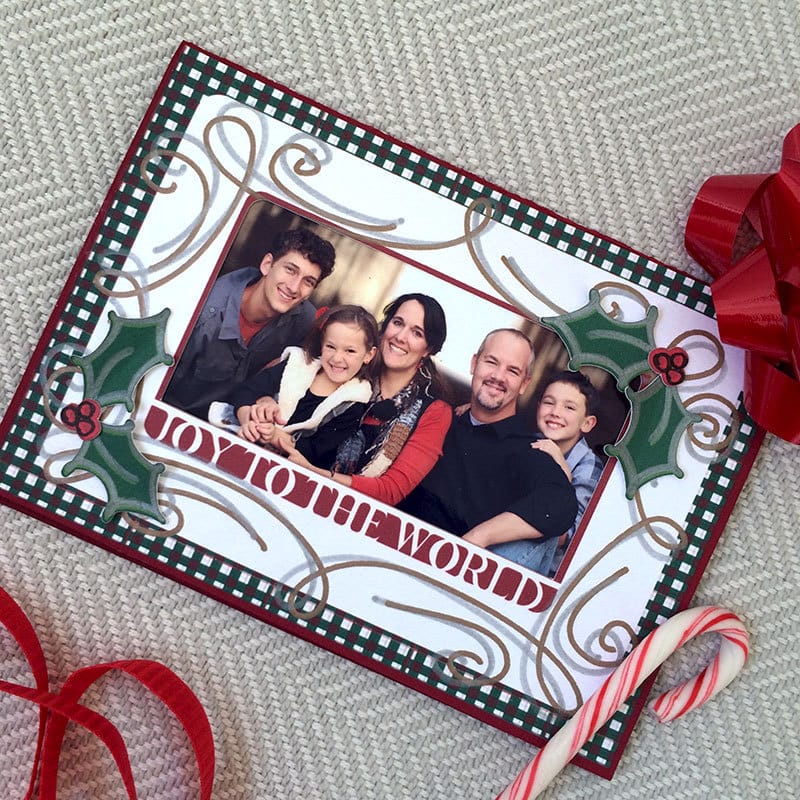
I usually try to make my own DIY Christmas Photo Cards. I like adding that personal touch and I do much better glueing on glitter than I do writing a family letter. So this year I am sharing a fun card you can make for your family too.

Make Your Own Christmas Photo Cards with Your Cricut
This is a Photo Christmas card you can make with your Cricut. I've designed this card in layers that I then flattened into just a few print-then-cut images in Cricut Design Space. You can edit the different components to create a card with your own personal touch, simply un-flatten the various layers and start customizing.
Materials
- Cricut Cutting Machine
- Christmas photo card project designed by Jen Goode
- 12″ x 12″ StandardGrip Cricut® mat
- Cardstock in holiday colors
- Copper, Silver and Midnight Cricut Pens
- Your own family photo – printed
- Glue
- Scissors
Instructions
- Cut designs following on screen instructions.
- Glue together card front layers.
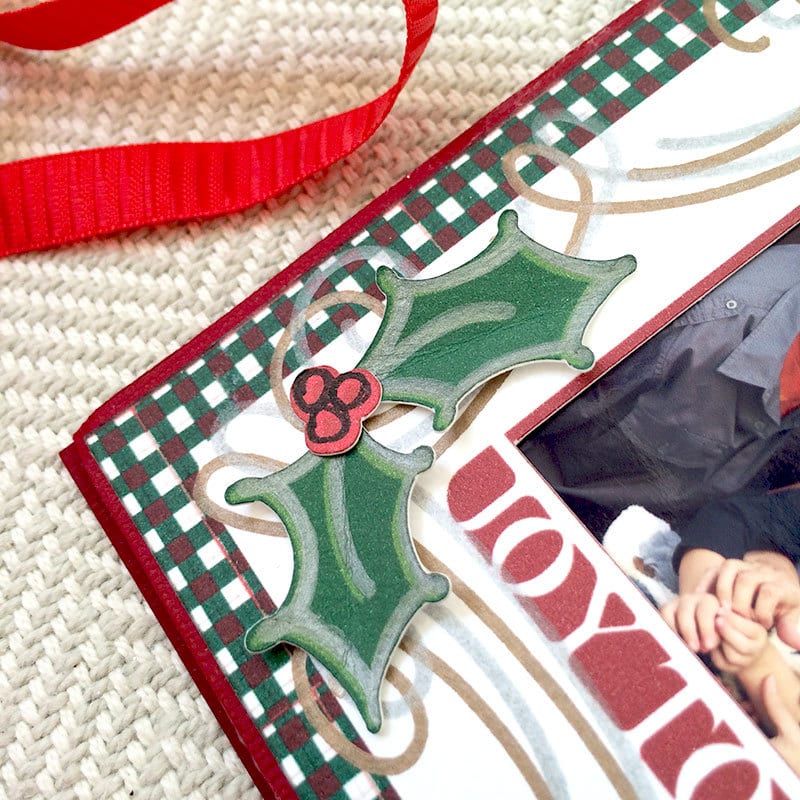
- Glue berries to the holly. Glue holly to front of card as shown.
- Optionally – use the scoring tool to crease the back center of each holly leaf and bend slightly to create extra dimension with each leaf pair.
- Trim photo to fit inside card so it shows through the cutout window. Glue in place.
Note: You can add extra accents to customize your card – for fun include the Christmas accents from image sets #M8D1A2D and #M8D18EF
Make your own DIY Christmas Photo Card – Click here to start with this fun photo card project.
Tip for you – the holly used in this project is a print-then-cut design. You can adjust it so that it is just cut from great cardstock instead. Then, to add a little extra dimension to the holly leaves, score each leaf down the center and gently fold.

What do you think, will you be using this Christmas card idea for your own family DIY Christmas photo card this year? I'd love to hear what you make!


