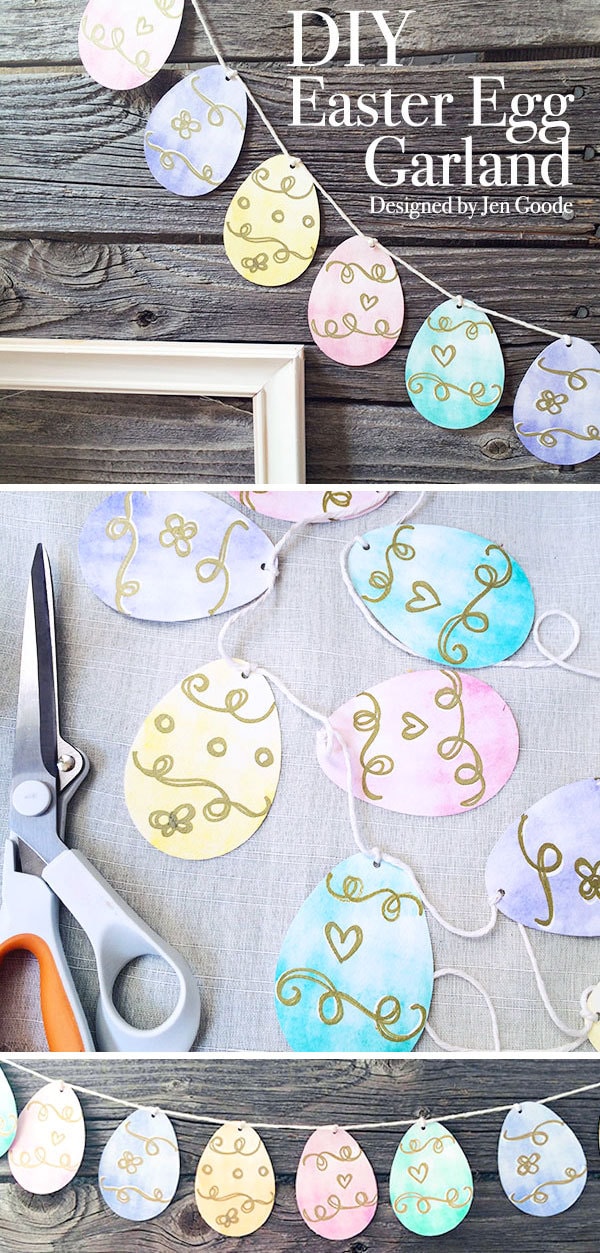
Create pretty Easter decor with this printable Easter Egg Garland set. It comes with printable watercolor art and an SVG drawing file. If you use a Cricut, use the Print-then-Cut feature to make these Eggs in mere minutes. If you don't have a cutting machine, that's ok, you can hand cut the egg art too!
I always love a pretty project that takes no time to create but looks like it took hours. Create your own pretty Easter garland in about 15 minutes with this set!
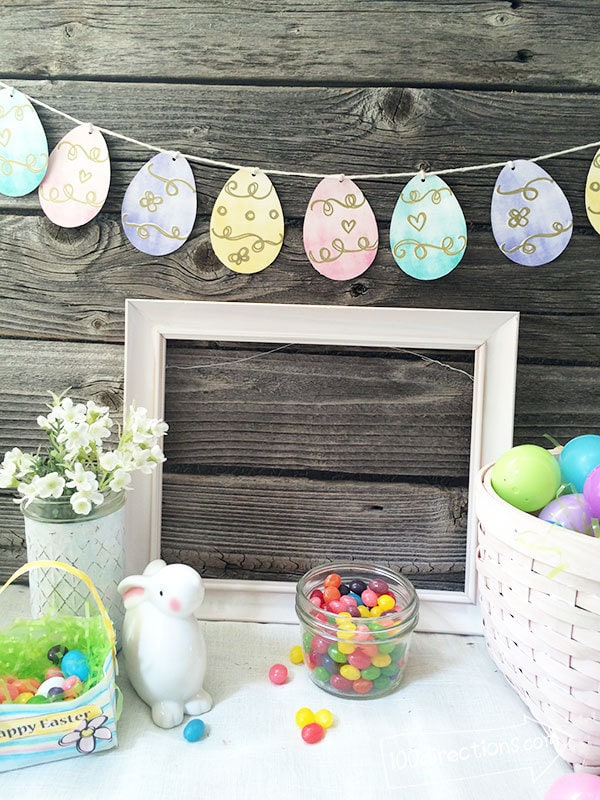
Make Your Own Easter Egg Garland
These pretty little Easter eggs can be resized to fit the project you are working on. They are perfect for making garland, just cut them out and string them together! Make some pretty little vase decorations, gift tags or table setting accents.
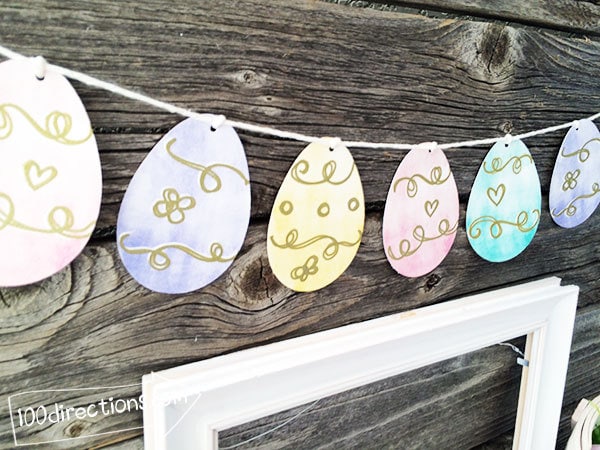
The Easter egg art was first hand painted with watercolor paints and then digitized to make a fun printable you can use for all kinds of Easter decorating. Even if you're a procrastinator like me, you can make all kinds of festive Easter accessories in no time at all!
How to Make Easter Garland
Material:
- Easter Garland Printable Art (download below)
- Cricut machine with Cricut Design Space Account
- Cricut Pen – I used a Gold marker
- Paper
- Printer
- String
- Hole punch
- White card stock
- Scissors
Instructions:
Make this project either with a cutting machine or use scissors. If you have a Cricut machine, you can also set the project up to add a pretty draw line using the pen, foil tool, embossing, etc. This is a great tool to make many of these cute little paper Easter eggs pretty quickly!
Recommended Reading: Using Cricut Quick Swap Tools
If you're using a Cricut:
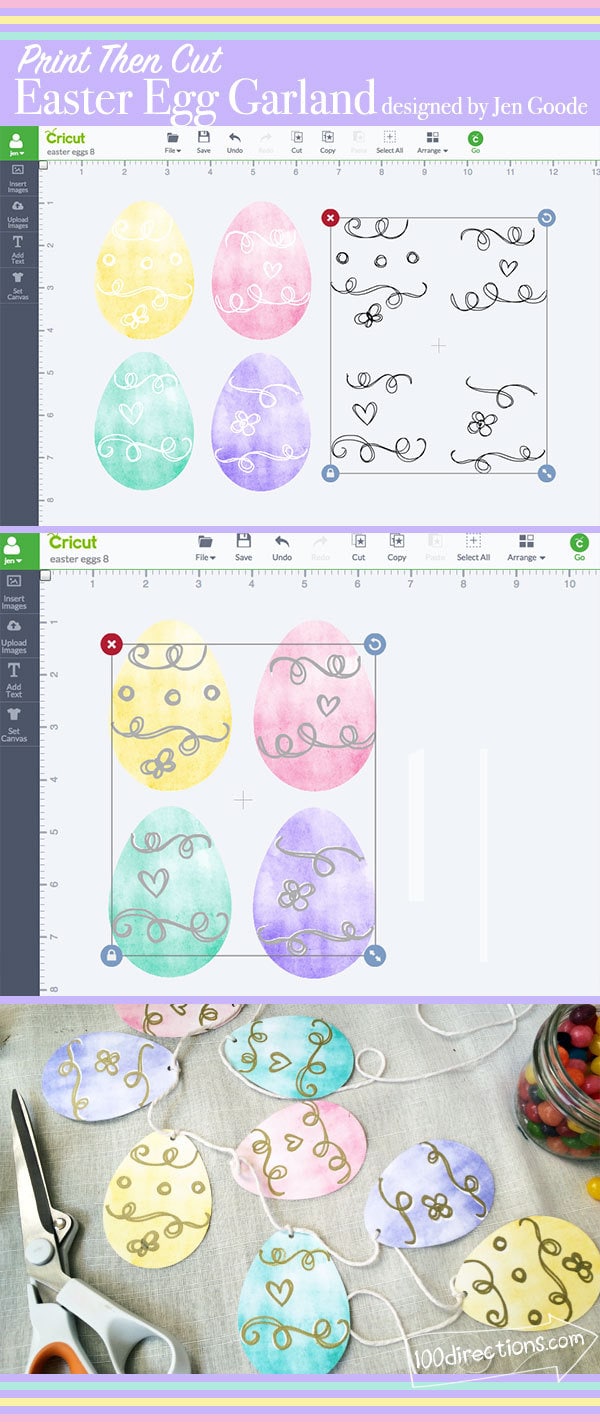
- Open up to Cricut Design Space
- Upload the PNG file. Choose “Basic Upload” and then select “Complex Image”. You shouldn't need to edit anything.
- Upload the draw SVG file.
- Once both files are uploaded to your design library, you can select them and add them to your Design Space canvas.
- Make sure the draw layer is the topmost layer and choose “draw” or “write”. Attach the two layers together. Adjust the size to your preference.
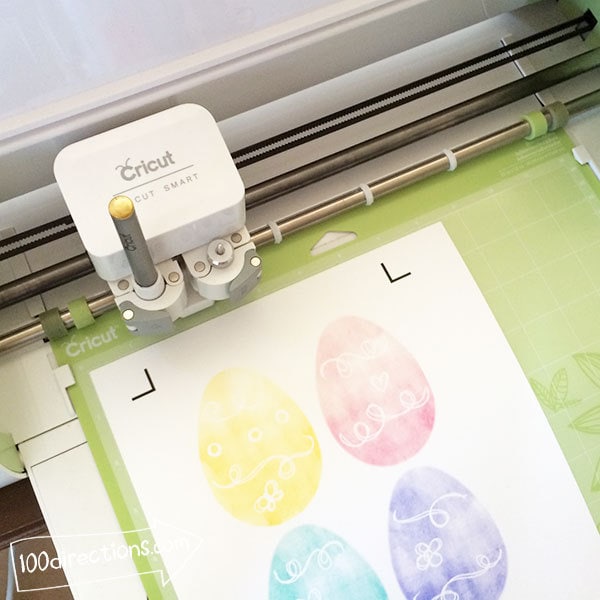
- Follow the on-screen instructions to print, draw and cut the art.
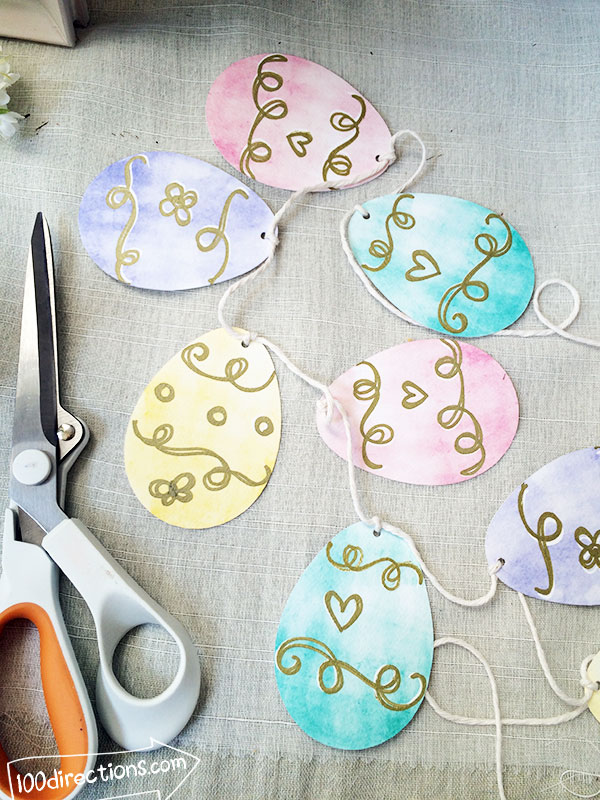
- Use the hole punch to create a hole at the top of each egg. String together however you'd like. I tied a little knot at the top of each egg so they would lay flat when I hung the garland.
If you're cutting by hand:
- Use your favorite metallic marker to draw your own swirl lines, tracing over the white swirls on the print out.
- Cut out each egg with scissors.
- String together following the instruction from #7 above.
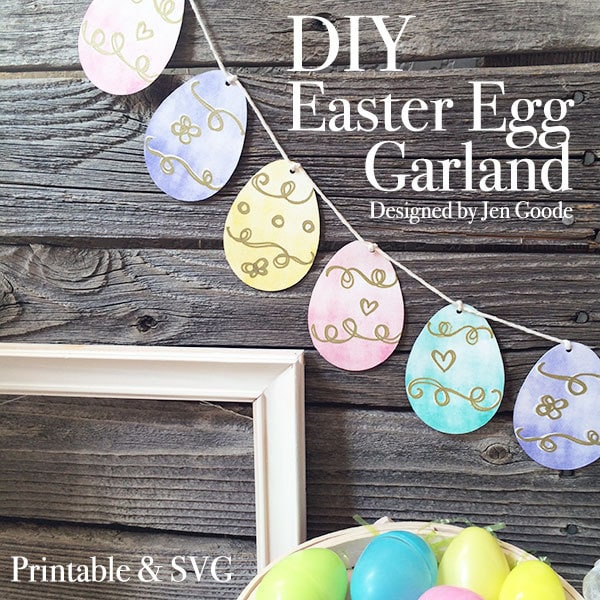

Download this Printable Easter Egg Garland and SVG
Note: The set includes the PNG file and an SVG draw line
Embellish these eggs even more if you'd like. Add glitter, tie ribbons between the hanging eggs. Whatever you'd like. I can't wait to see what you create! You can share your creative ideas with me in the comments below or the 100 Directions page on Facebook.
