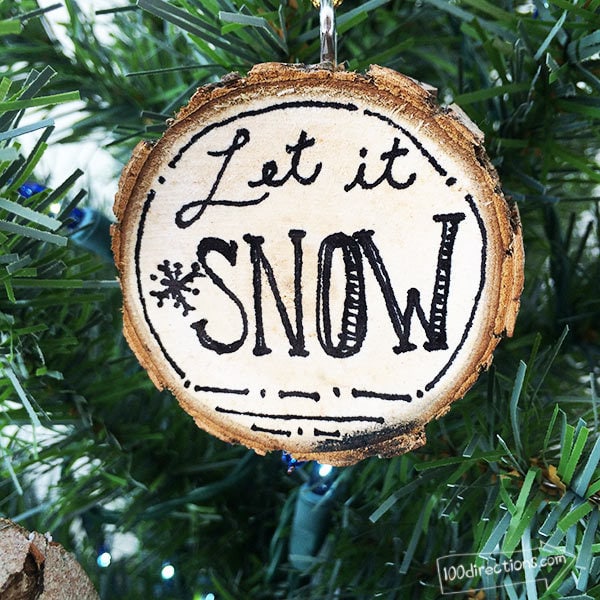
Handmade wood slice ornaments are so beautiful. Did you know you can make your own in under 30 minutes? Wood burning is a fun technique, but if you don't have wood-burning tools, you can still create pretty wood-slice art. Grab some black ink pens like a standard fine point Sharpie marker and just start doodling. You'll be amazed at what you can create! Follow along with my tutorial to learn more below.
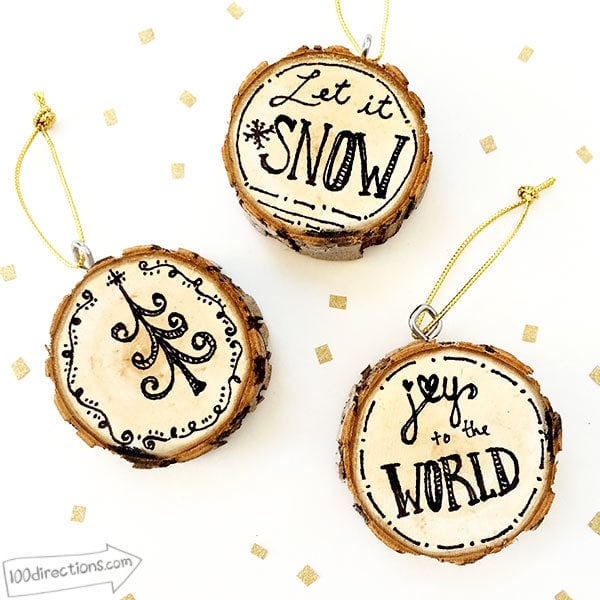
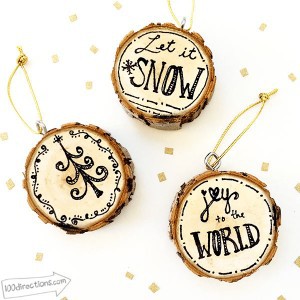
I really like how these Christmas ornaments turned out. They each took me maybe 10 minutes from start to finish, which makes this DIY holiday project perfect to share for this week's Craft Lightning Holiday Edition.
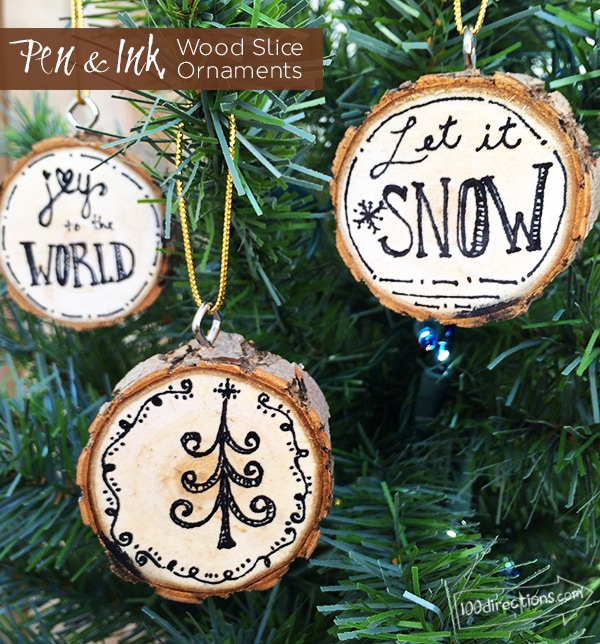
I didn't have a plan of what I was going to draw, so I didn't lay anything out ahead of time. If you are really particular without precise your lettering is, I suggest laying out the words and then transferring them to the wood. This will add a little extra time to your project time, but do what makes you most comfortable so you love how your own ornaments turn out!
DIY Pen and Ink Wood Slice Ornaments
Materials you need:
- Wood slices
- Standard fine-point Sharpie marker
- Small eye screw
- Twine or ribbon
- Sealer – optional
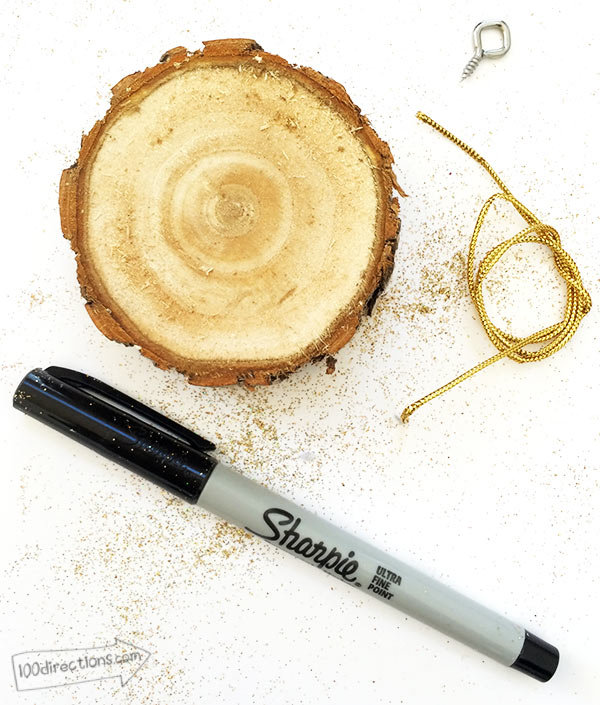
To make these wood slice ornaments
- Grab your pen.
- Draw on the wood.
- Insert the eye screw at the top of the ornament.
- Tie a piece of twine to the eye screw.
- Enjoy.
Seal: If you'd like to seal the ornaments to protect the art, I recommend using a spray. Apply a thin coat of spray sealer, allow to dry and then apply a second coat. If you try a brush-on sealer, you might find the ink bleeds or smears slightly.
Something to note, I can see the ink bled a little bit into the wood. Depending on the type of wood you have, the ink might bleed more or less. If you want to prevent the ink from bleeding, coat the wood with a light layer of Mod Podge and allow to dry thoroughly before drawing. Make sure to use the Matte Mod Podge so the shine of the coating doesn't distract from your pretty pen and ink art.

MORE Wood Slice Ornament ideas:
- Christmas Pen and Ink Wood Slice Ornaments
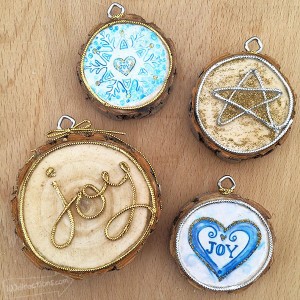
- Gold Word Art Wood Slice Ornaments
- Winter Wood Slice Ornaments Tutorial Plus 35 DIY Christmas Tree Decorating Ideas
These Pen and Ink Wood Slice Ornaments are so fun to make. If you like to draw, this will be a super fun DIY Christmas craft for you!
If you don't love to draw, see below for a great printable art page you can use to make your own Pen and Ink style wood slice ornaments without picking up a pen.
Free Printables to decorate Wood Slice Ornaments
I've created some free ornament art printables that you can use to make this project. You can cut out the word art and then decoupage it on to your wood slices if you'd like. Get creative, create what makes you happy and most importantly, have fun!
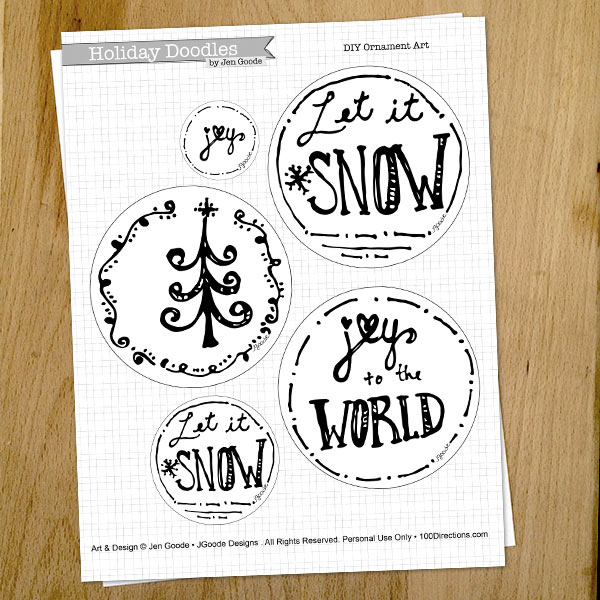

How to use printables for Wood Slice Ornaments
If you'd like to use printable art to create your own wood slice ornaments. Decoupage is a great technique. You can color the art or paint it or leave it black and white. Print on white paper or a color of your choice (I think printing on a kraft cardstock would be really nice.
How to Decoupage to create Wood Slice Ornaments
Materials
- A wood slice
- Printed art
- Mod Podge
- Paint Brush
- Scissors
Instructions
- Cut the art to the size of your wood slice.
- Apply a coat of Mod Podge to the wood with a paint brush.
- Before the Mod Podge dries, place your printed art.
- Then apply another layer of Mod Podge over the art and wood slice. Use the paint brush to smooth out the surface of the printed art. Be careful not to brush too much as the wet Mod Podge and brush may smear the printed ink.
You can also layer art or other items like dried flowers or tissue paper on top of art when you decoupage. Simply repeat the steps: Mod Podge, printed art, Mod Podge.
MORE Wood Slice Ornament ideas:
- Christmas Pen and Ink Wood Slice Ornaments
- Gold Word Art Wood Slice Ornaments
- Winter Wood Slice Ornaments Tutorial Plus 35 DIY Christmas Tree Decorating Ideas
MORE Ornament ideas:
Now go explore more quick and easy holiday ideas with this week's Craft Lightning Holiday Edition.






I love your ornaments. Thanks so much for posting and providing!
Thank you so much for the note!
Hello,
I ran upon your little shop and I love it!! I am at this moment looking at these round pieces of wood that turned out nothing like the picture I had in my head…lol… Until you… thank you! I now can make tree ornaments until the cows come home…Once again thank you for sharing!!!
Susanne Jolley
The Antique Distillery
Oh I’m so excited I was able to help! I’d love to hear how your ornaments turned out!
Love this craft idea! We are so doing it! We kept the trimmed stump of the Christmas tree we bought at Home Depot (they do it for you there) we just have to slice it up ourselves. We are going to sharpie the wood cuts, but I did also buy my daughter a small wood burning tool made for older kids at either Ross or AC Moore… can’t remember, but it’s super easy to use. Thanks, this is a perfect (and easy) addition to our woodland themed Christmas décor this year! 🙂
Oh how fun! I haven’t done much with the wood burning tools, but they are really fun to use too. I’d love to see your finished ornaments – Happy creating!
Did you cut these wood slices yourself or did you find them pre-cut somewhere?
Hi Catherine,
In this case, my husband cut a few branches into slices for me (I hated the idea of throwing out a tree we had to remove). BUT, I did a quick search and found there are a ton of sellers on etsy also offering wood slices. I can’t recommend a specific one… just make sure to make note of the size you are purchasing.
SOOO pretty!! These are just lovely!! i’ve pinned it and sharing on my FB page later.
Thank you!
Your wood slice ornaments turned out so cute!
Where did you get the wood slices? So cute!
We cut them from a tree we removed from the yard. However, etsy seems to have a ton of sellers also offering wood slices in an array of sizes!
These are SOOO pretty! I love them!
These are so cool! I can’t wait to make some too!
I loooooove these Jen!! You did an amazing job!!